rpk.io Frames
A first look at some of my self-produced work, framed for a gallery in Athens. It features images from my project Granules.
Specs: Greek beechwood frame, fine art print on Hahnemühle paper, satin-etched glass.
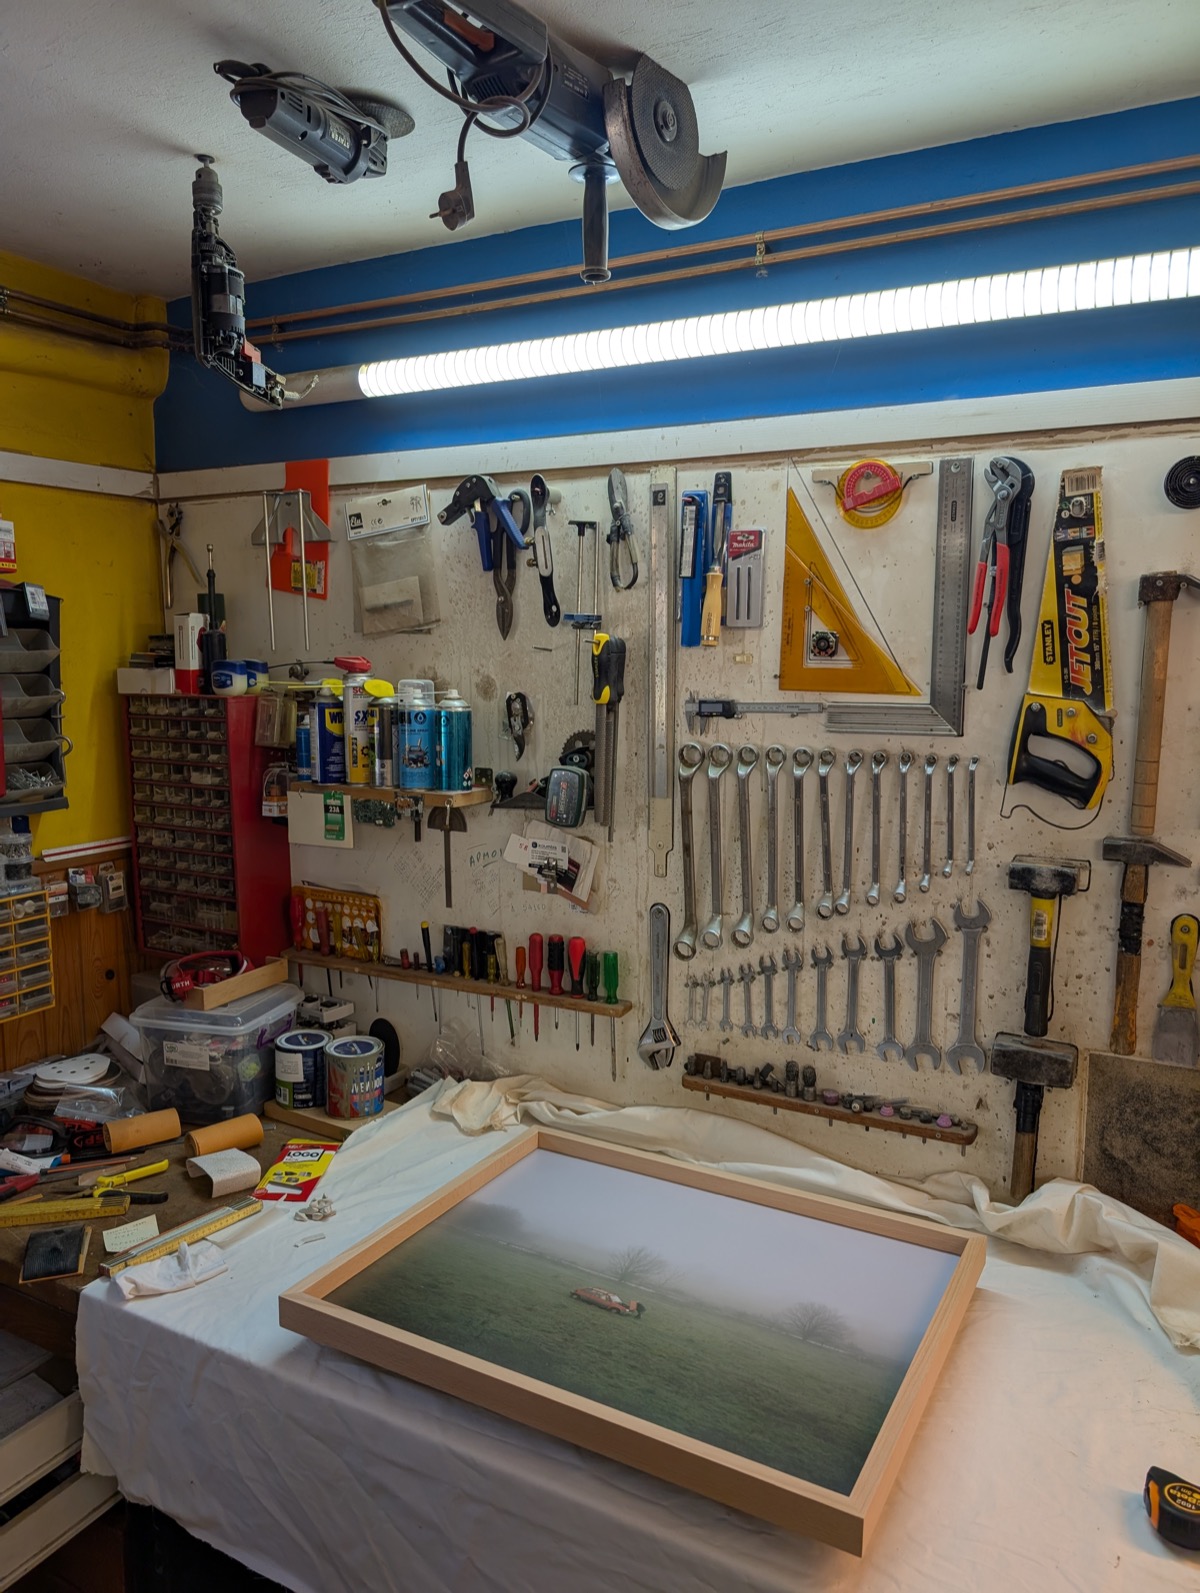
- Materials
- BeechGlass
- Dimensions
- 75 × 60 cm
- Time spent
- 2 days
- Finish
- No finish, raw wood
The Process
What goes
into one
A framed print looks like a single object. It is a chain of steps, and shooting on film adds a few more before the picture ever reaches the wall.
-
01
The negative
Every image starts on medium format film, Kodak Portra 400. A roll holds only a few frames, and it has to be bought, exposed and developed before I know whether there is a picture on it at all.
About 20€ · one roll, film and development -
02
The scan
The frame I choose is scanned at high resolution, so the negative holds up at print size.
About 1€ · per frame -
03
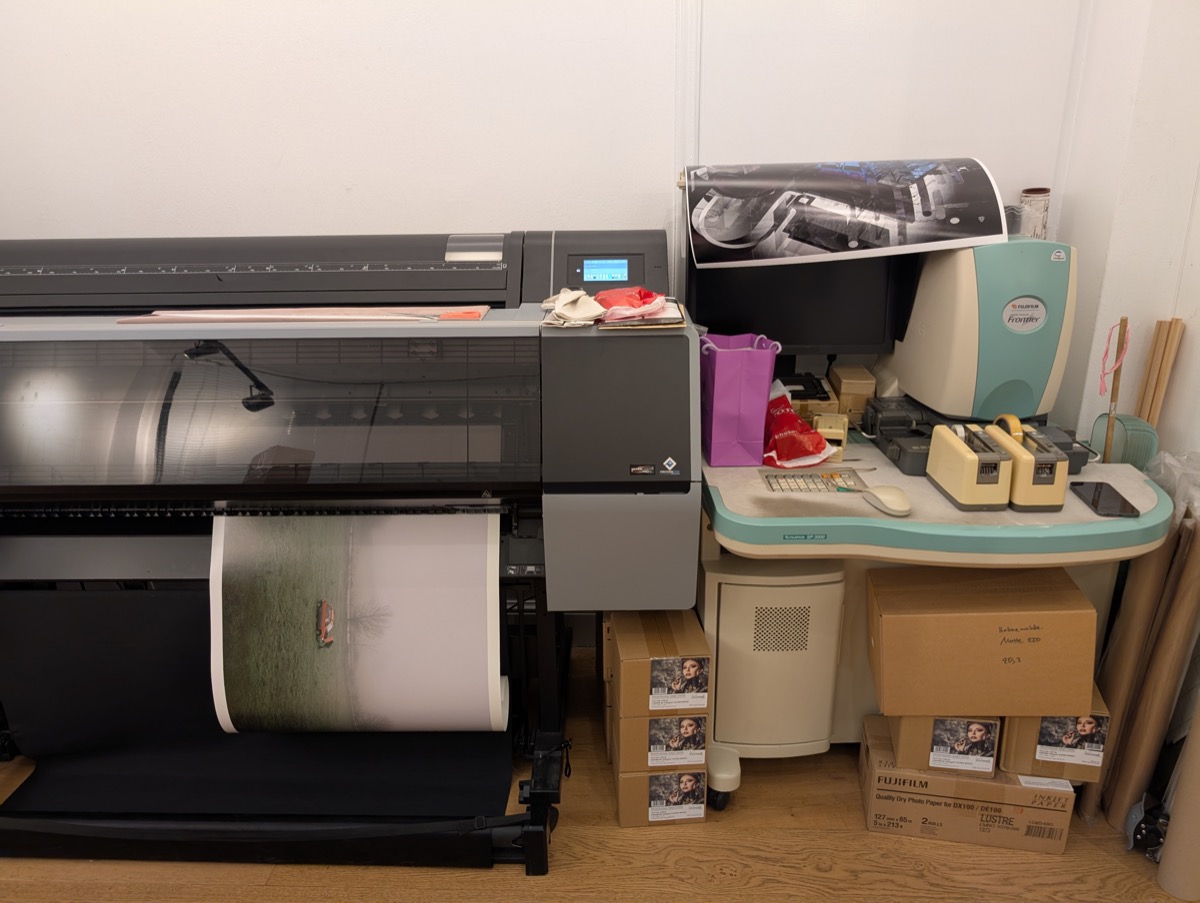
The print
A fine art print on Hahnemühle paper, made at 645Lab.
About 20€ · a 50 × 60 cm print -
04
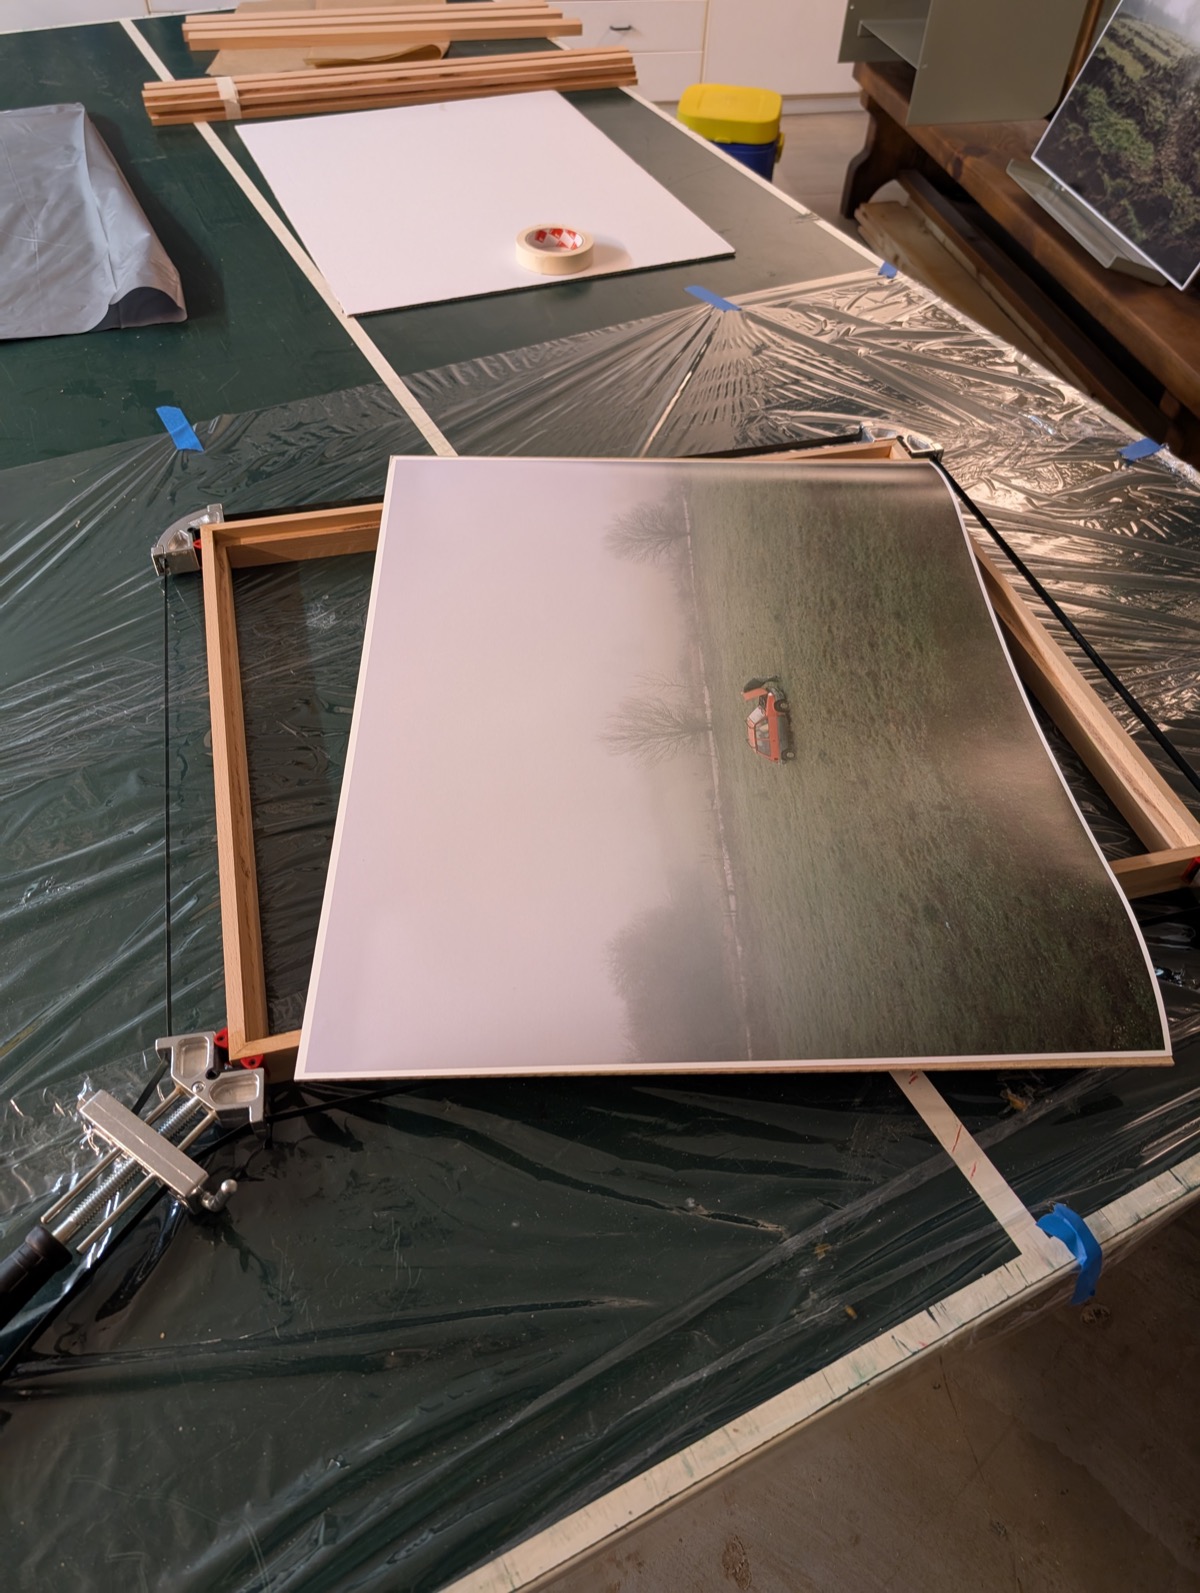
The frame
Solid Greek beech, cut, joined and glued by hand. Solid wood is unforgiving: four corners have to close perfectly square, and a small error in one cut shows in all of them. A solid wood frame custom ordered from a framing shop is extremely expensive, which is why I build my own.
About 30€ · the wood alone, plus two days of work -
05
The glass
I use regular clear glass. It keeps the colours accurate, but it reflects. Matte glass removes the glare and takes some of that colour accuracy with it. The level above both is museum grade glass, and it is the one upgrade I would like to make. It is also expensive enough to push the price of an already expensive piece much higher.
About 8€ · regular glass -
06
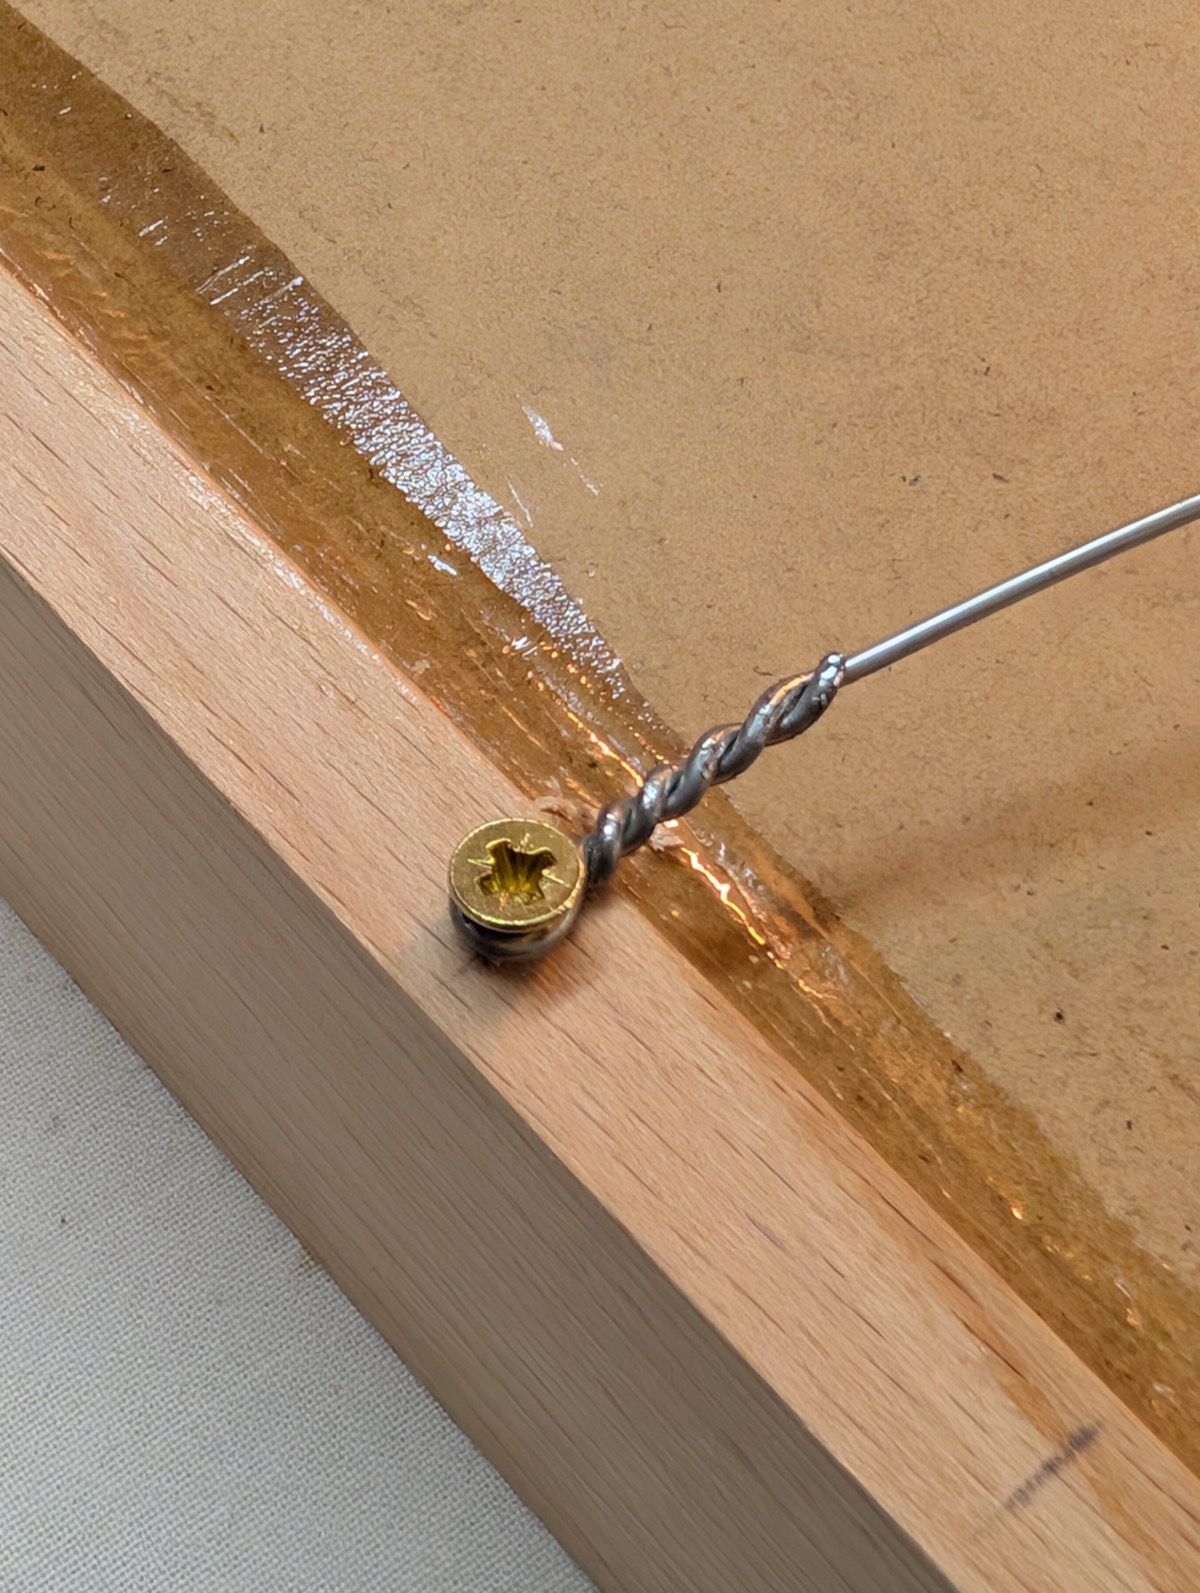
Ready to hang
Glass cleaned, print set, back closed, hanger fixed. The piece leaves the workshop ready for the wall.
About 10€ · backing, hanger, hardware -
=
In total
Roughly 90€ in materials for one piece, before the two days of work that go into the frame.
Tips &
Tricks
What I would tell someone framing the same way tomorrow. Small margins and the right clamp make the difference.
-
01
Print a small border for a safe full bleed
For a clean full bleed inside the frame, print the image with a border slightly smaller than the frame's lip. It gives you a margin for error without ever showing white at the edge.
-
02
Get a 4-way corner clamp if you work alone
A 4-way corner clamp isn't strictly necessary, but it makes gluing up a frame far easier. If you're working alone, it's close to a must have.
Other projects
Seven others-
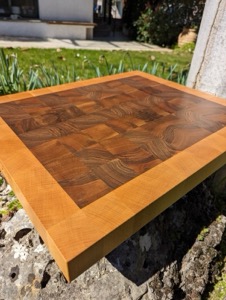 01
End-Grain Walnut & Beech Cutting Board
Walnut, beech, end grain
Jun 2023
↗
01
End-Grain Walnut & Beech Cutting Board
Walnut, beech, end grain
Jun 2023
↗
-
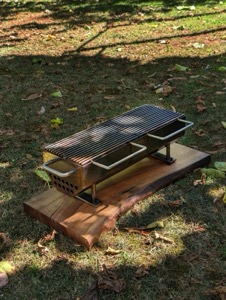 02
Hibachi-Style Table Grill
Steel, inox, walnut
Aug 2025
↗
02
Hibachi-Style Table Grill
Steel, inox, walnut
Aug 2025
↗
-
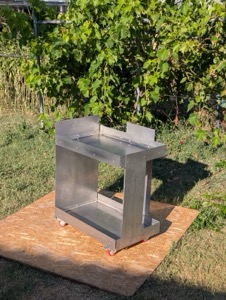 03
Lager Trolley
Stainless steel
Jun 2026
↗
03
Lager Trolley
Stainless steel
Jun 2026
↗
-
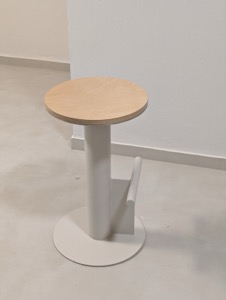 04
Minimal Barstool
Steel, plywood
Jan 2026
↗
04
Minimal Barstool
Steel, plywood
Jan 2026
↗
-
 05
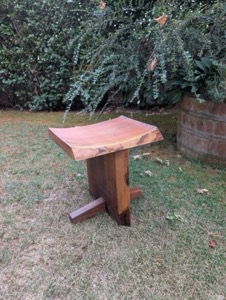
Walnut Stool
Walnut
Jan 2023
↗
05
Walnut Stool
Walnut
Jan 2023
↗
-
 06
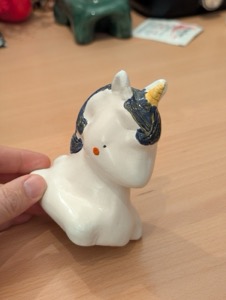
My Clay Army
Clay
Spring 2026
↗
06
My Clay Army
Clay
Spring 2026
↗
-
 08
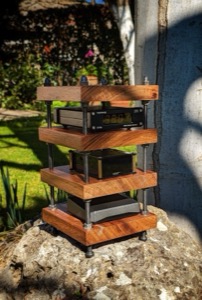
Mini Hi-Fi Rack
Walnut, galvanized bolts
Spring 2023
↗
08
Mini Hi-Fi Rack
Walnut, galvanized bolts
Spring 2023
↗