Lager Trolley
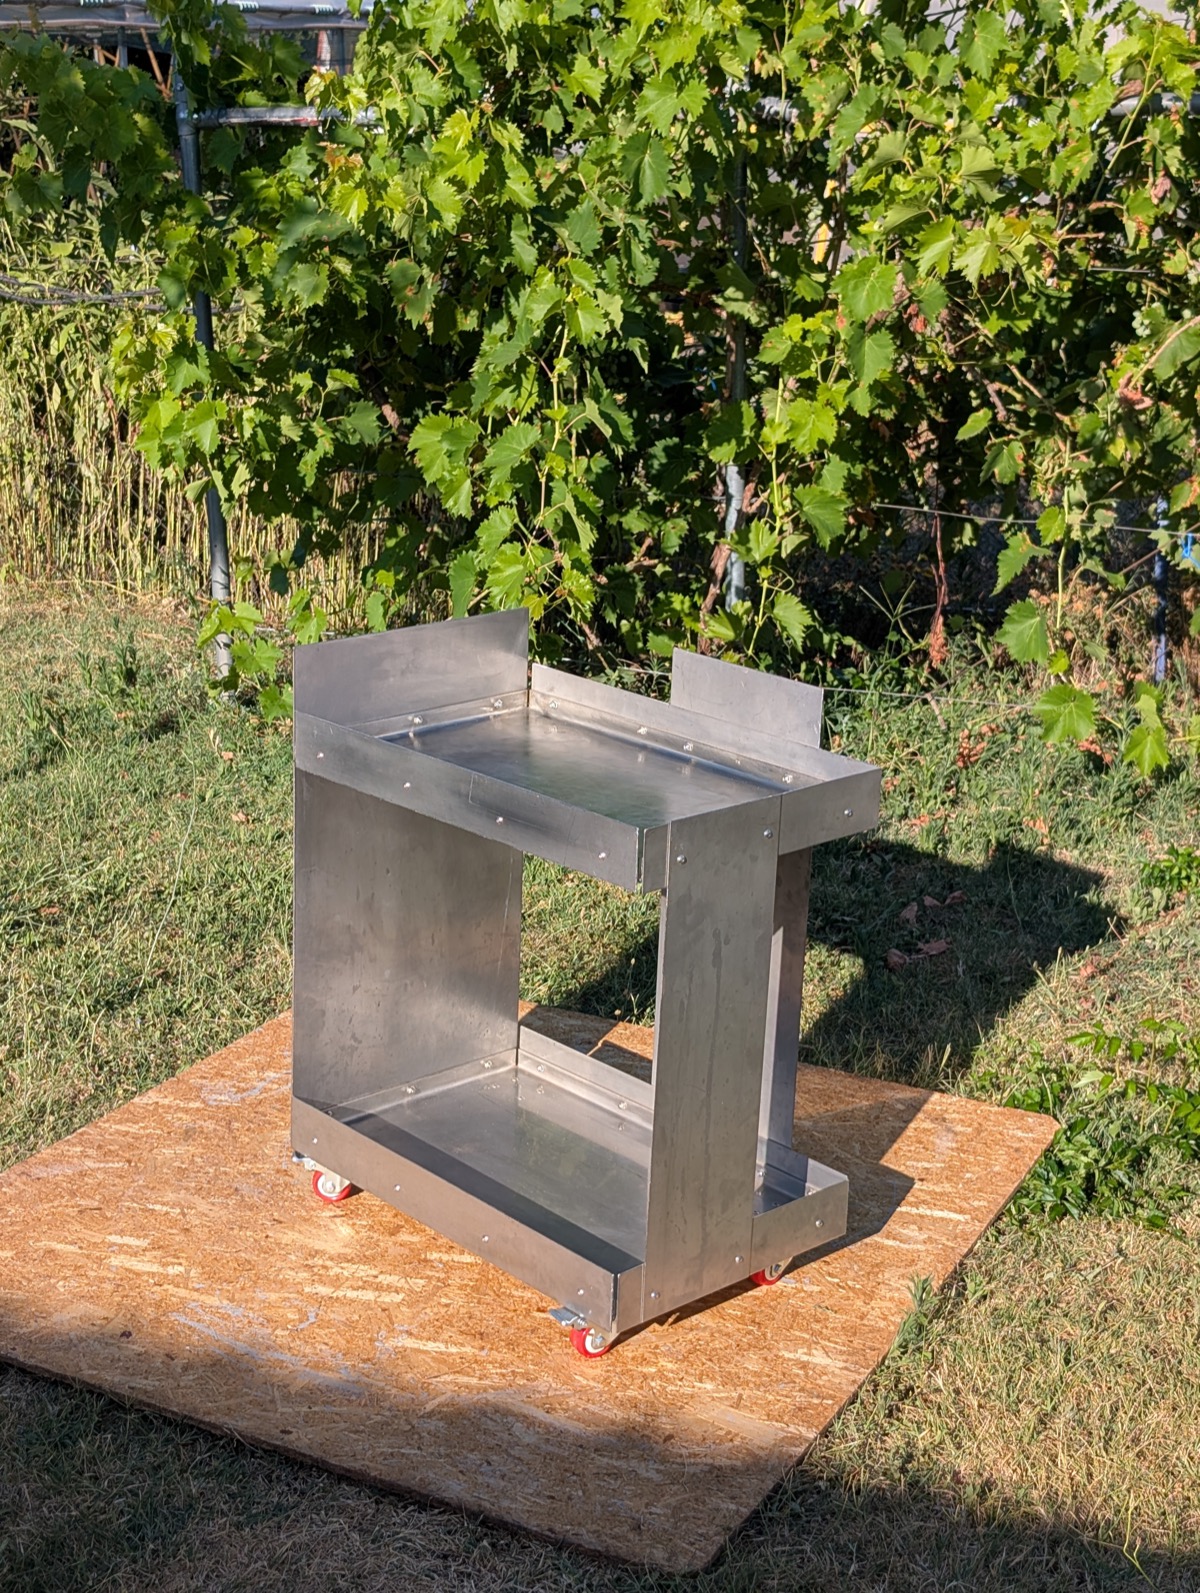
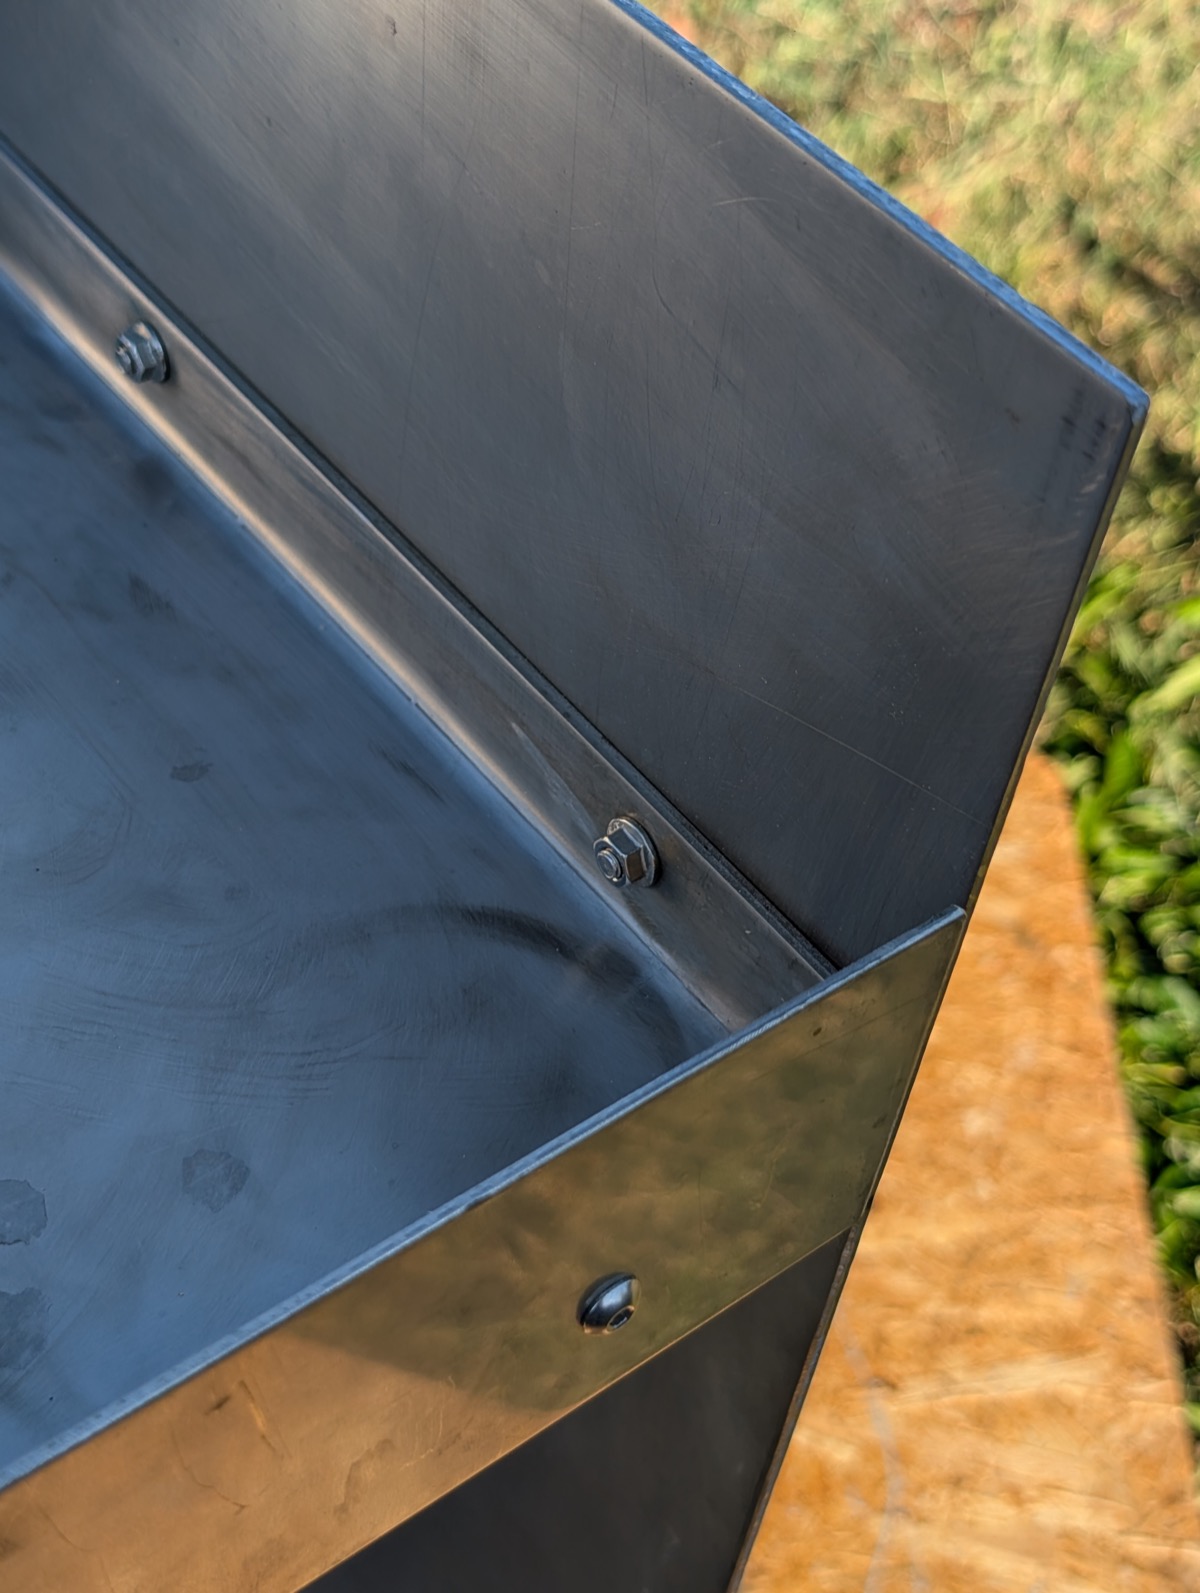
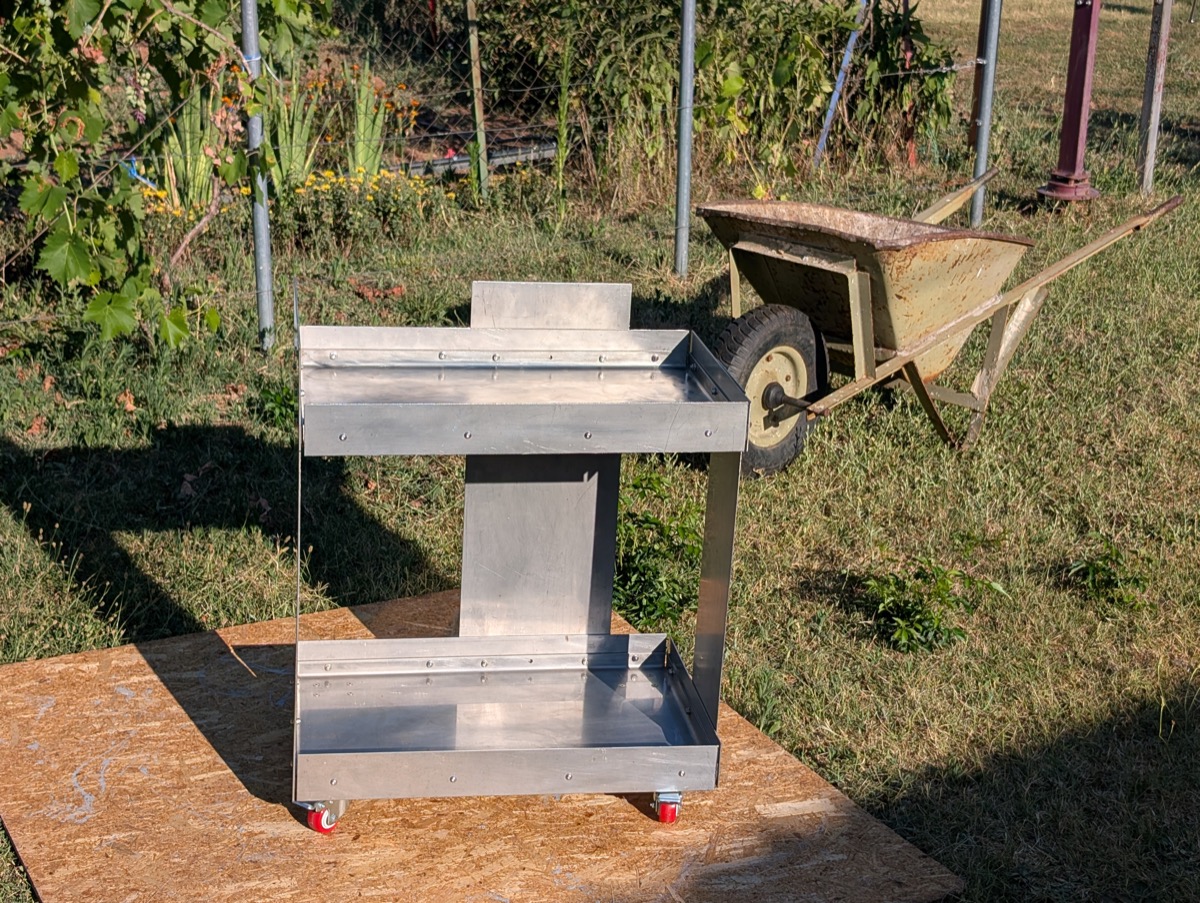
This is inspired by, almost a copy of, the all-aluminium design from the Danish design brand Ferm Living. I took the already industrial and Brutalist design one step further by replacing the aluminium with stainless steel, and made the joints visible with stainless steel screws.
Instead of a clean, precise fit at each corner, I chose to leave gaps. This was both a design choice and a safety one, since hand builds are not pixel perfect.
- Materials
- Stainless steelStainless steel screws
- Dimensions
- 72 × 38 × 60 cm
- Time spent
- 24 hours
- Finish
- None
The Process
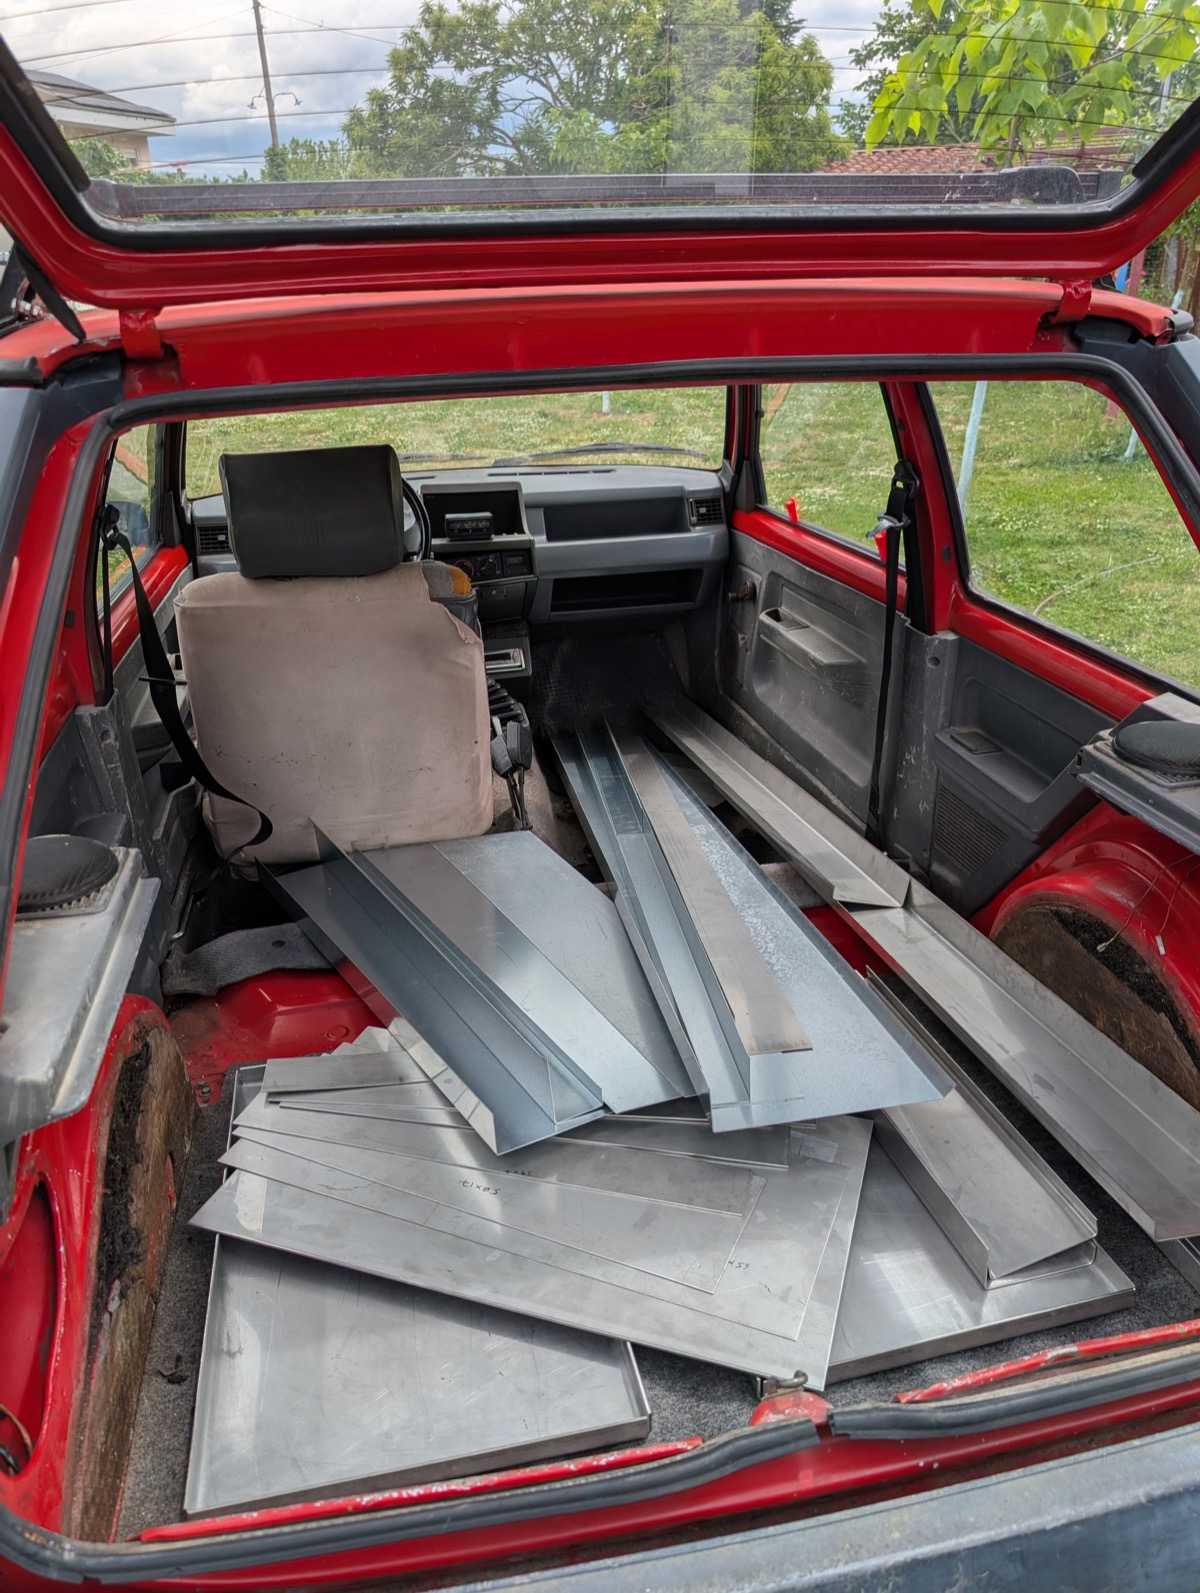
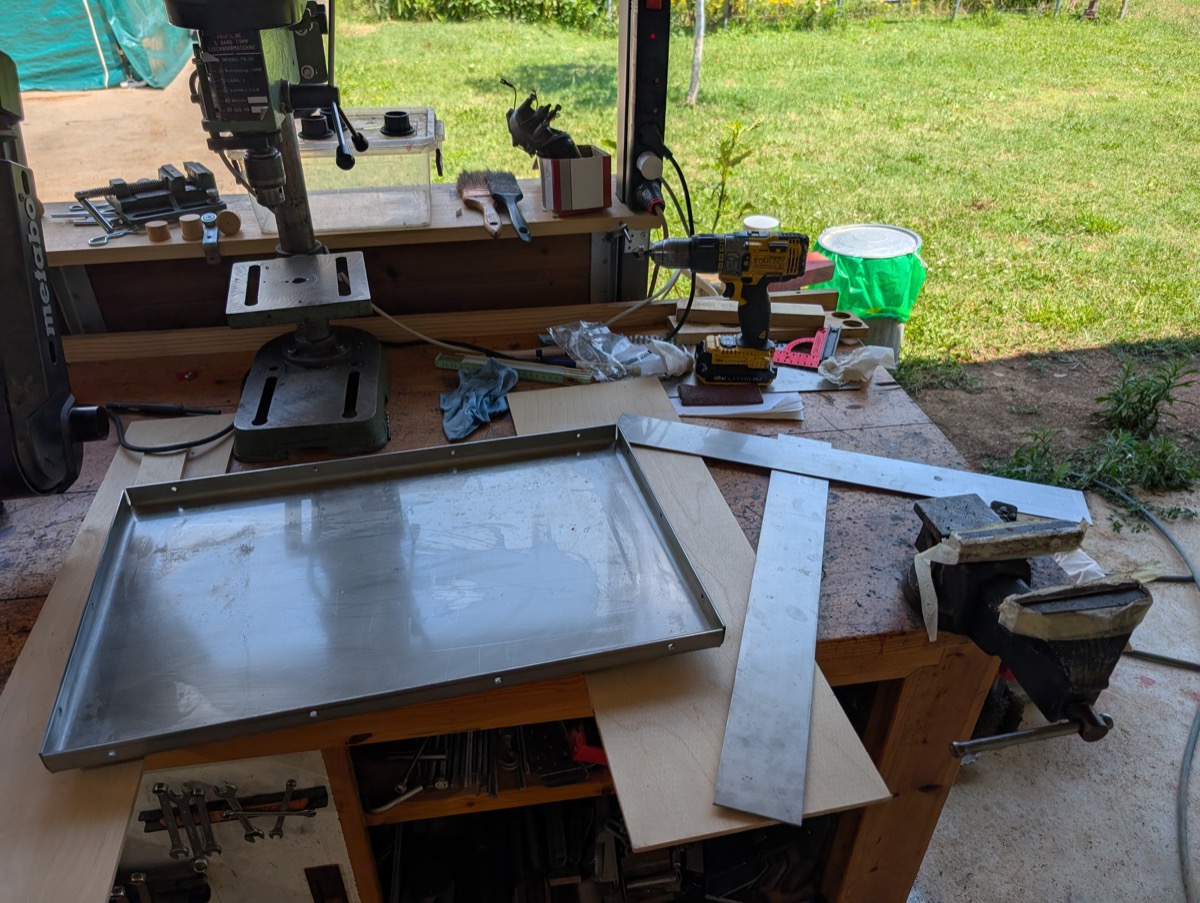
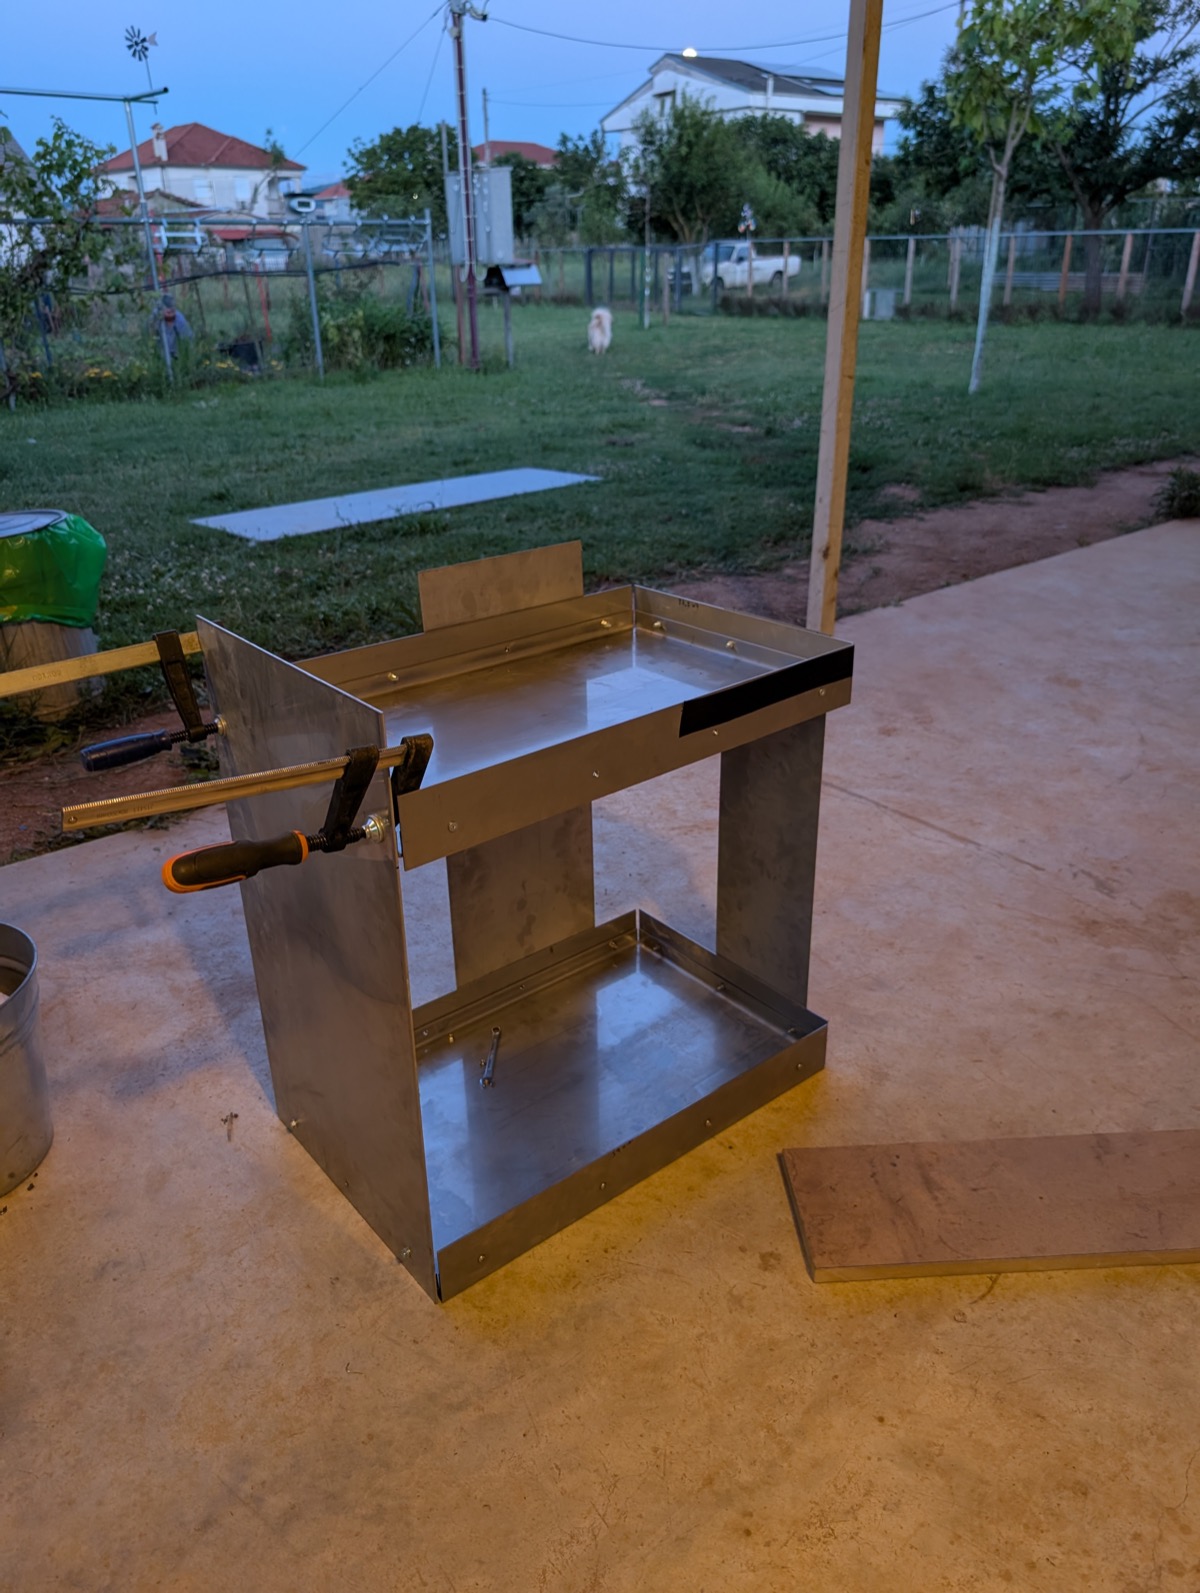
Tips &
Tricks
What I would tell someone building the same trolley tomorrow. Inox is not forgiving and it shows every rushed step.
-
01
Build the top and bottom pans from 2mm inox
The two pan-shaped shelves, top and bottom, are the skeleton of the whole build. At 2mm the joints line up and everything else bolts onto them cleanly.
-
02
Deburr every edge before assembly, not after
Clean and smooth the edge of each sheet before it goes together. Assembling first and sanding afterward is the harder way round, and the sharp inox edges will cut your hands the whole time.
-
03
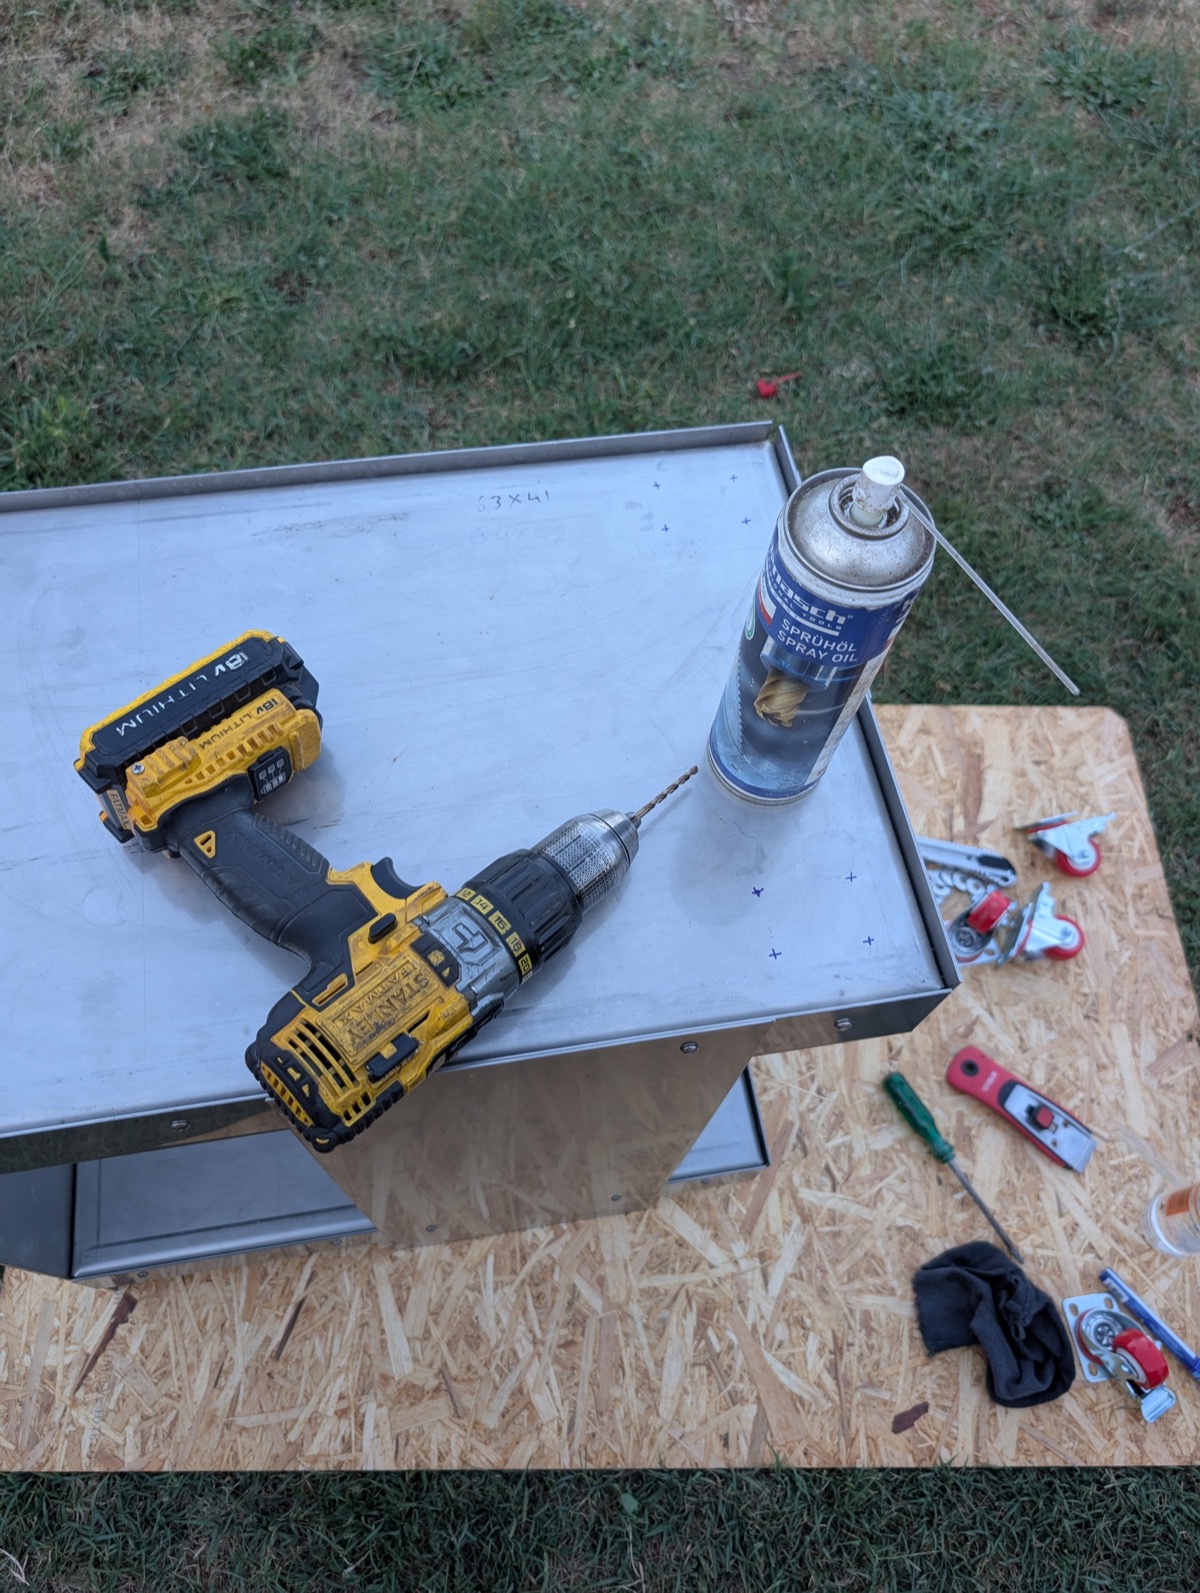
Drill slow, with pressure and oil, and listen to the bit
Stainless steel does not drill easily. Use bits made for it, a slow speed, firm steady pressure and cutting oil every time. If the bit starts to squeal instead of cut, it is dull, stop and swap it before it work-hardens the hole.
Other projects
Seven others-
 01
End-Grain Walnut & Beech Cutting Board
Walnut, beech, end grain
Jun 2023
↗
01
End-Grain Walnut & Beech Cutting Board
Walnut, beech, end grain
Jun 2023
↗
-
 02
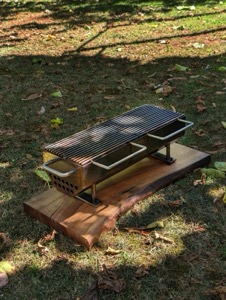
Hibachi-Style Table Grill
Steel, inox, walnut
Aug 2025
↗
02
Hibachi-Style Table Grill
Steel, inox, walnut
Aug 2025
↗
-
 04
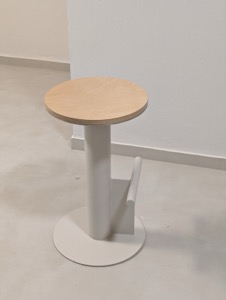
Minimal Barstool
Steel, plywood
Jan 2026
↗
04
Minimal Barstool
Steel, plywood
Jan 2026
↗
-
 05
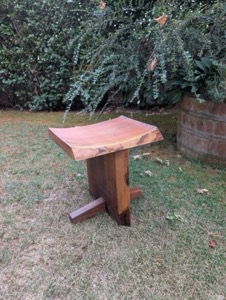
Walnut Stool
Walnut
Jan 2023
↗
05
Walnut Stool
Walnut
Jan 2023
↗
-
 06
My Clay Army
Clay
Spring 2026
↗
06
My Clay Army
Clay
Spring 2026
↗
-
 07
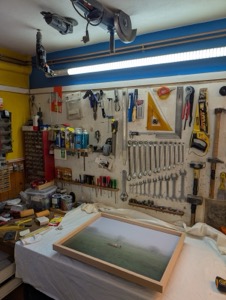
rpk.io Frames
Beech, glass
Spring 2024
↗
07
rpk.io Frames
Beech, glass
Spring 2024
↗
-
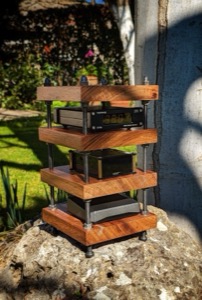 08
Mini Hi-Fi Rack
Walnut, galvanized bolts
Spring 2023
↗
08
Mini Hi-Fi Rack
Walnut, galvanized bolts
Spring 2023
↗