Hibachi-Style Table Grill
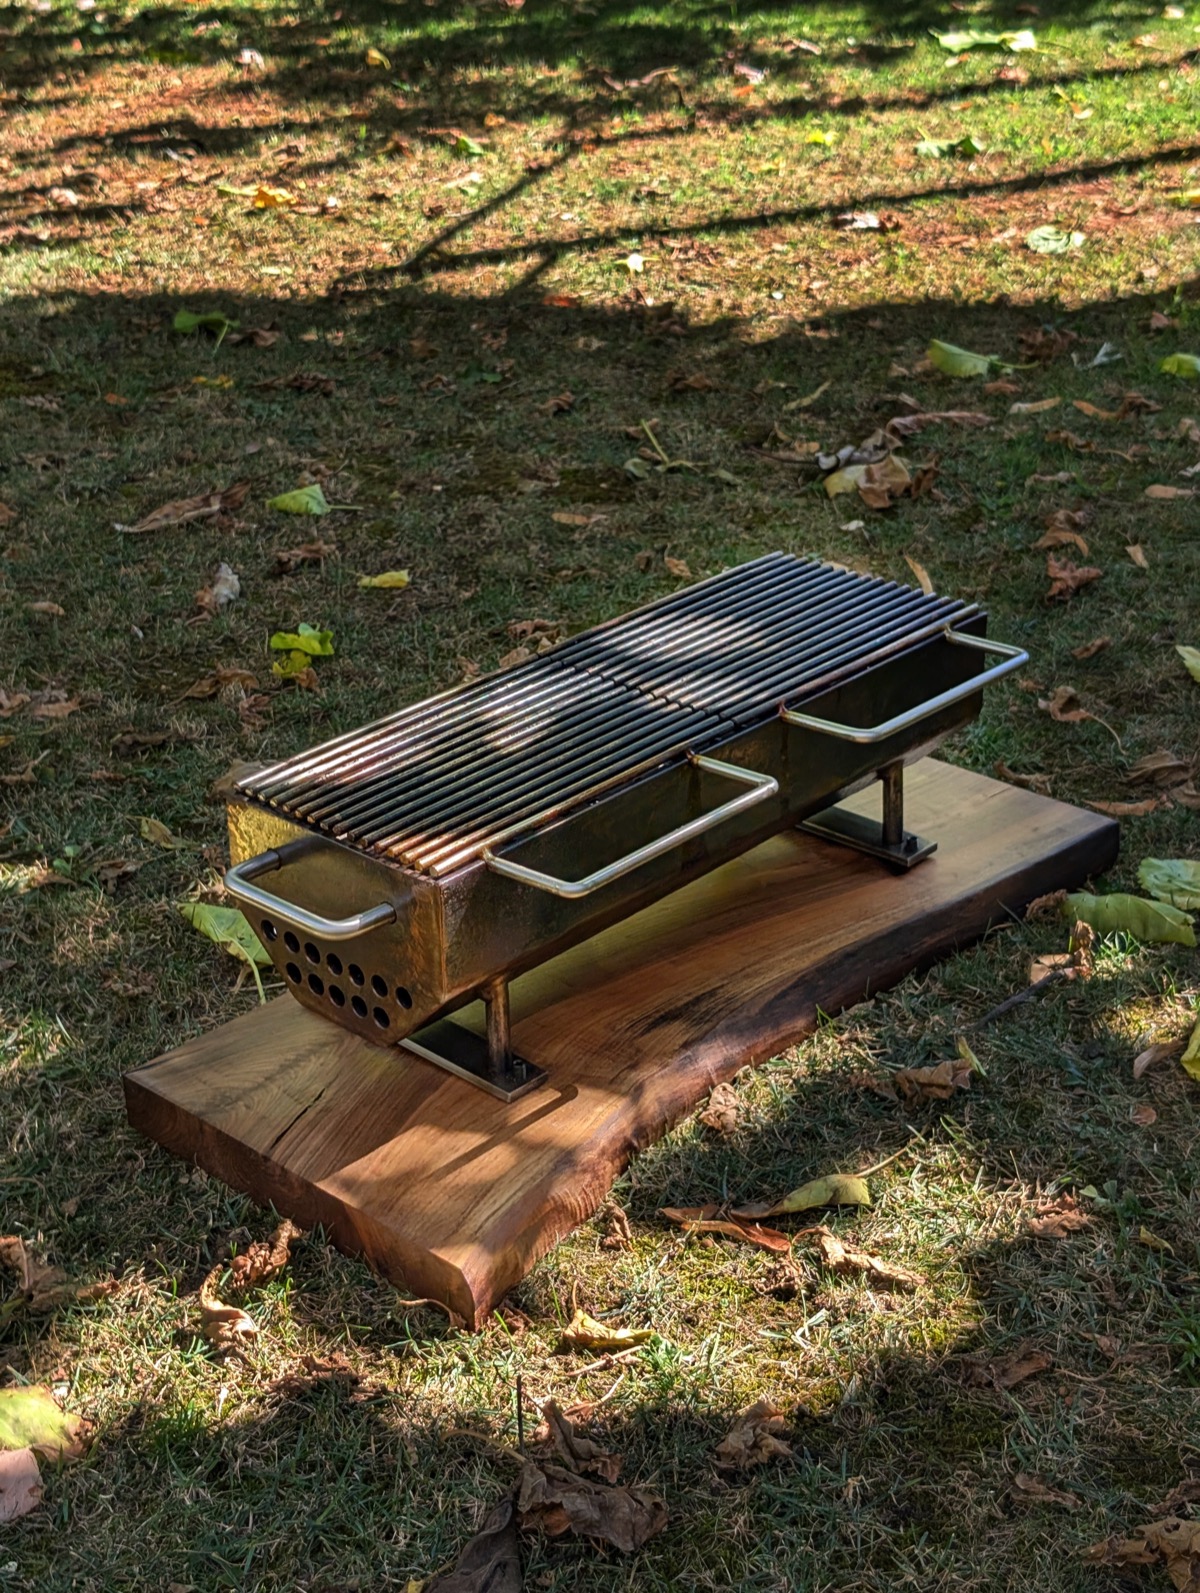
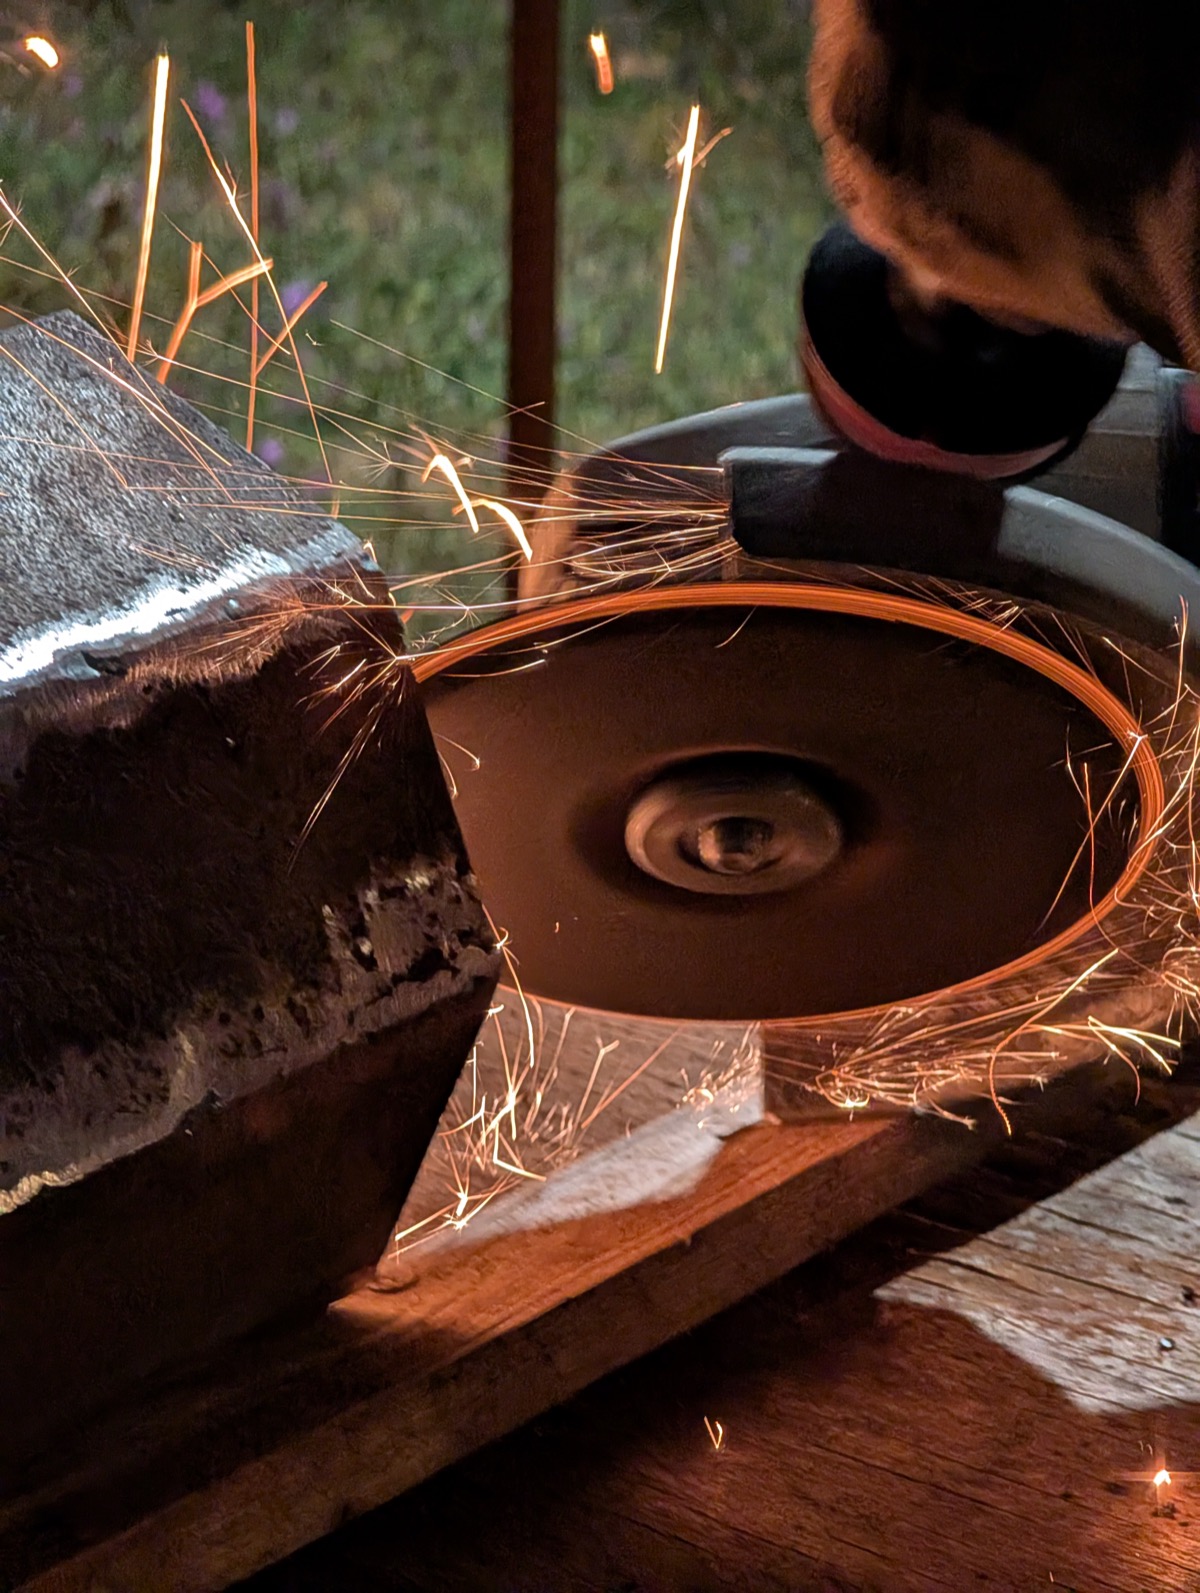
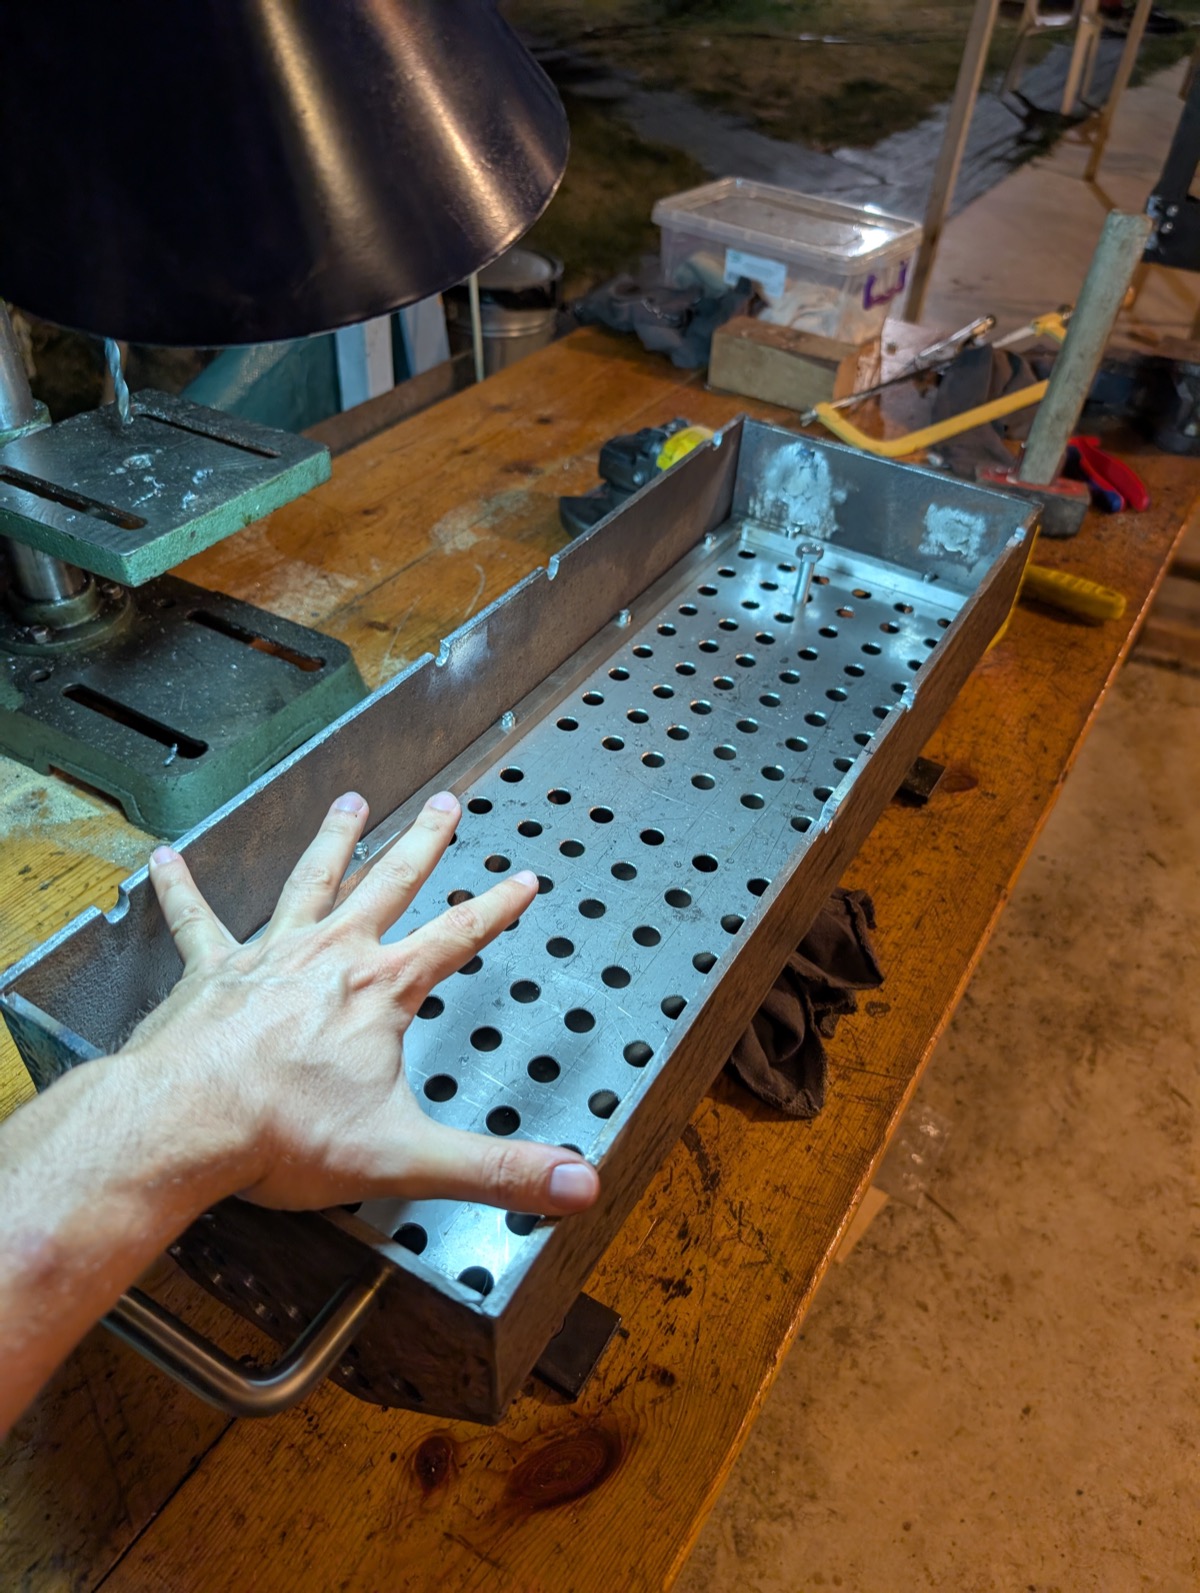
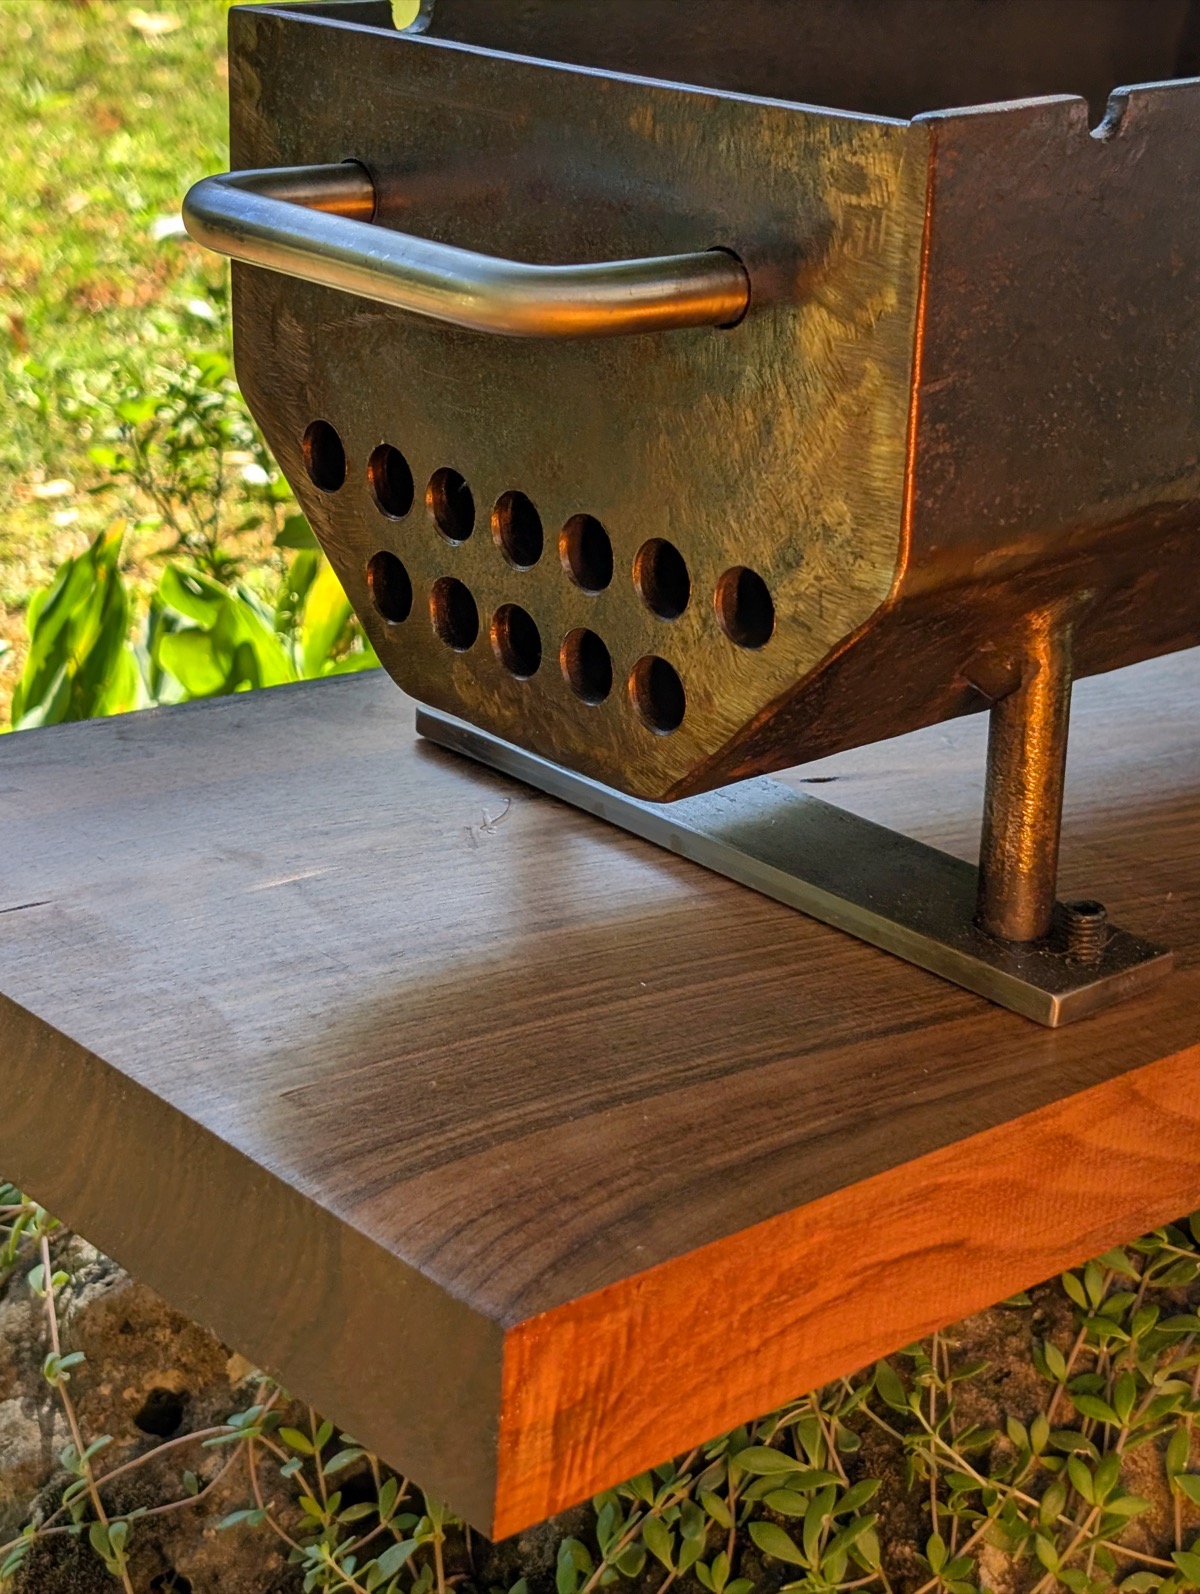
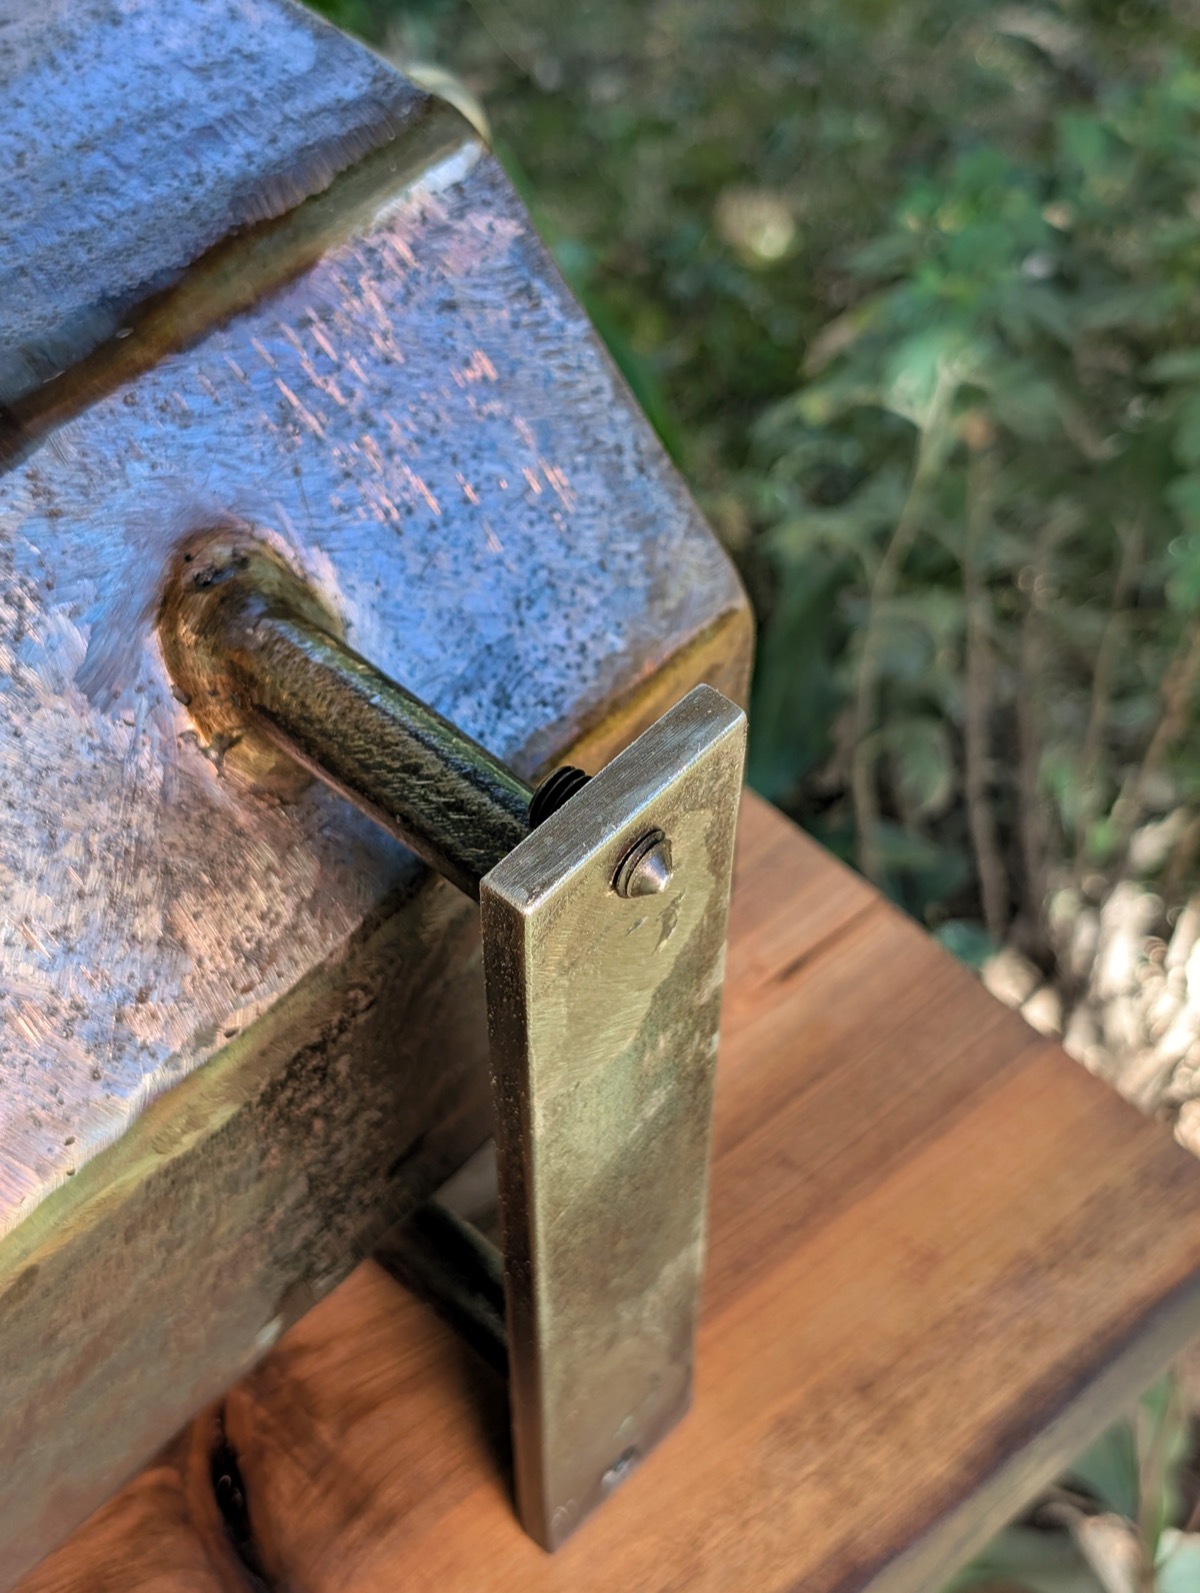
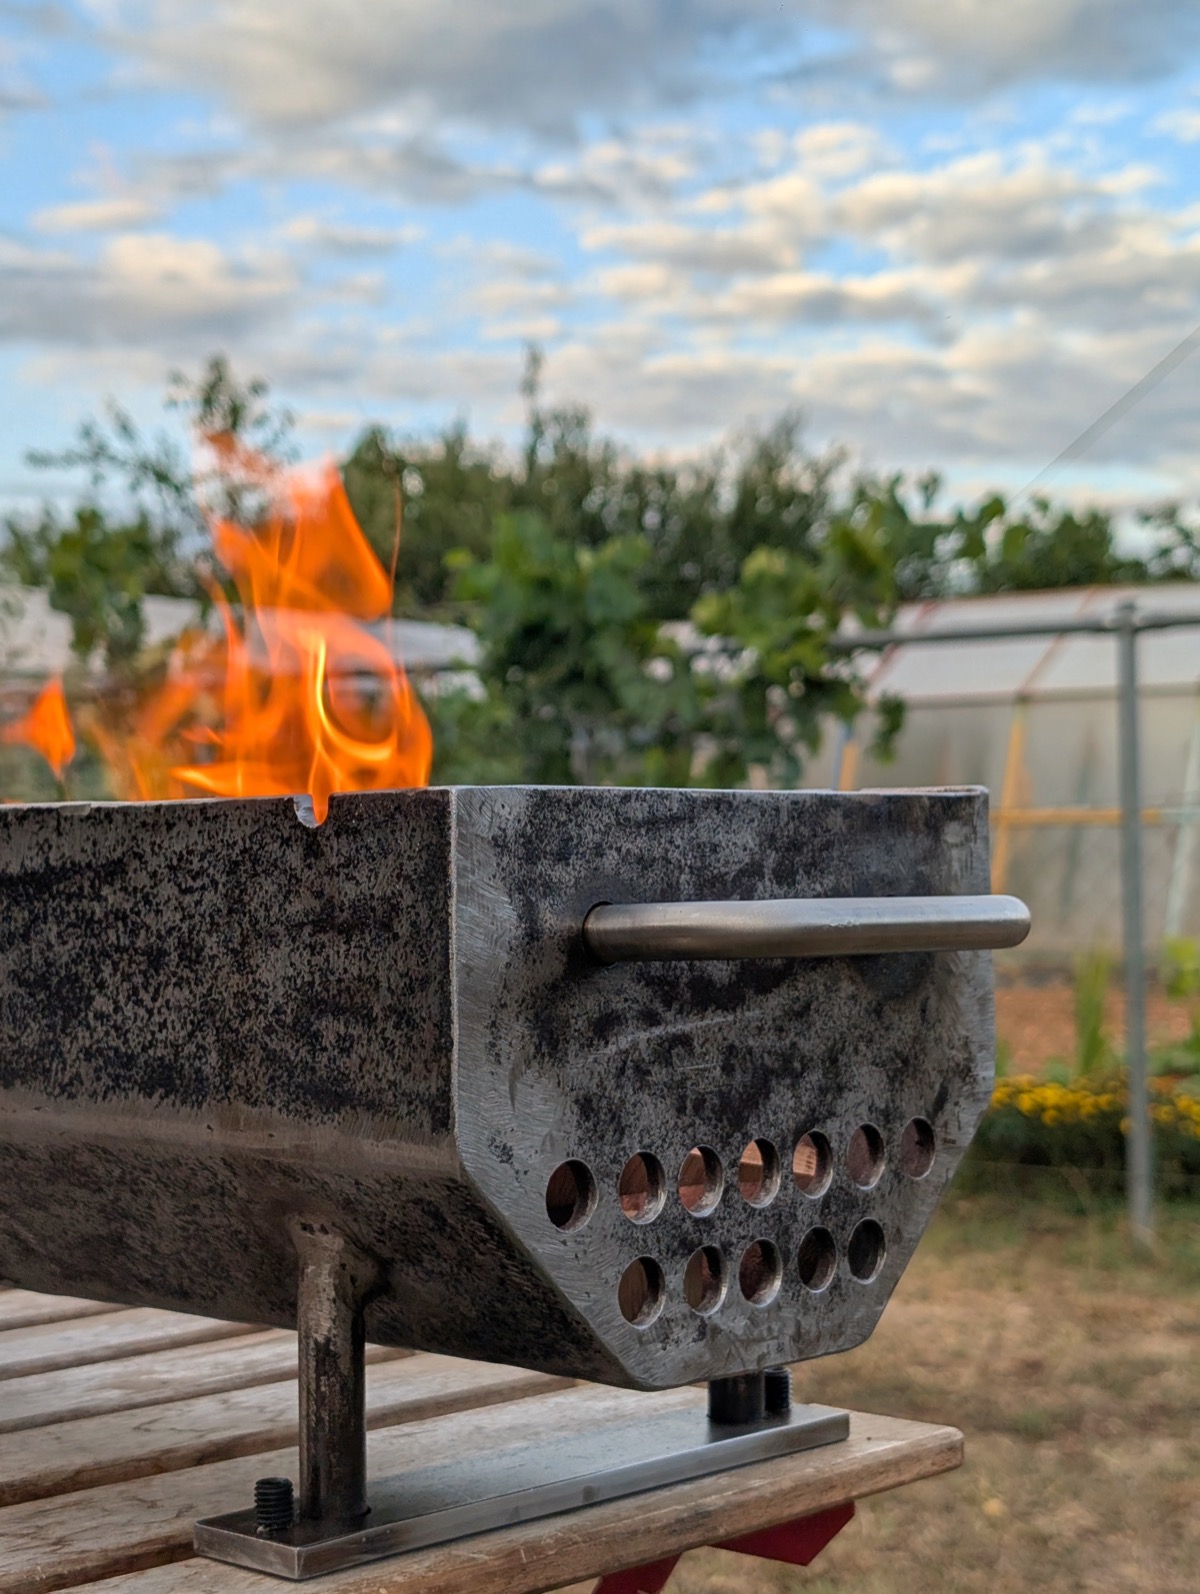
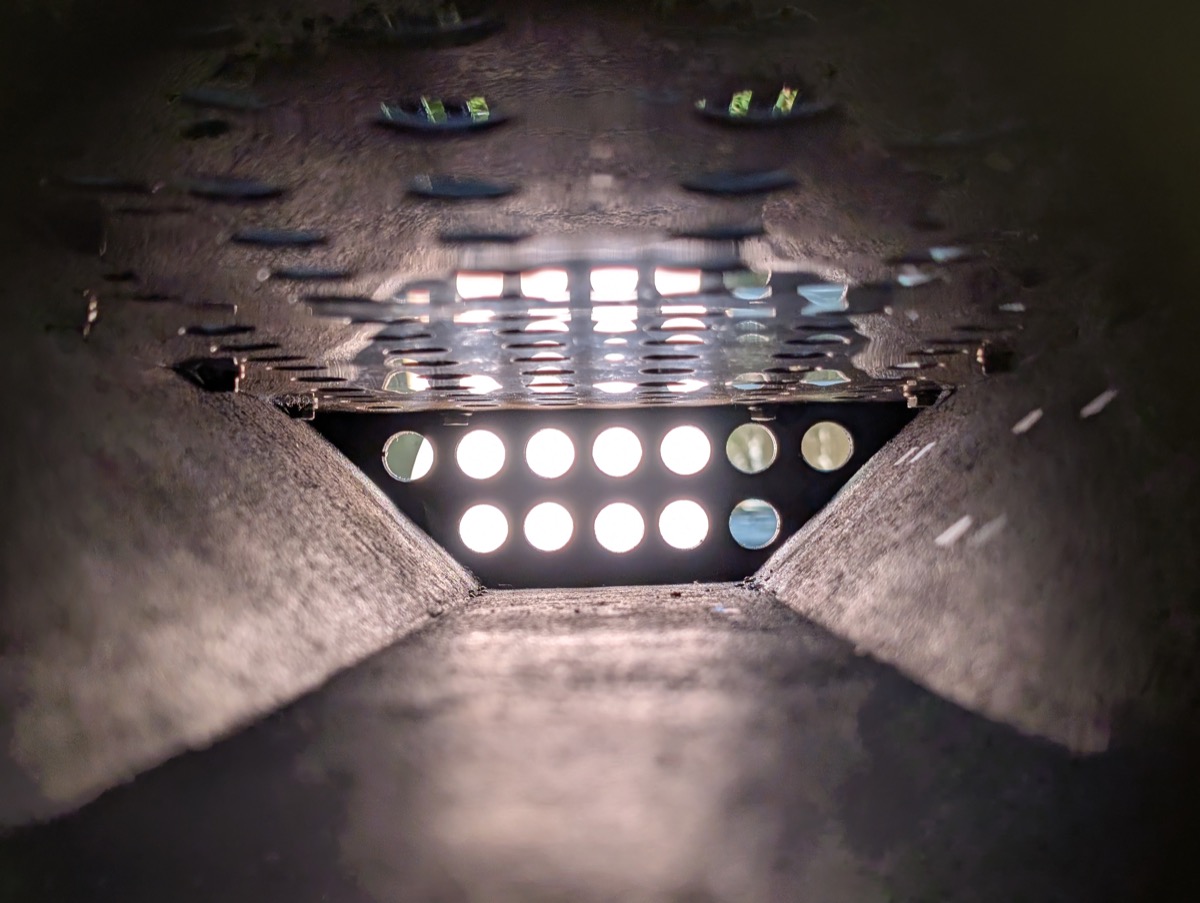
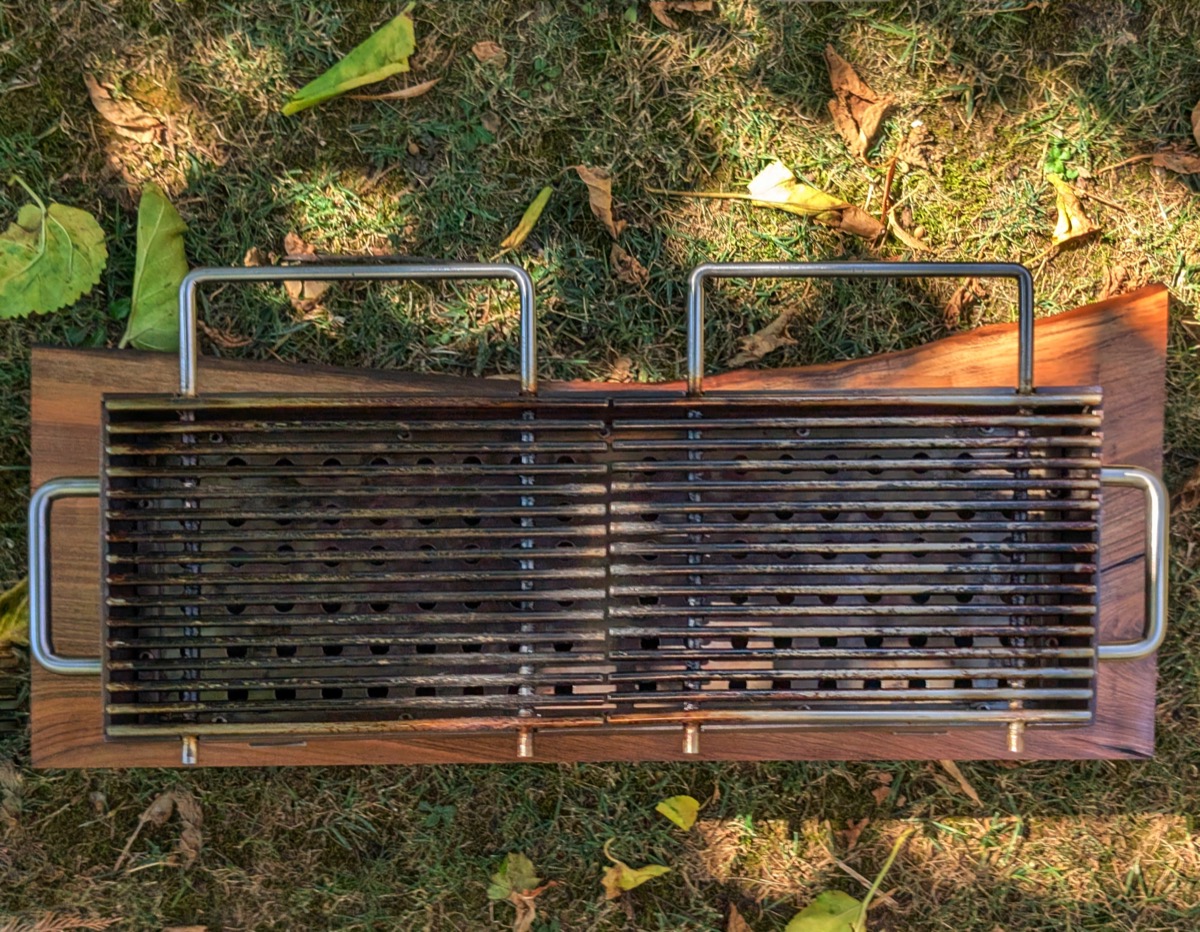
A heavy duty charcoal grill, built for genuinely high heat. The body is 6mm steel with airflow holes down the sides, standing on adjustable legs with slim tips so almost none of that heat reaches the counter underneath.
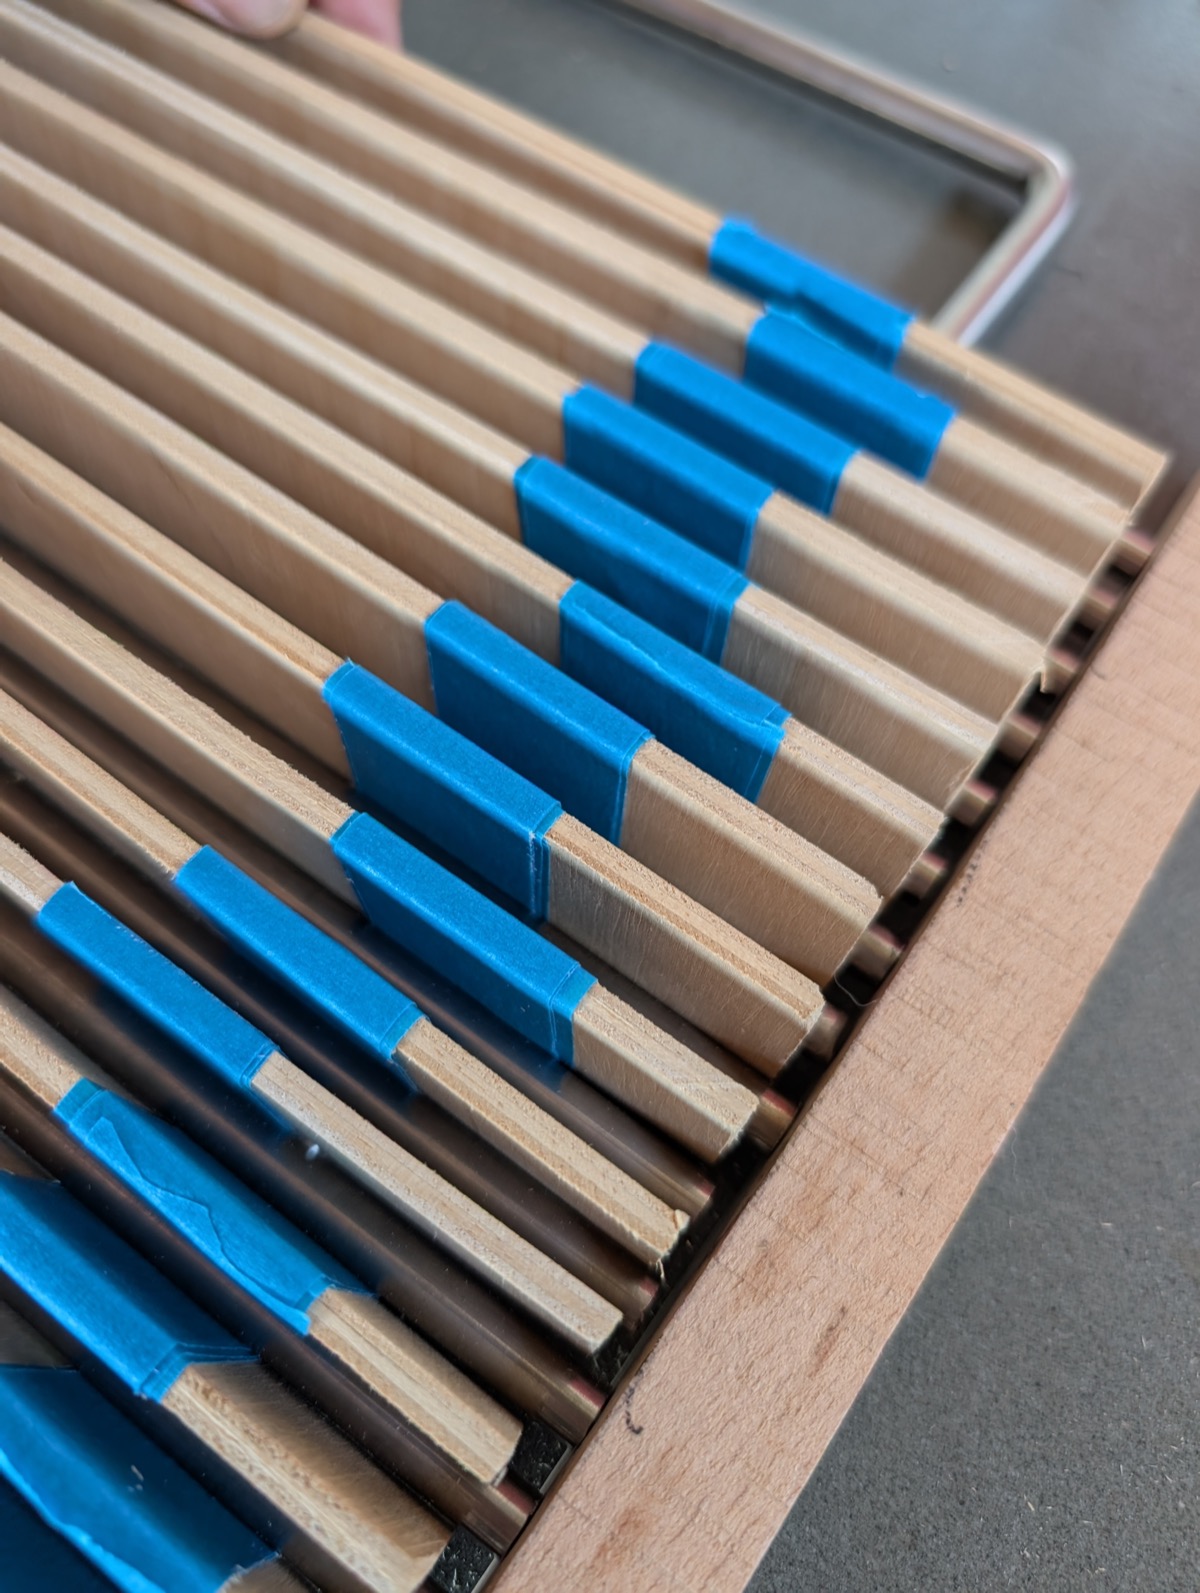
The grate is 8mm stainless steel rods, chosen for how well they hold heat and sear evenly. Inside, a stainless charcoal basket sits above the airflow holes, keeping the coals spaced correctly under the grate. It sits on a solid walnut base for safe handling.
- Materials
- 6mm steel body8mm stainless rods, walnut base
- Dimensions
- 610 × 220 × 210 mmWithout handles
- Time spent
- About a week
- Finish
- Body in heat-resistant clear varnishRods heated & seasoned with oil
The Process
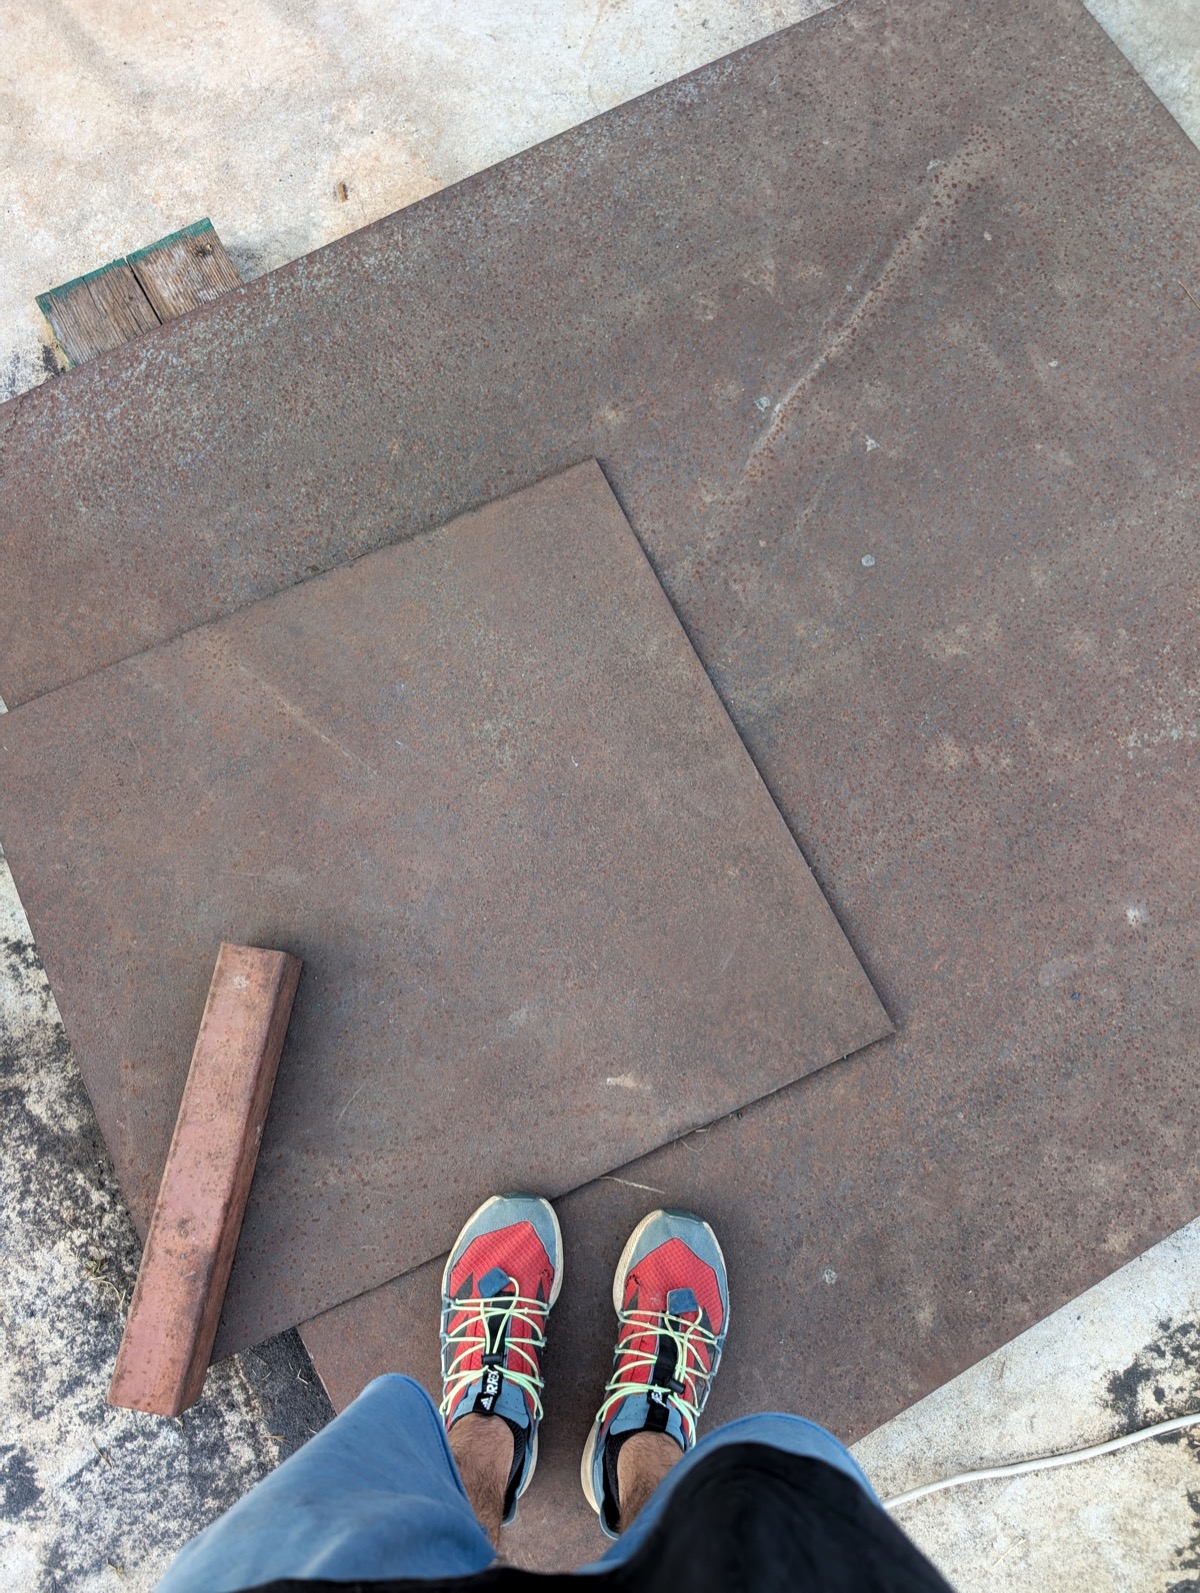
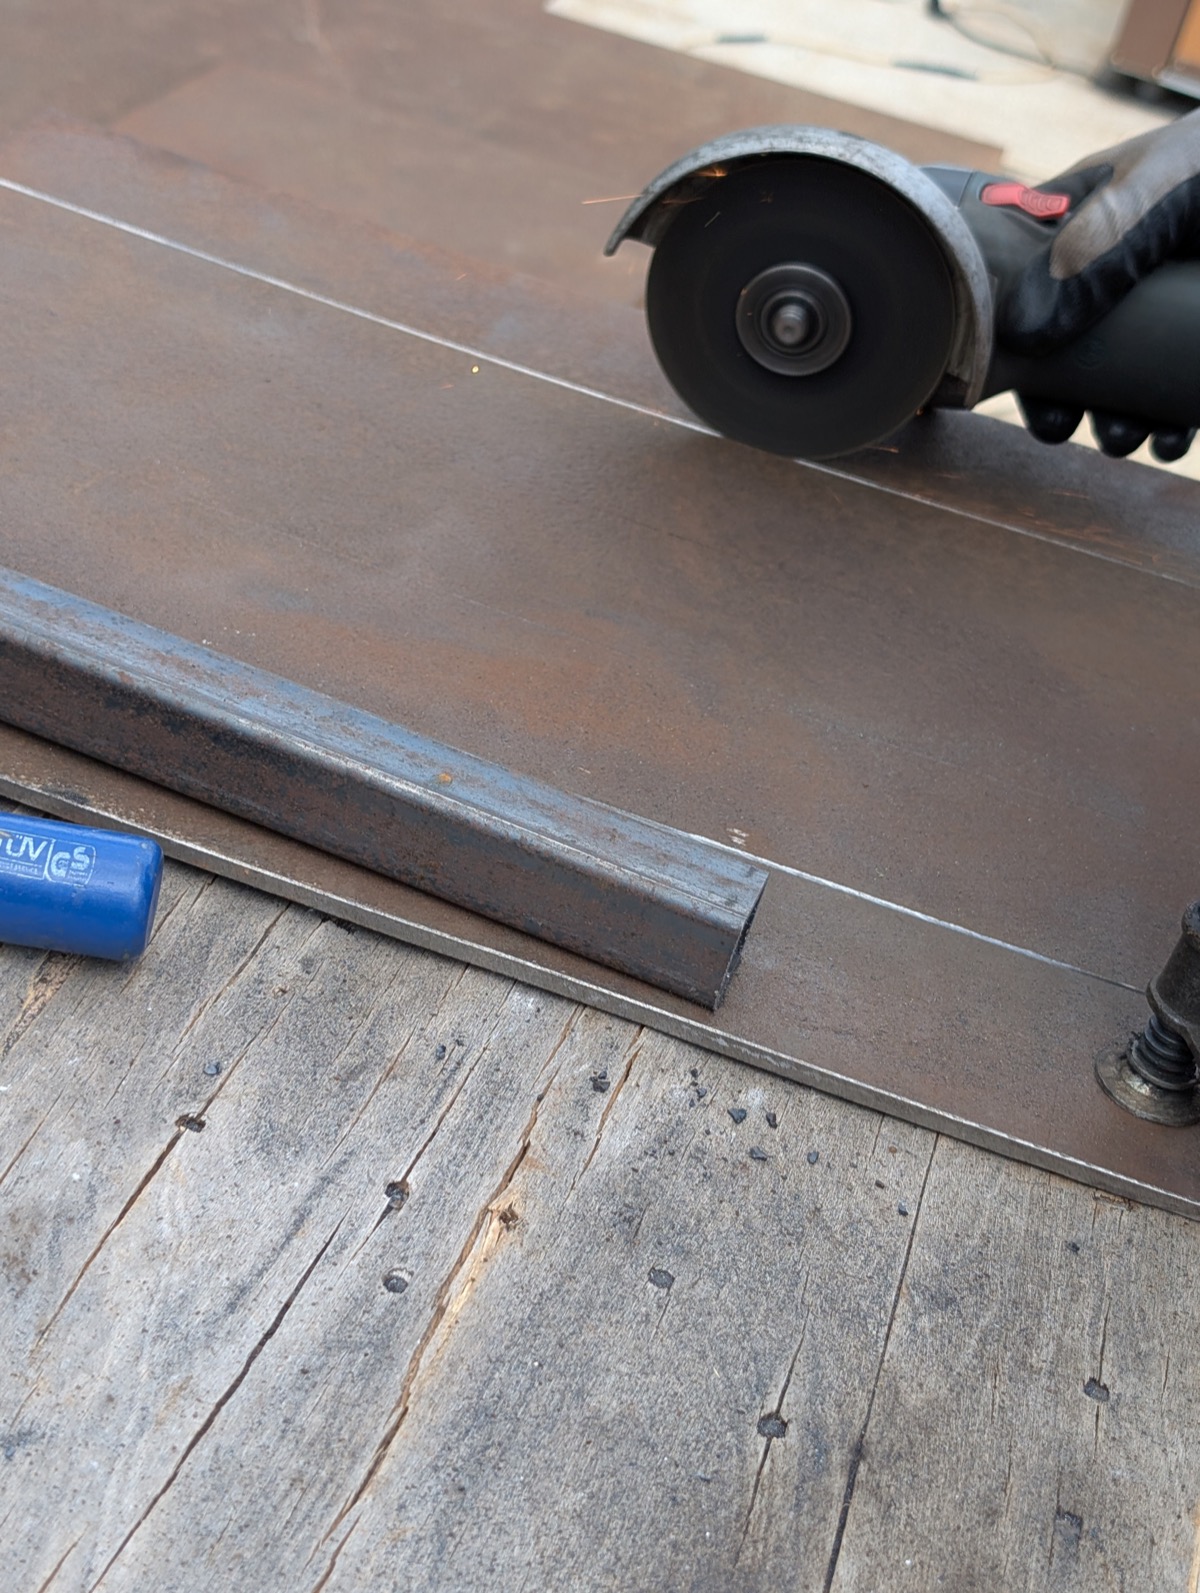
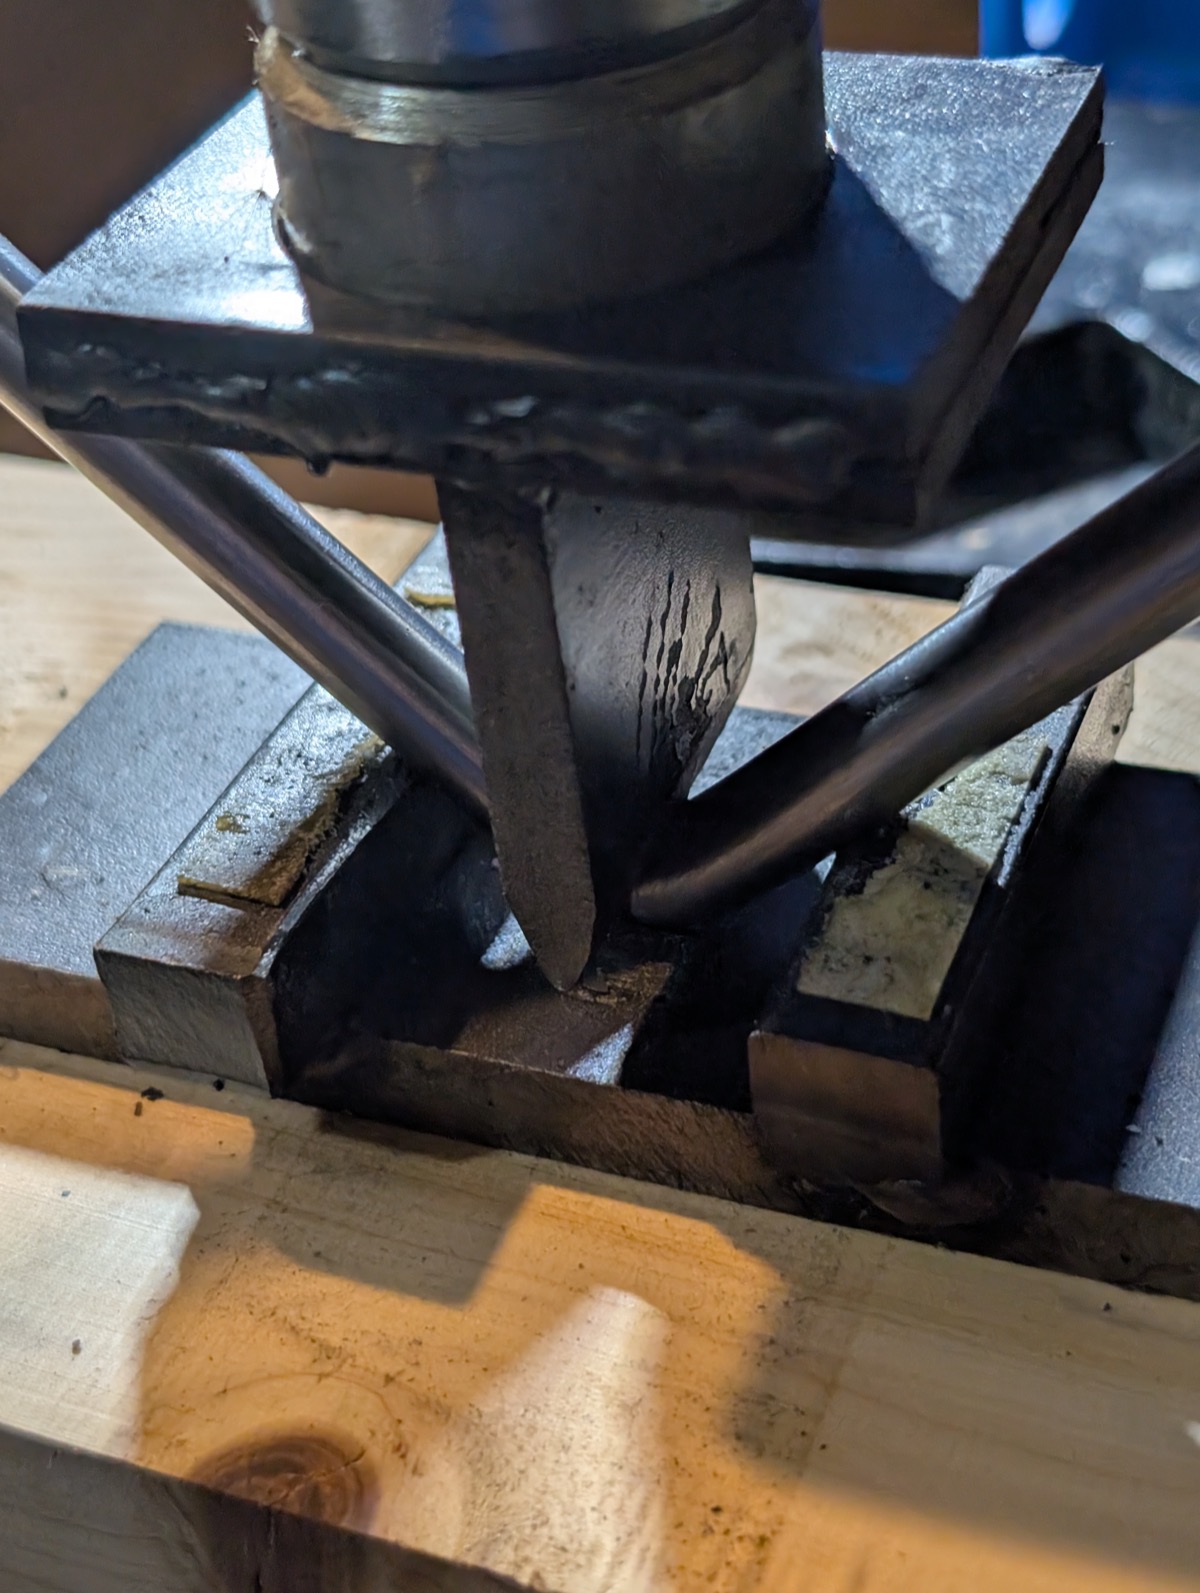
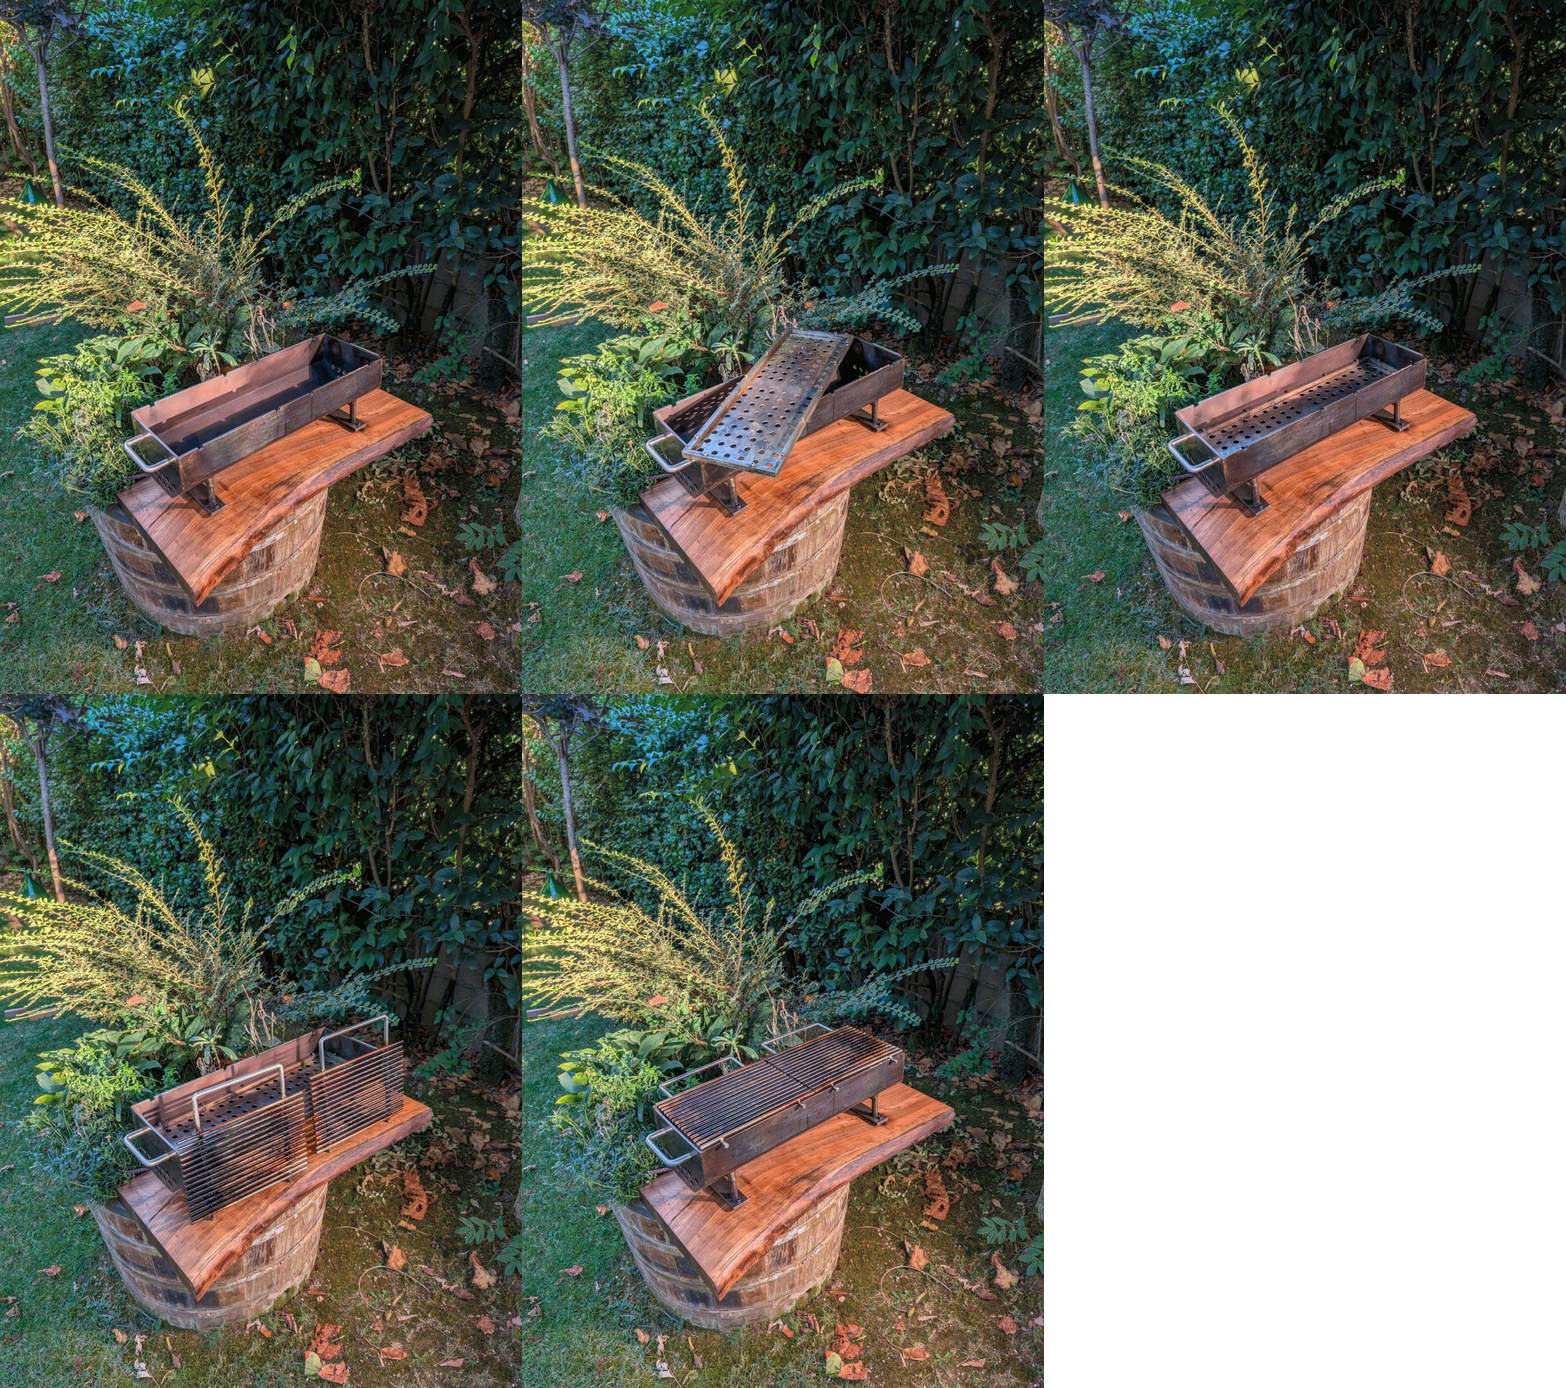
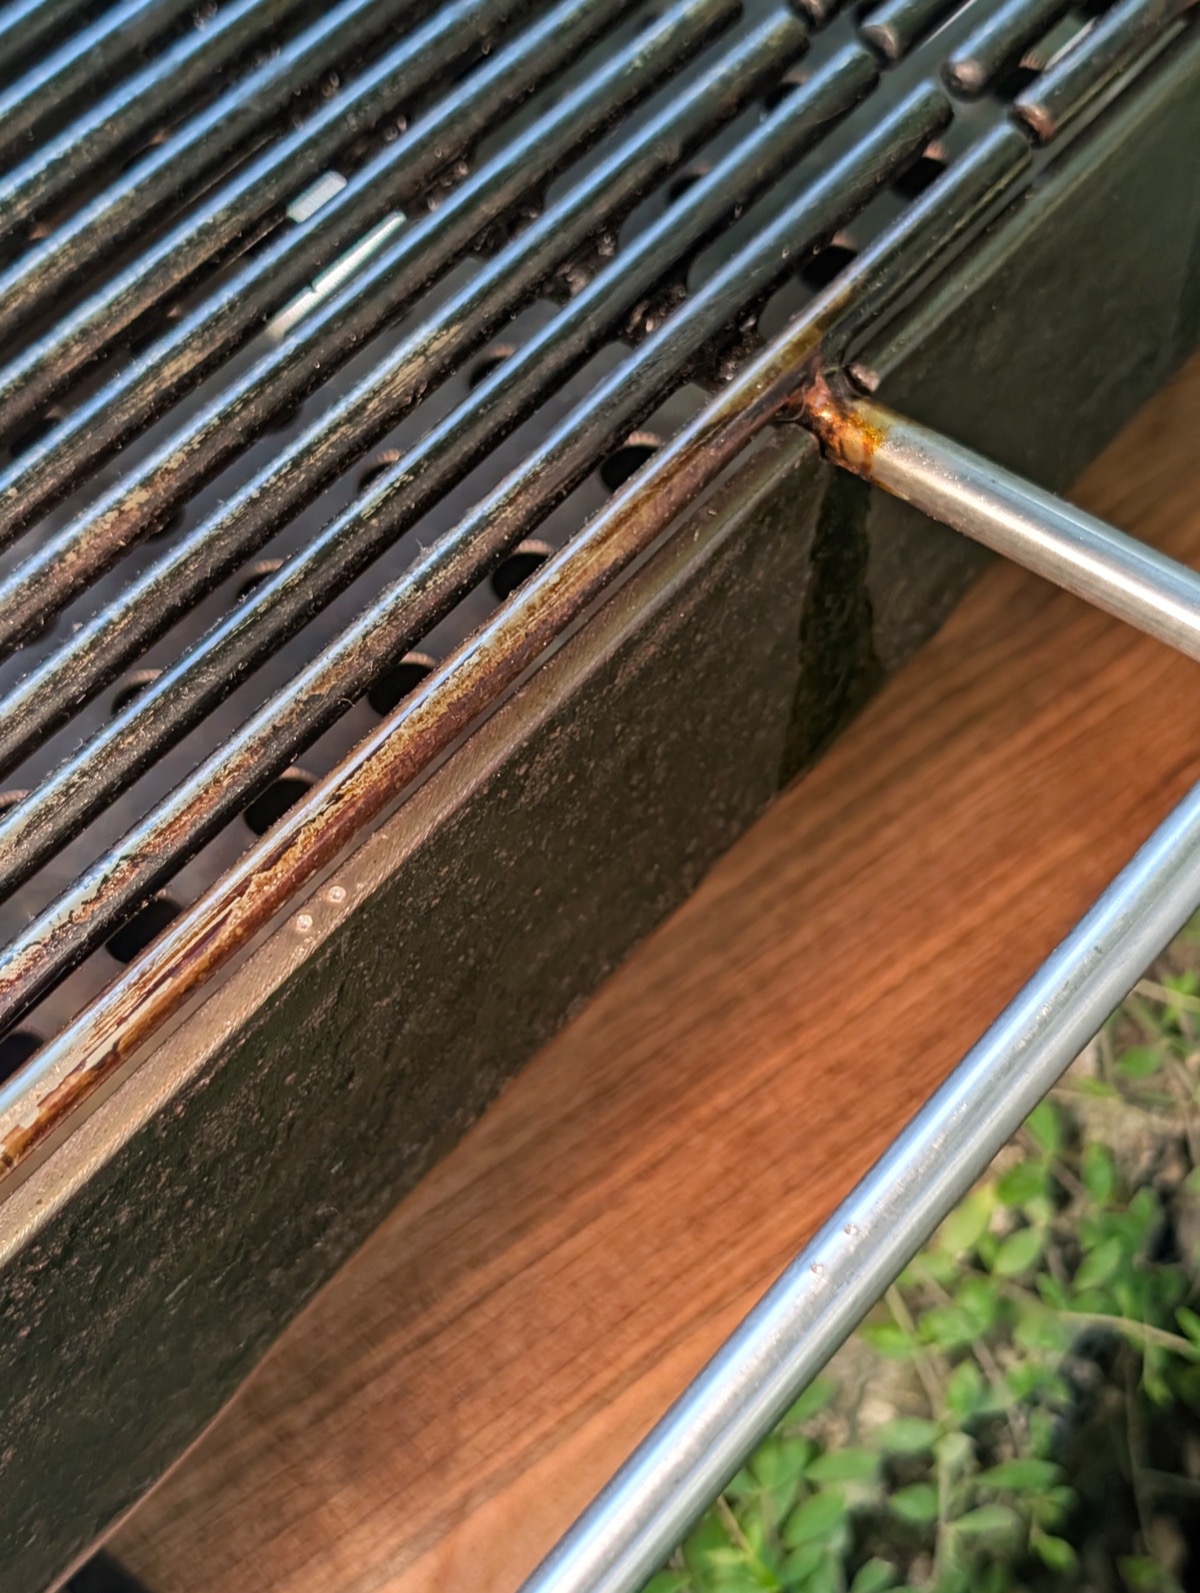
Tips &
Tricks
What I would tell someone building the same box tomorrow. Steel is less forgiving than wood and it remembers everything.
-
01
Prototype in cardboard first
Cut a prototype from an old box before touching any steel. It gives you a clear read on the real dimensions, and whether the shape actually suits your needs and fits your countertop.
-
02
Fold the end panels, do not weld them up from plates
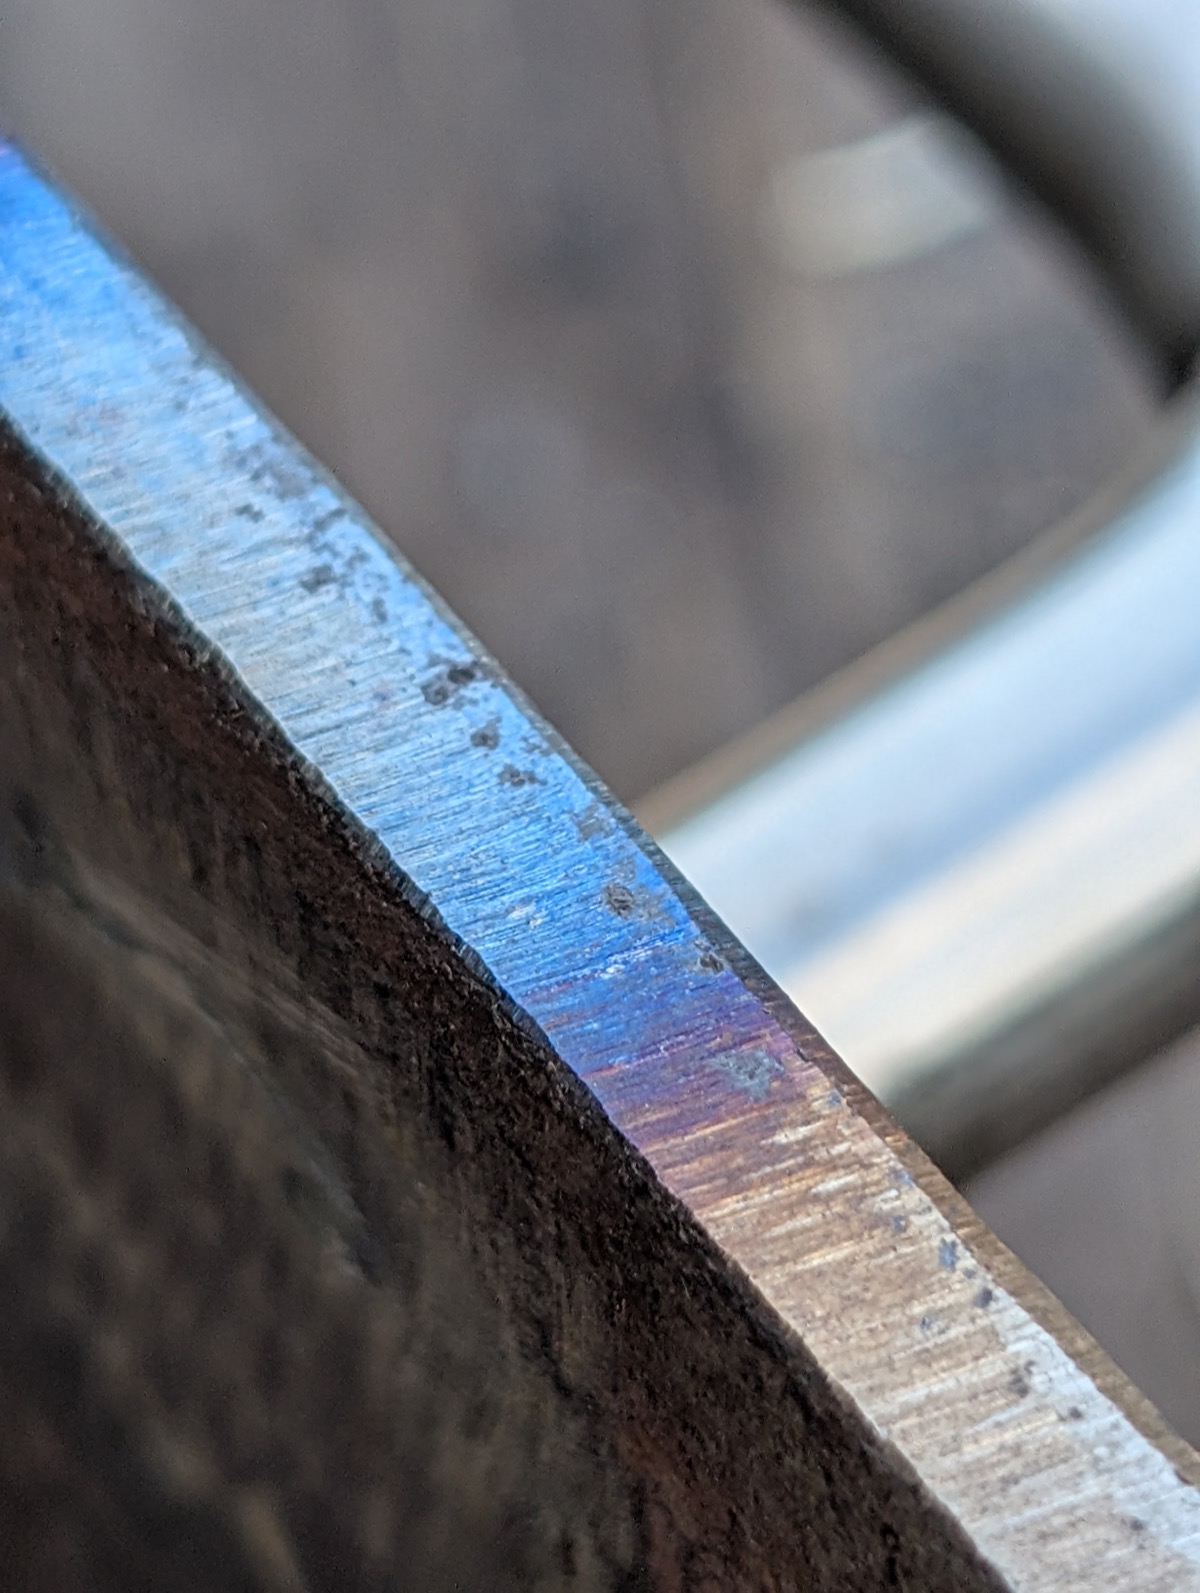
To get the five-sided end panel out of the octagon, do not cut the steel all the way through. Cut about two thirds of the way, then bend it. Weld carefully along the whole cut afterward.
-
03
Space the grill rods with wood spacers, and get help
Spacing the rods evenly is genuinely difficult. Cut spacers from wood, with the thickness worked out from the grill area you want. Do it with two people and take your time, it is one of the most important parts of the build.
-
04
Drill the airflow holes before the end panel is attached
Do not make the mistake I did. Drill the airflow holes while the five-sided end panel is still off the main body, not after. Use a bench drill, step up through multiple bit sizes from small to the final size, and always drill with oil.
-
05
Steel and stainless: slow speed, steady pressure
For drilling both steel and stainless steel, use a slow speed with firm, steady feed pressure.
Other projects
Seven others-
 01
End-Grain Walnut & Beech Cutting Board
Walnut, beech, end grain
Jun 2023
↗
01
End-Grain Walnut & Beech Cutting Board
Walnut, beech, end grain
Jun 2023
↗
-
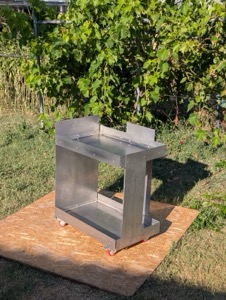 03
Lager Trolley
Stainless steel
Jun 2026
↗
03
Lager Trolley
Stainless steel
Jun 2026
↗
-
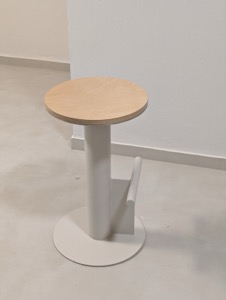 04
Minimal Barstool
Steel, plywood
Jan 2026
↗
04
Minimal Barstool
Steel, plywood
Jan 2026
↗
-
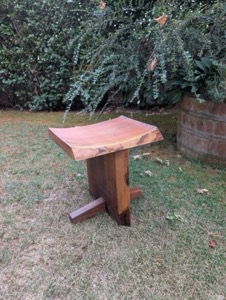 05
Walnut Stool
Walnut
Jan 2023
↗
05
Walnut Stool
Walnut
Jan 2023
↗
-
 06
My Clay Army
Clay
Spring 2026
↗
06
My Clay Army
Clay
Spring 2026
↗
-
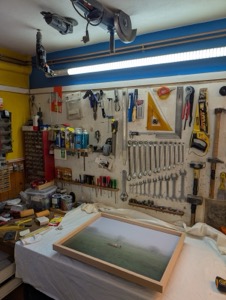 07
rpk.io Frames
Beech, glass
Spring 2024
↗
07
rpk.io Frames
Beech, glass
Spring 2024
↗
-
 08
Mini Hi-Fi Rack
Walnut, galvanized bolts
Spring 2023
↗
08
Mini Hi-Fi Rack
Walnut, galvanized bolts
Spring 2023
↗