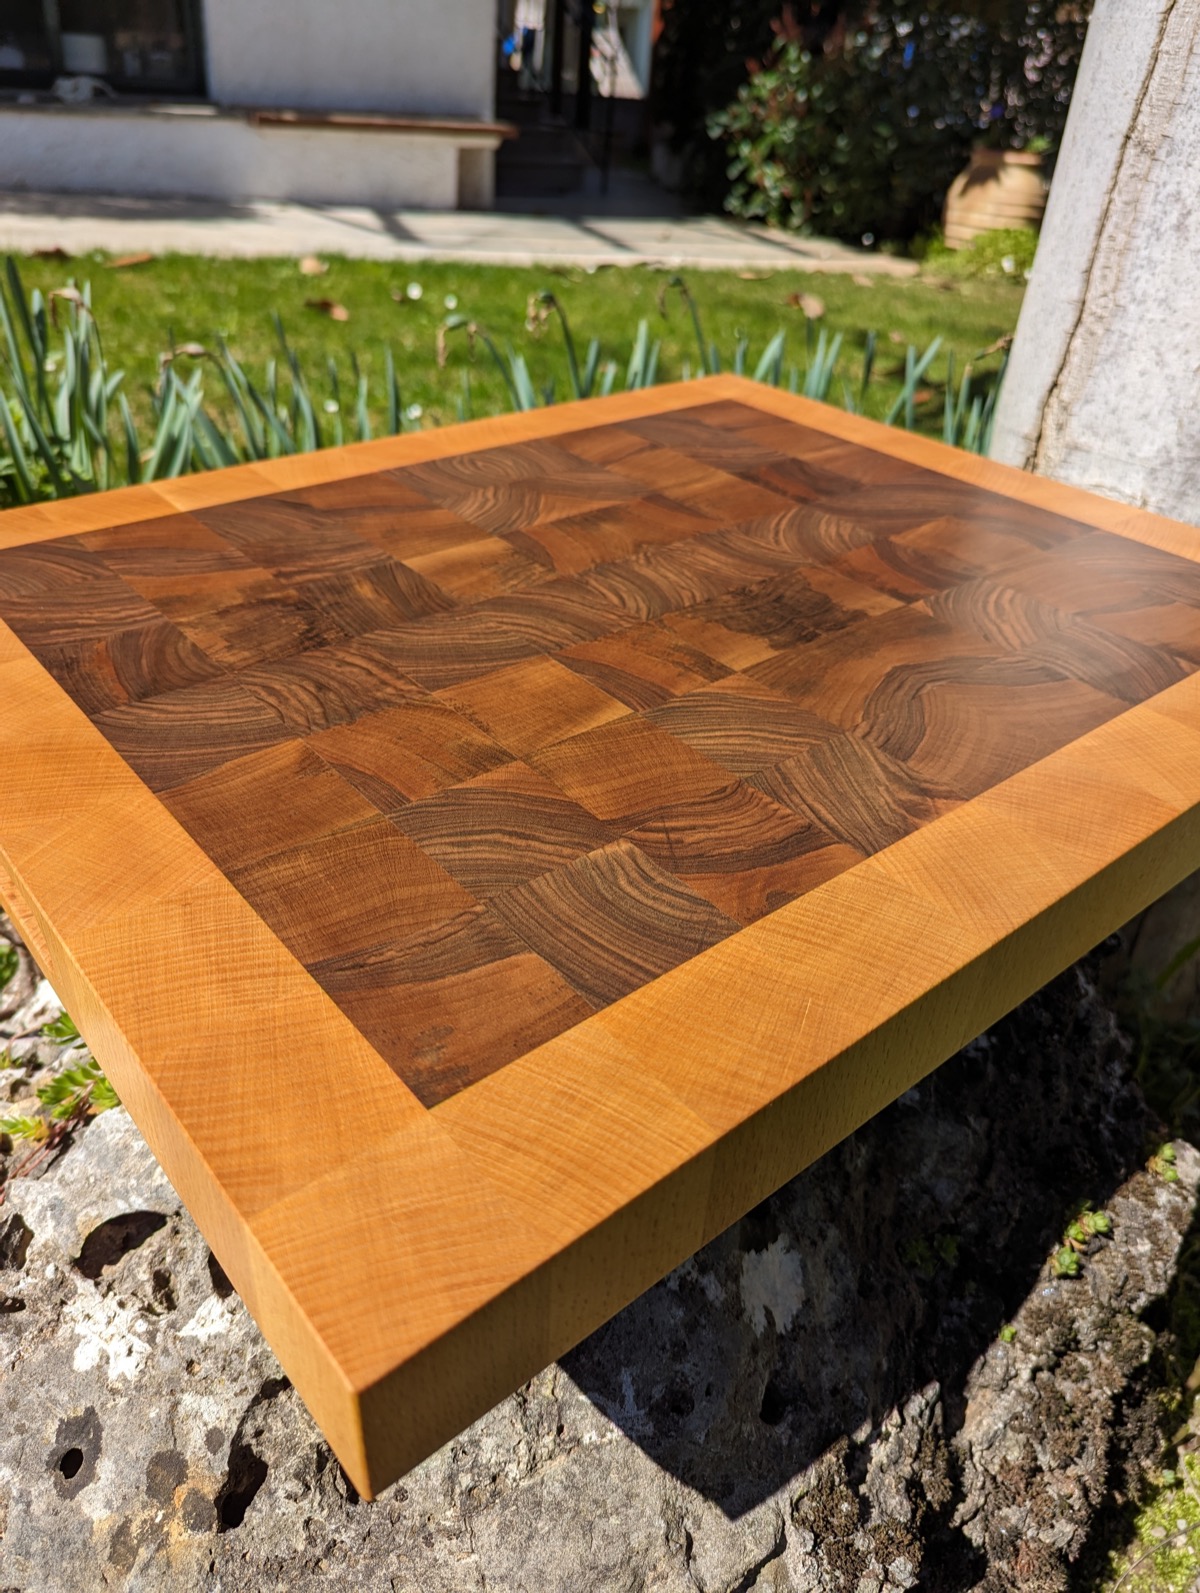
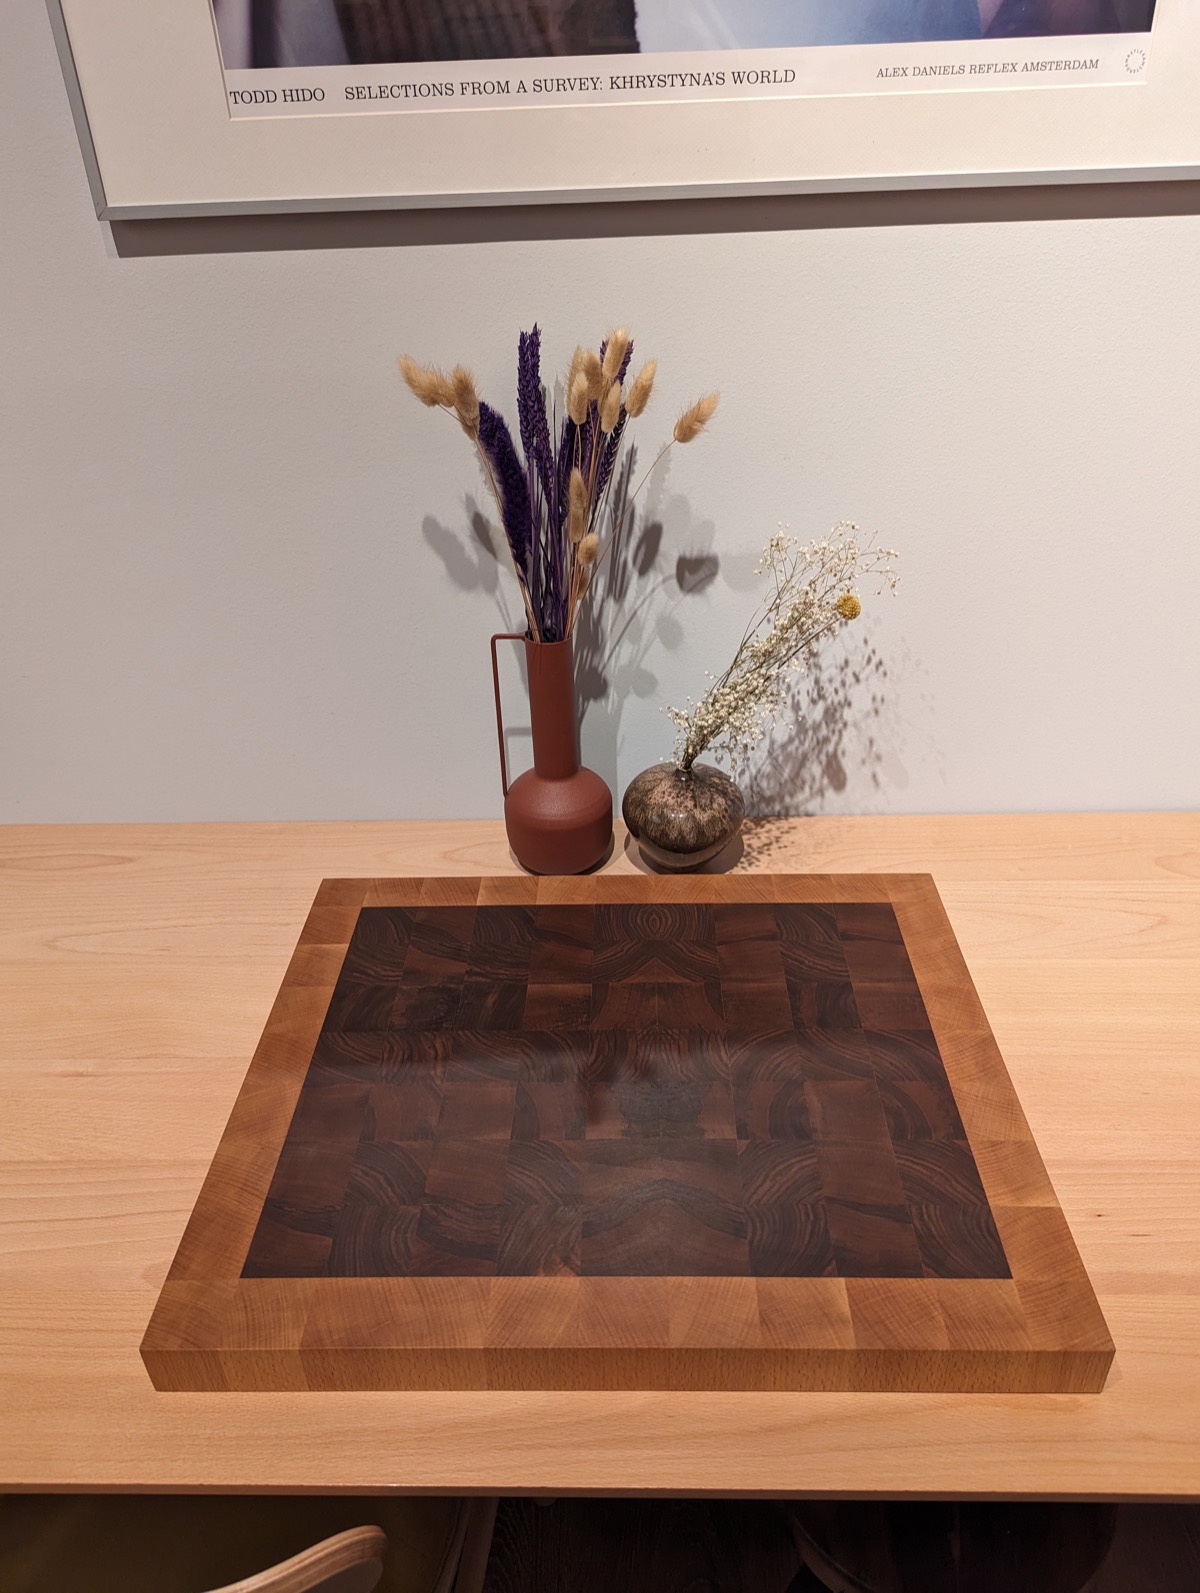
End-Grain Walnut & Beech Cutting Board
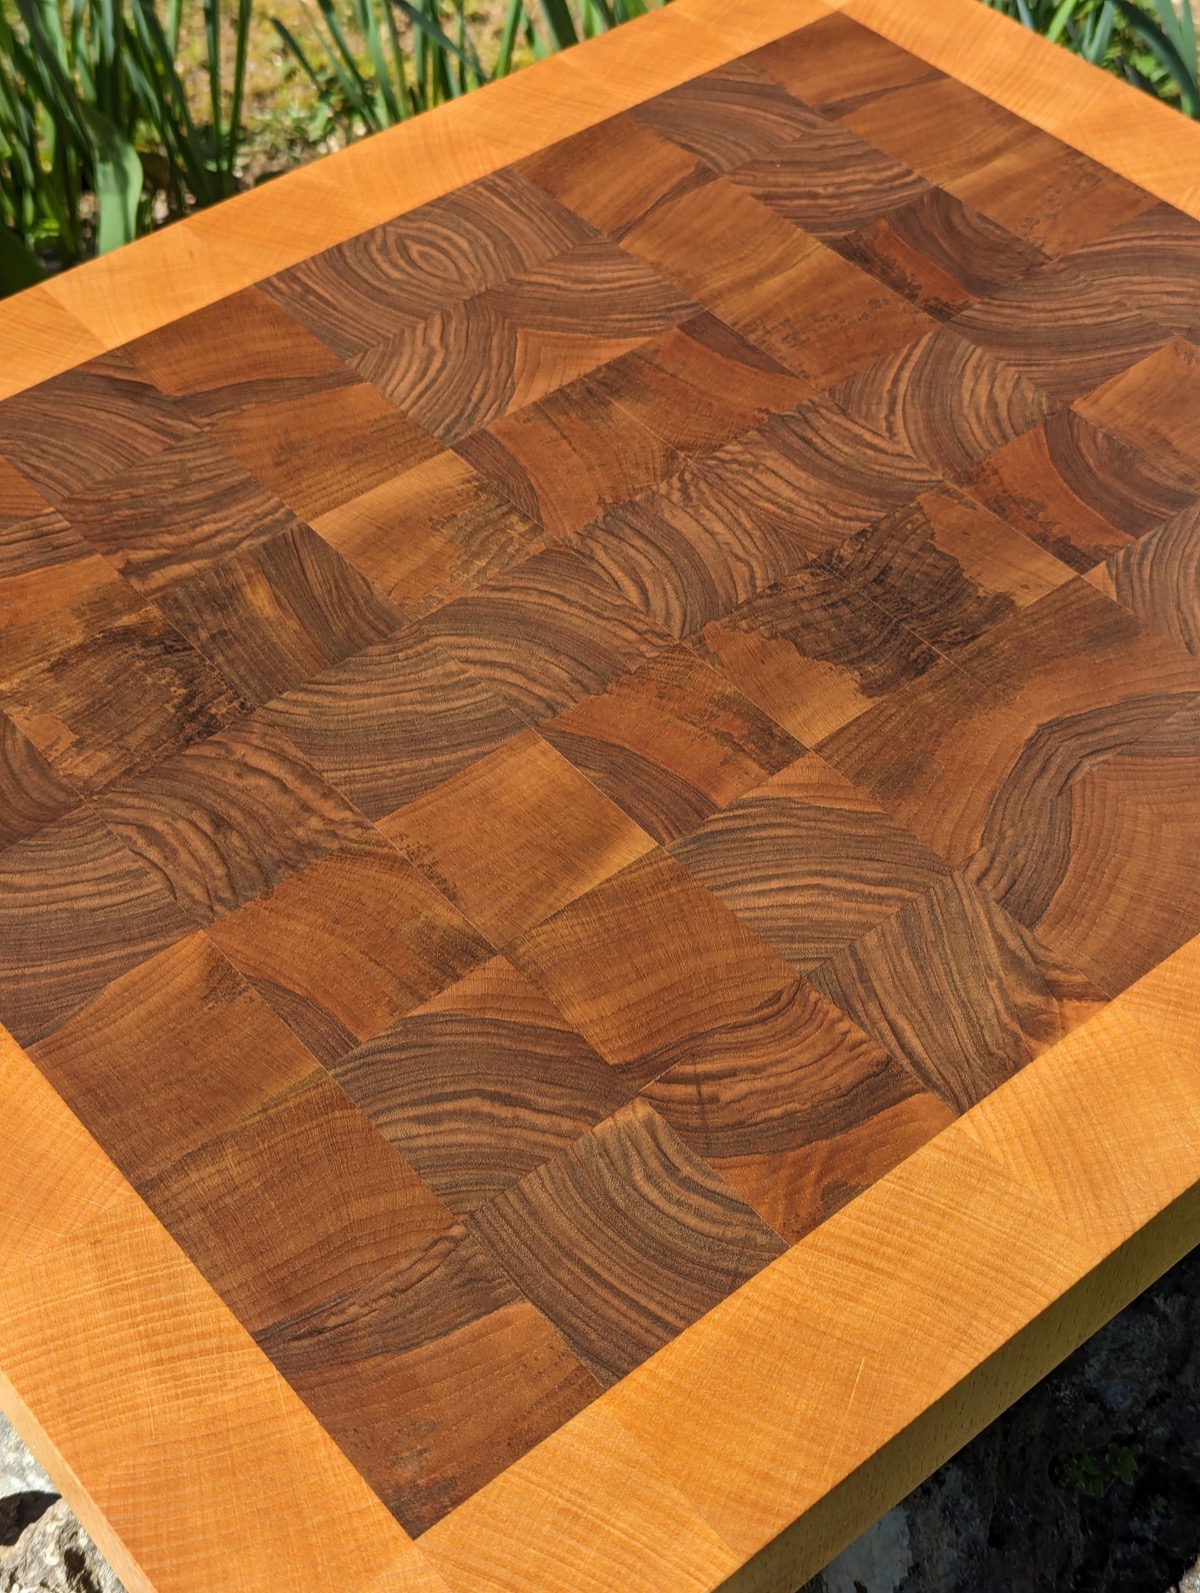
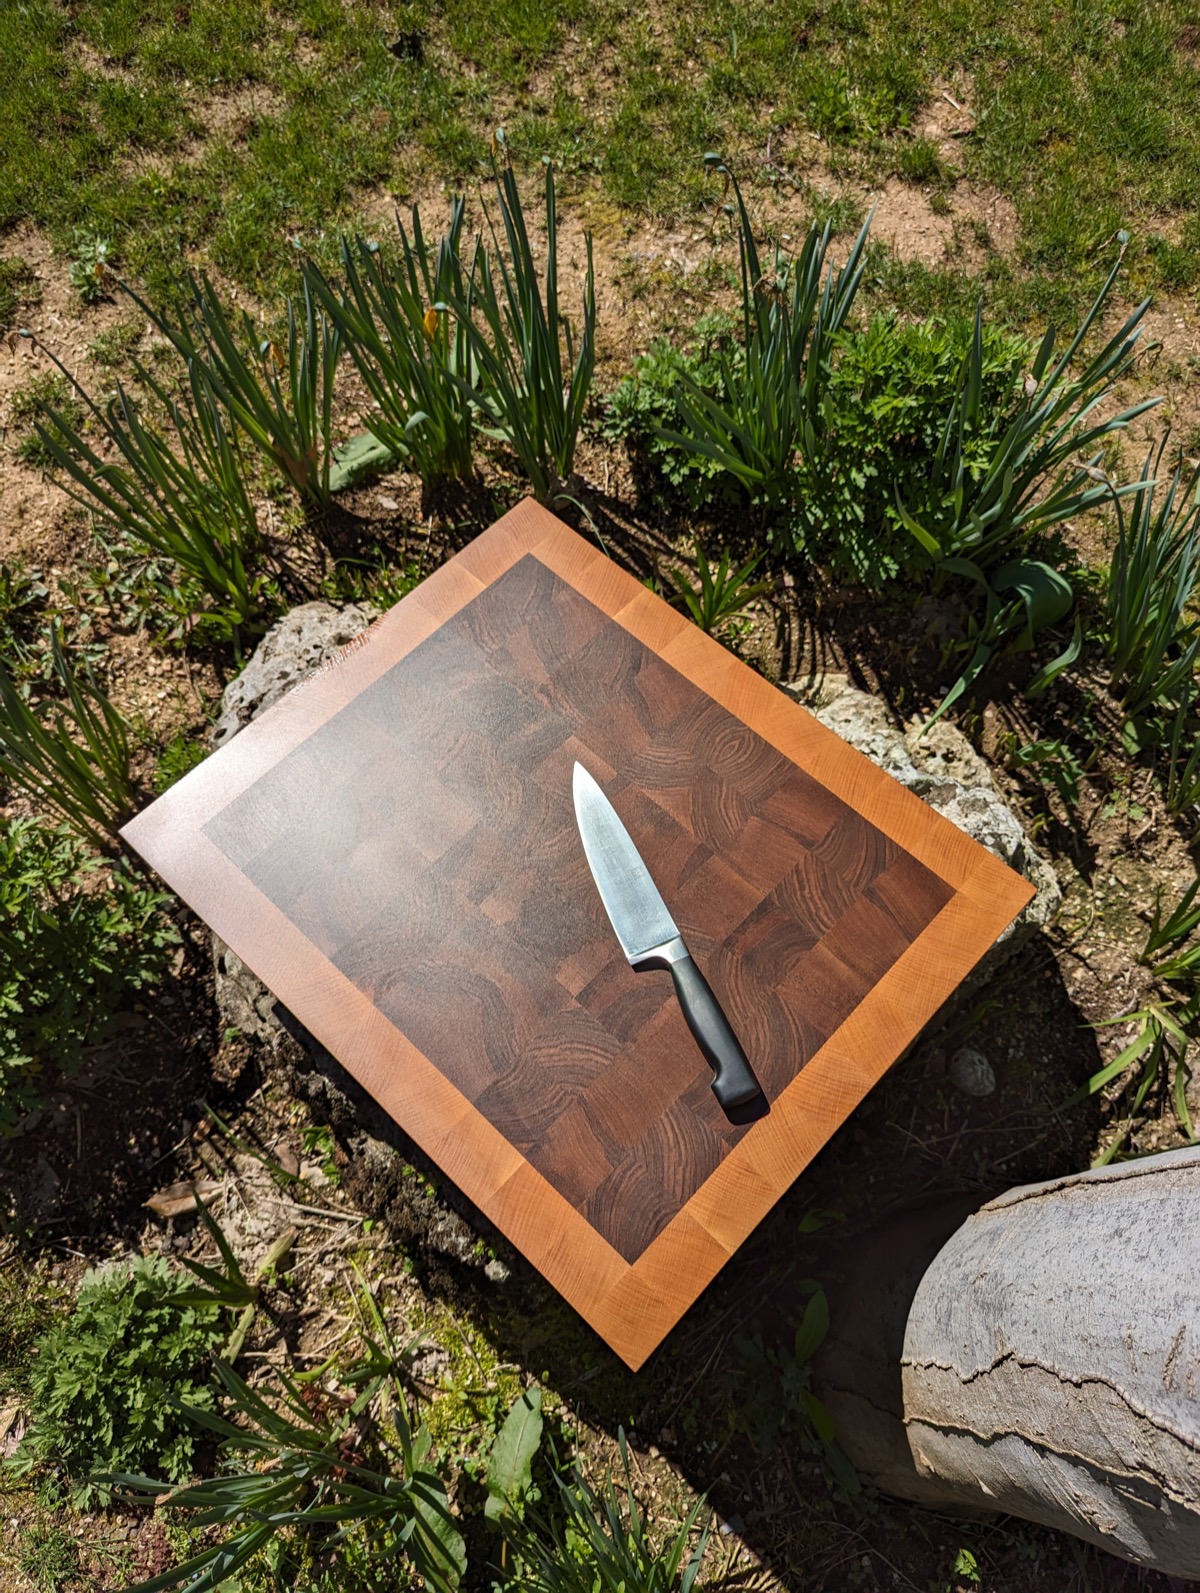
A cutting board glued up end grain from solid walnut and beech. In use it has proven both durable and kind to a knife edge, the whole point of building it end grain in the first place.
Glued with food safe Titebond Ultimate III wood glue, then finished with two coats of natural tung oil and a pass of Victorinox wax.
- Materials
- Walnut, beechTitebond Ultimate III wood glue
- Dimensions
- 570 × 470 × 45 mm
- Time spent
- 30+ hours
- Finish
- Two coats natural tung oilFinished with Victorinox wax
The Process
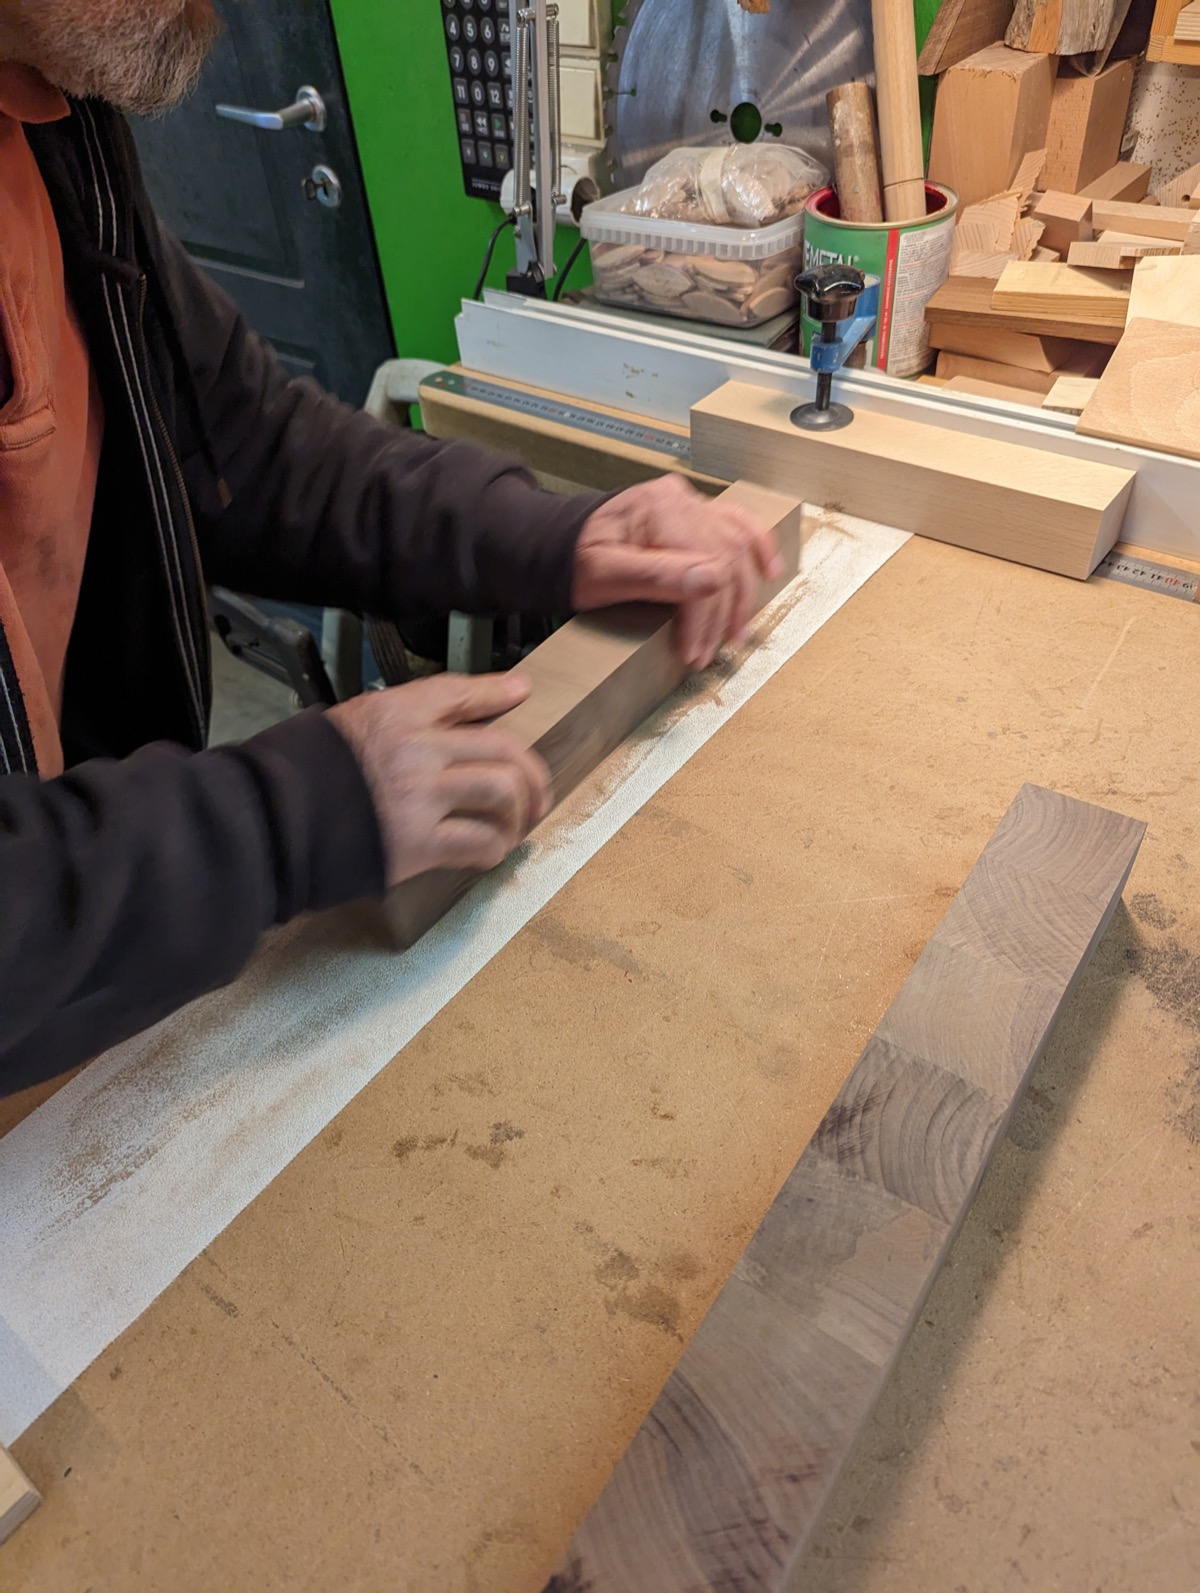
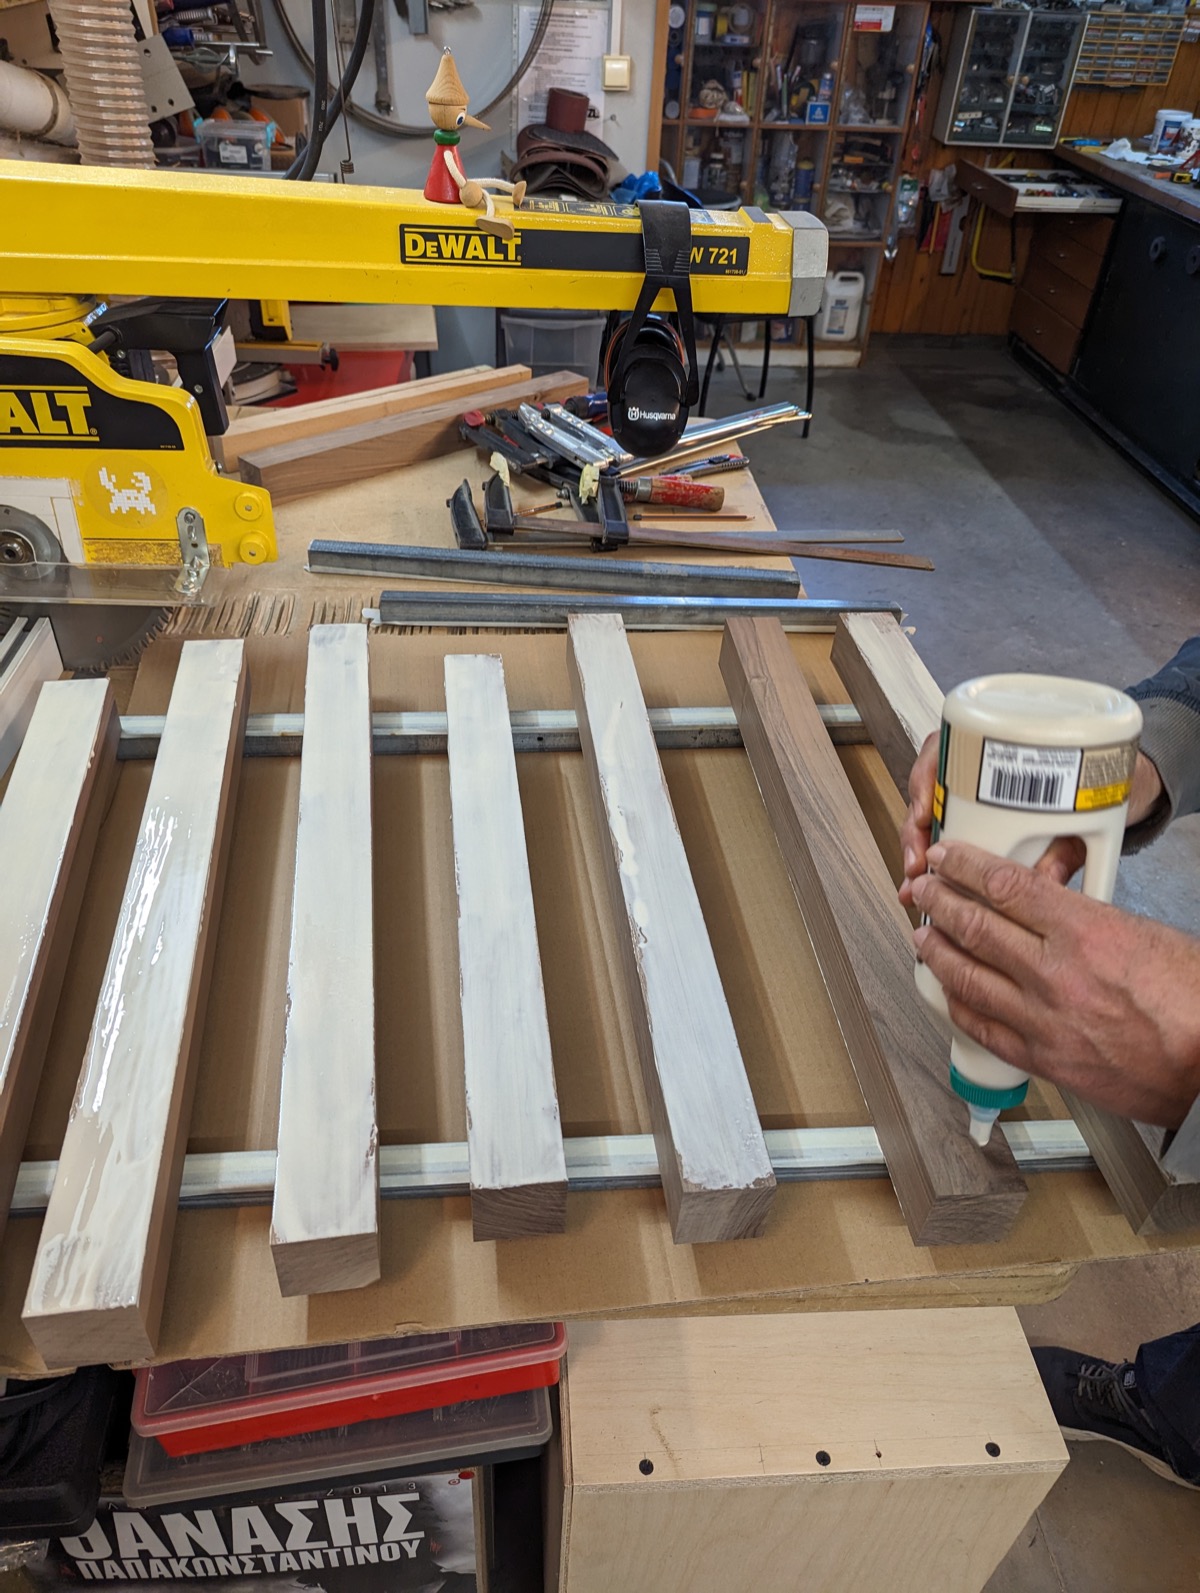
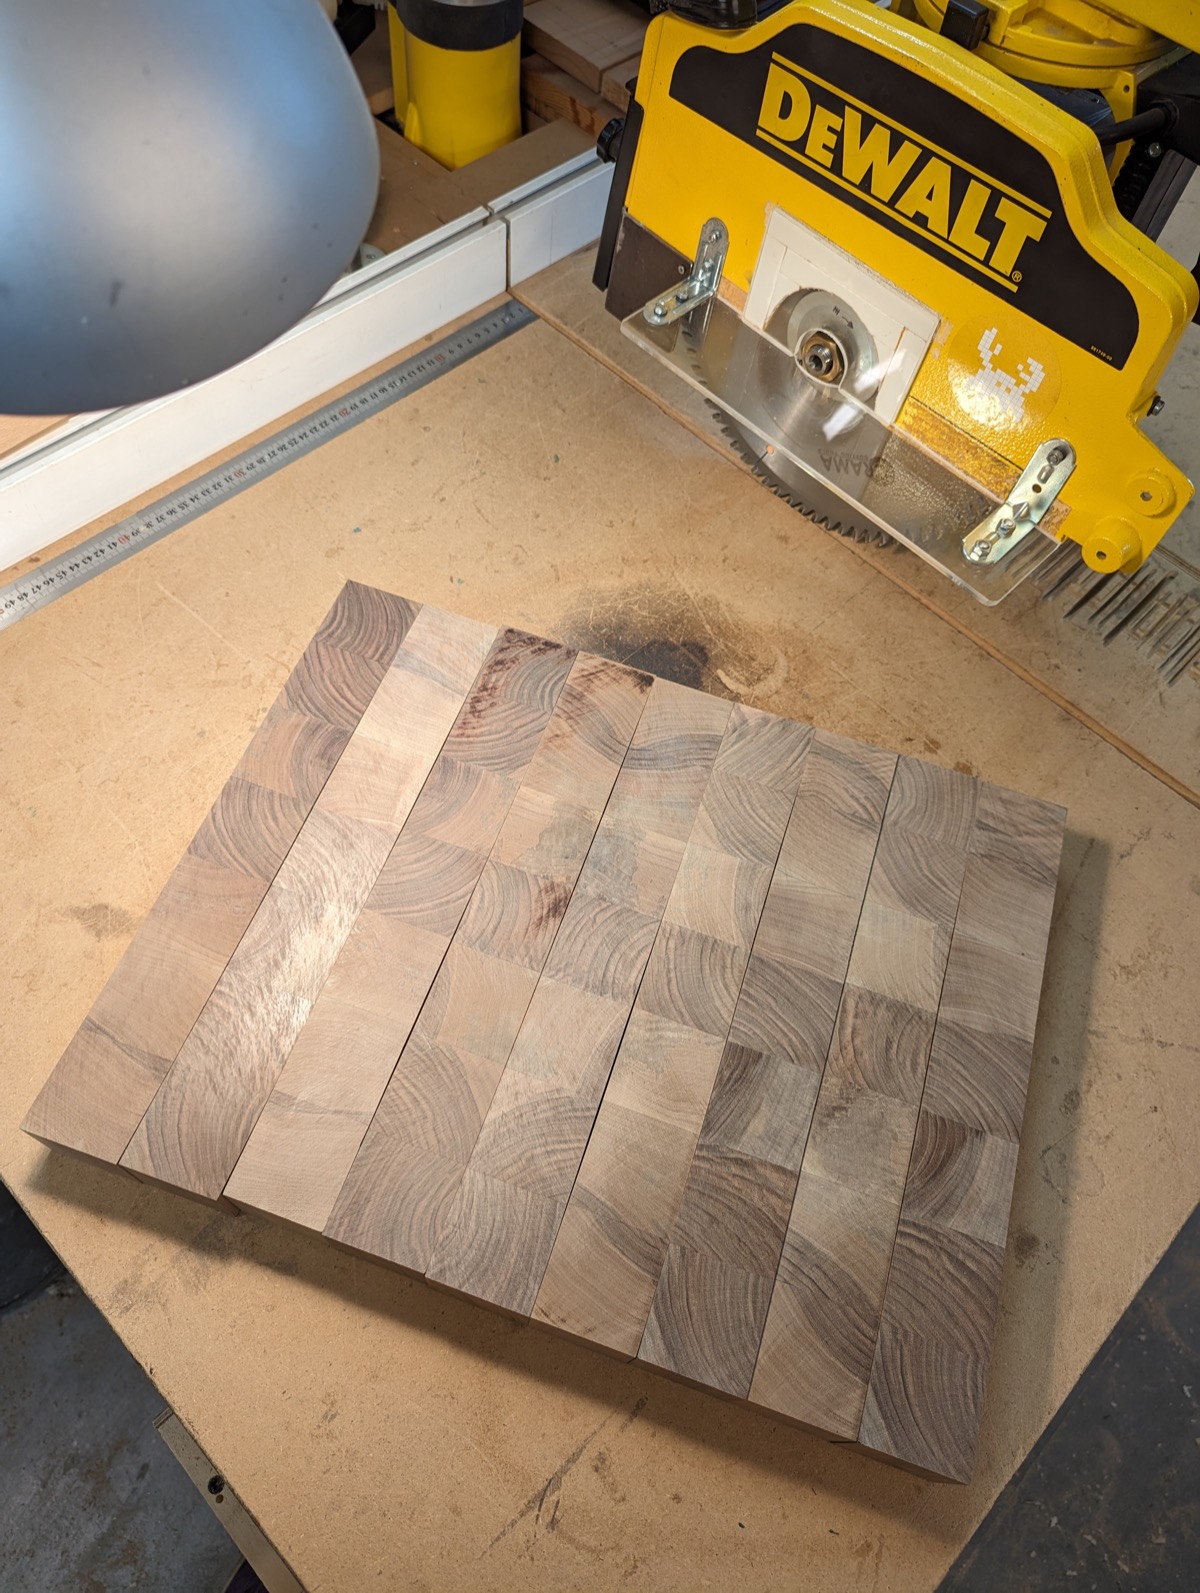
Tips &
Tricks
Everything I would tell someone starting the same board tomorrow. In order, and mostly learned the expensive way.
-
01
Get every glue-up right, starting with the first
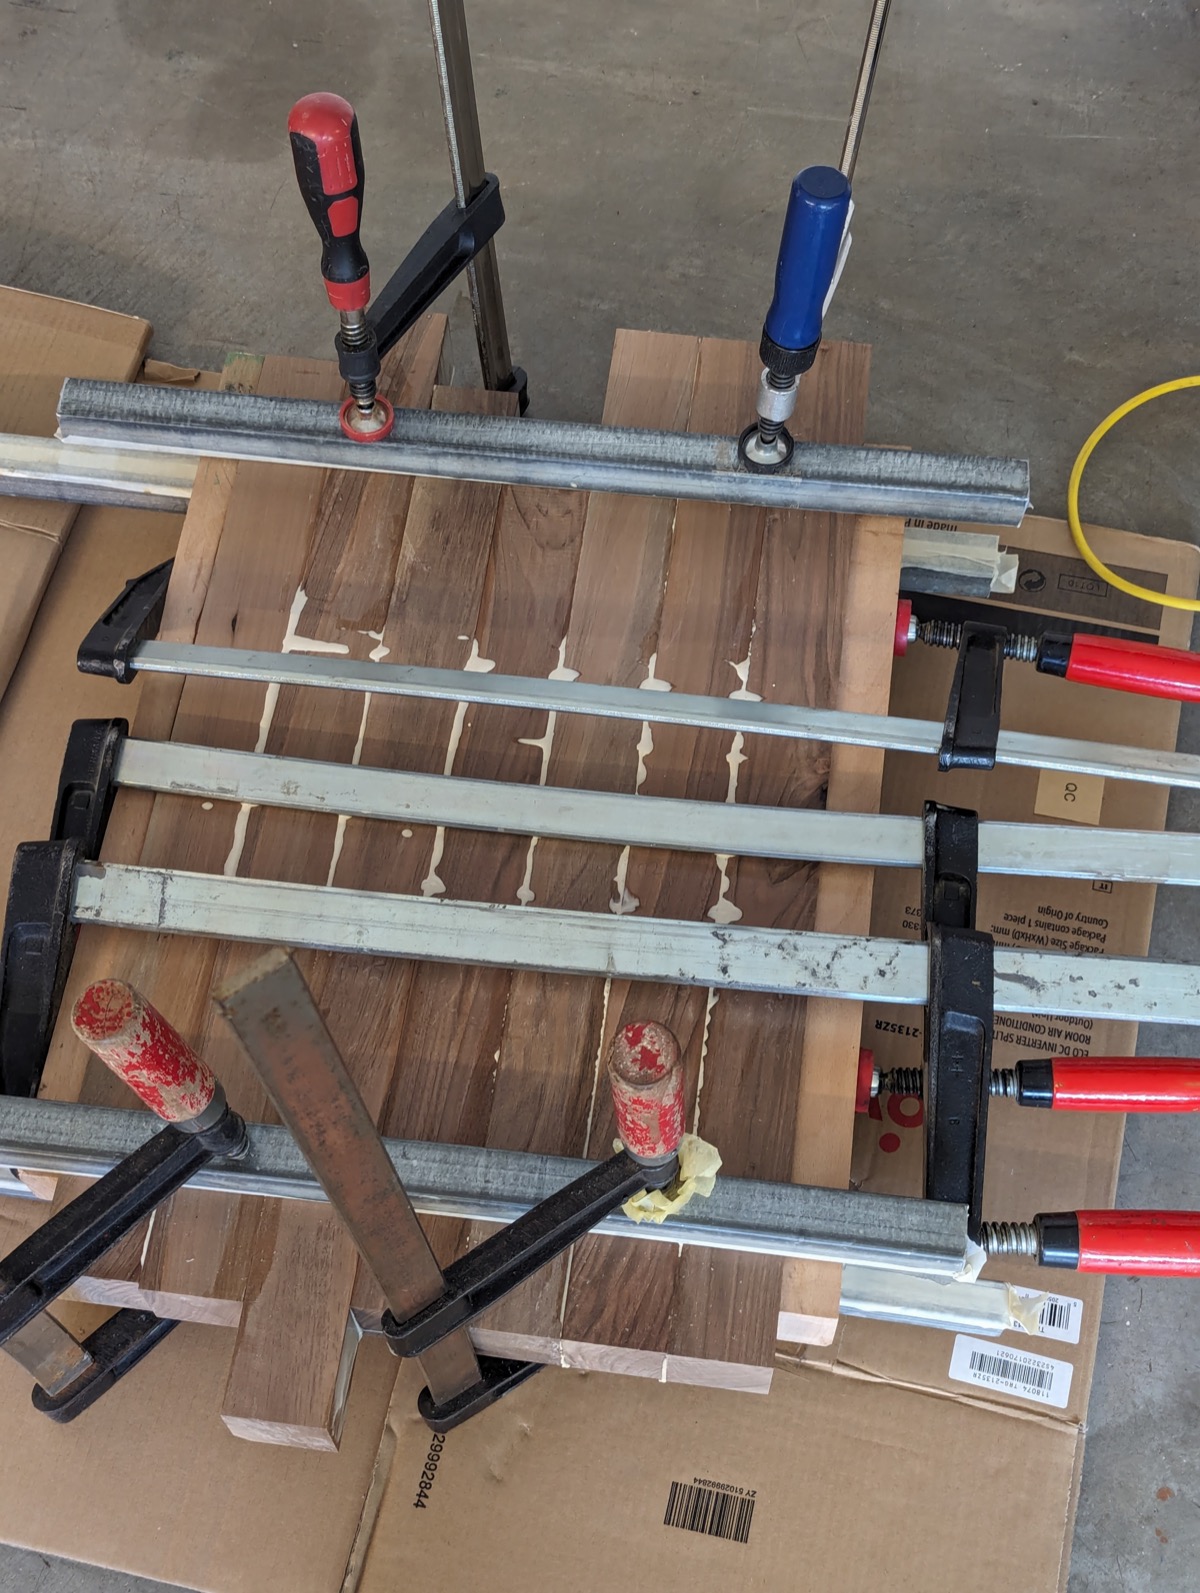
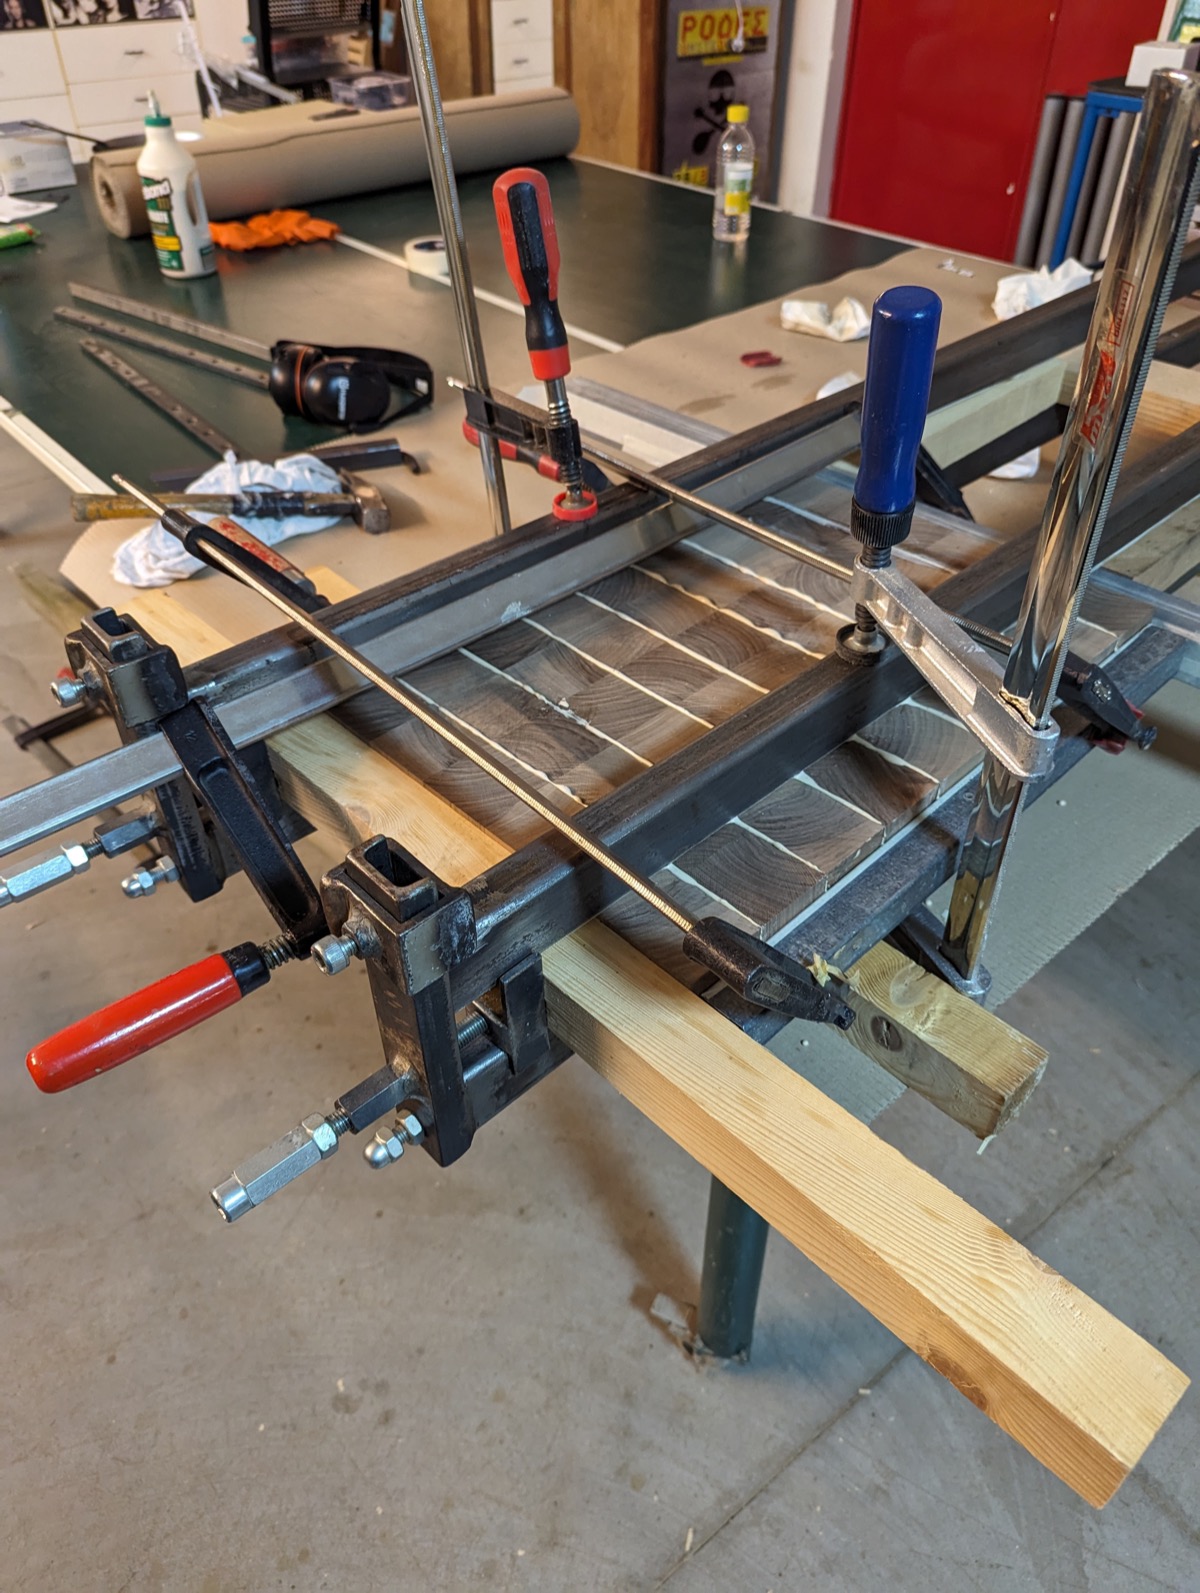
Be patient and detailed at each glue step, and do not treat the first glue-up as any less important than the rest. Each board also needs to be planed very well before it goes in, since a small mistake there compounds through every step after it.
-
02
Spread the glue across the whole surface
Use a brush or a roller so no spot goes uncovered. An empty patch in the glue only shows up once you cut into the board, and by then it can ruin the whole piece.
-
03
Clean the squeeze-out just before it fully dries
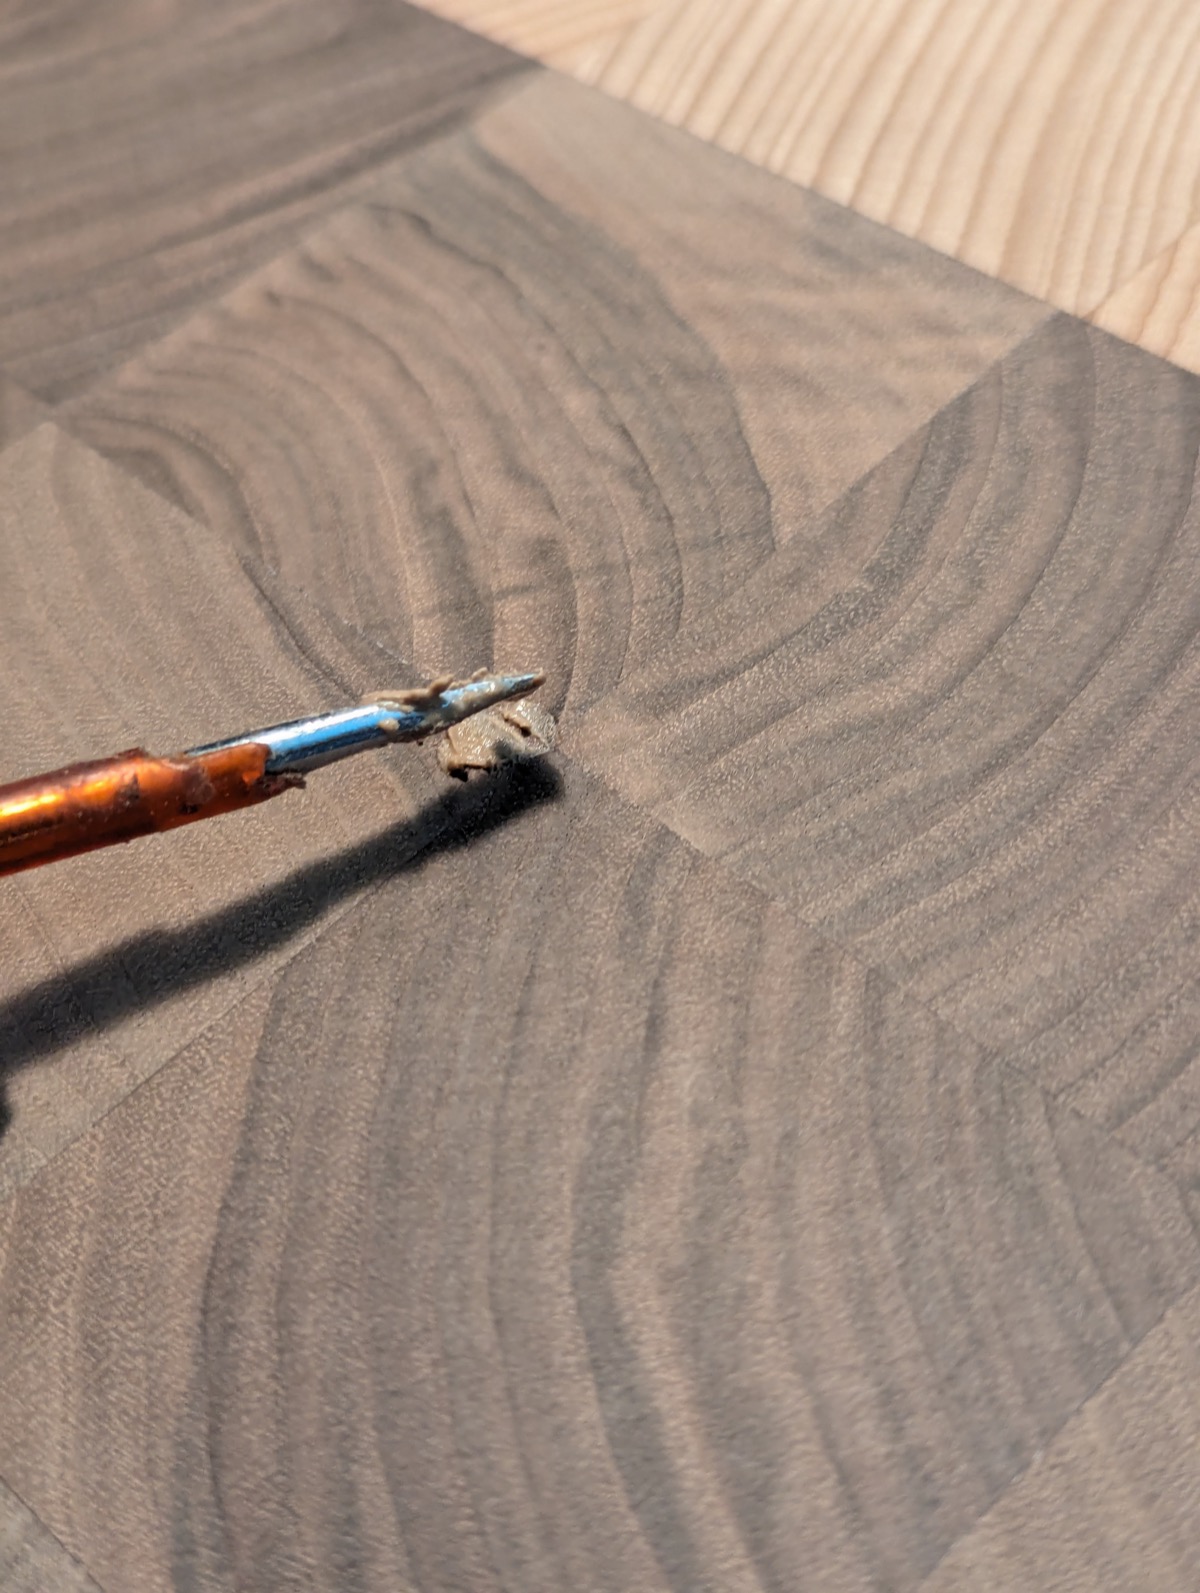
Wait until the glue is almost, but not quite, dry, then remove it. A chisel makes this easy and clean.
-
04
Fill gaps with glue and sawdust, not filler
If any gaps need filling, mix the same food safe wood glue with wood dust from the same board and use that instead.
-
05
A custom-made router sled works, but expect tear-out
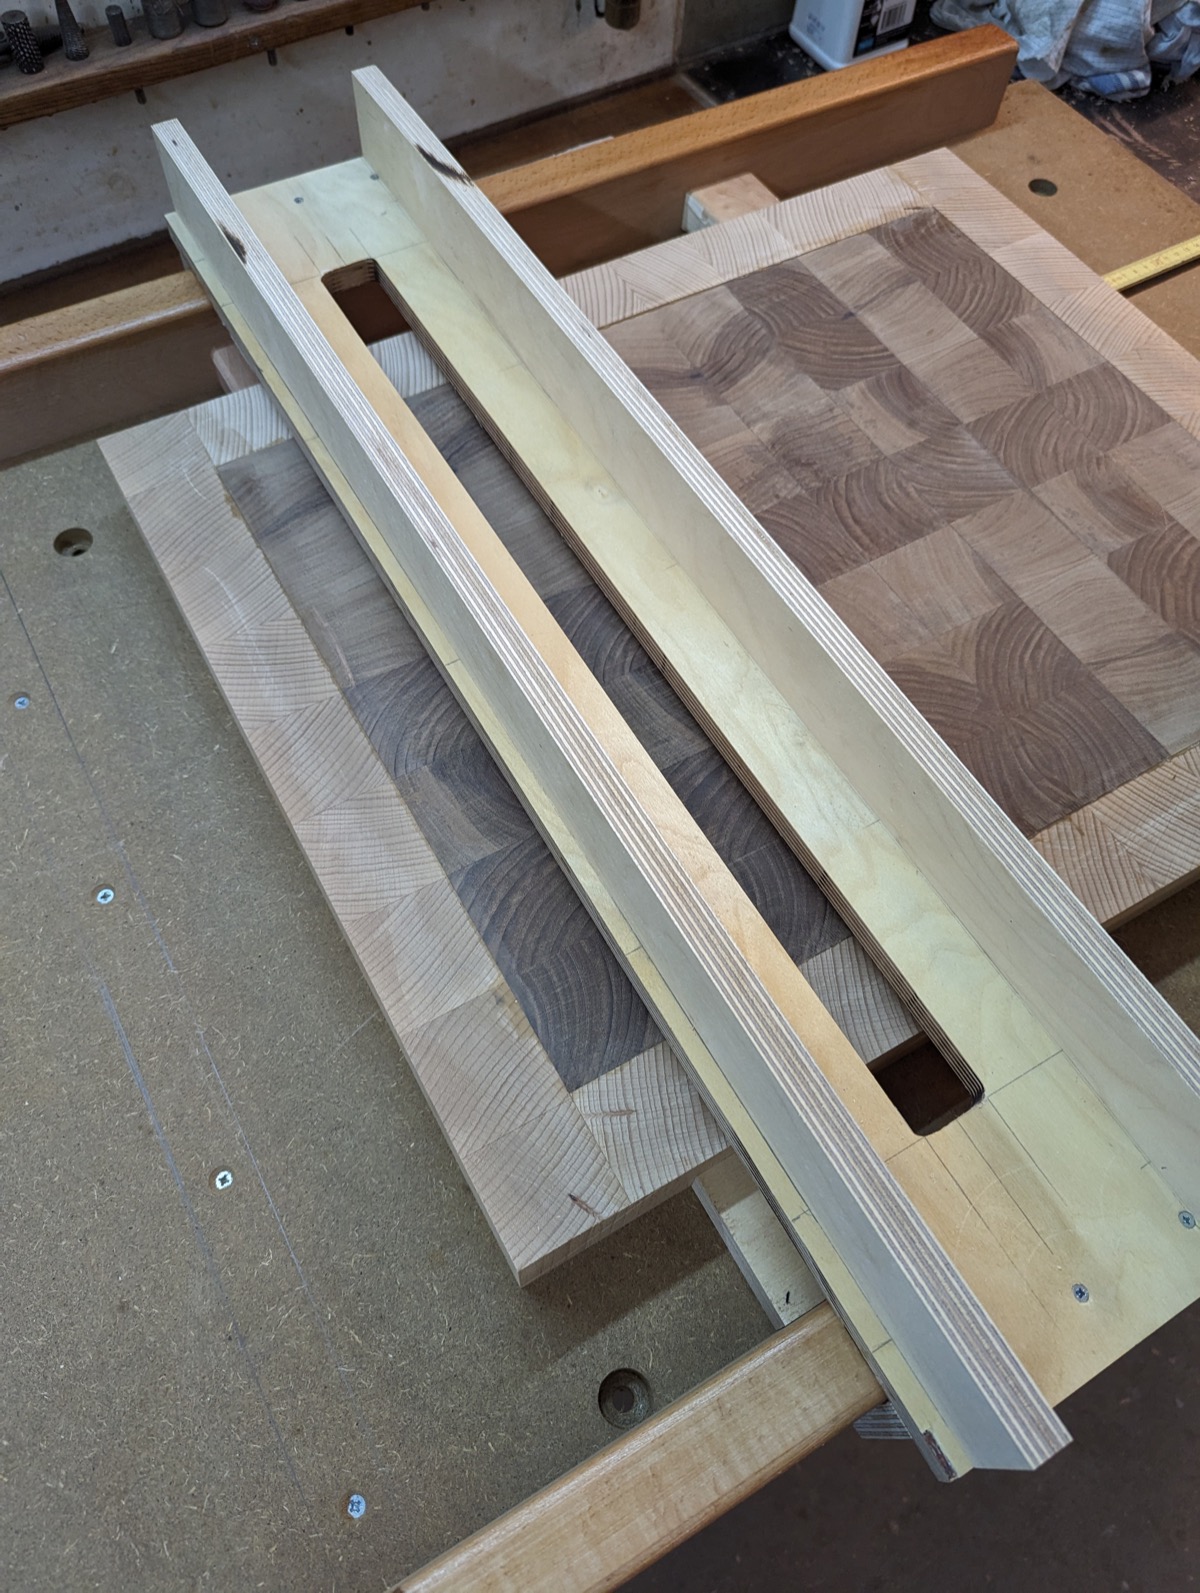
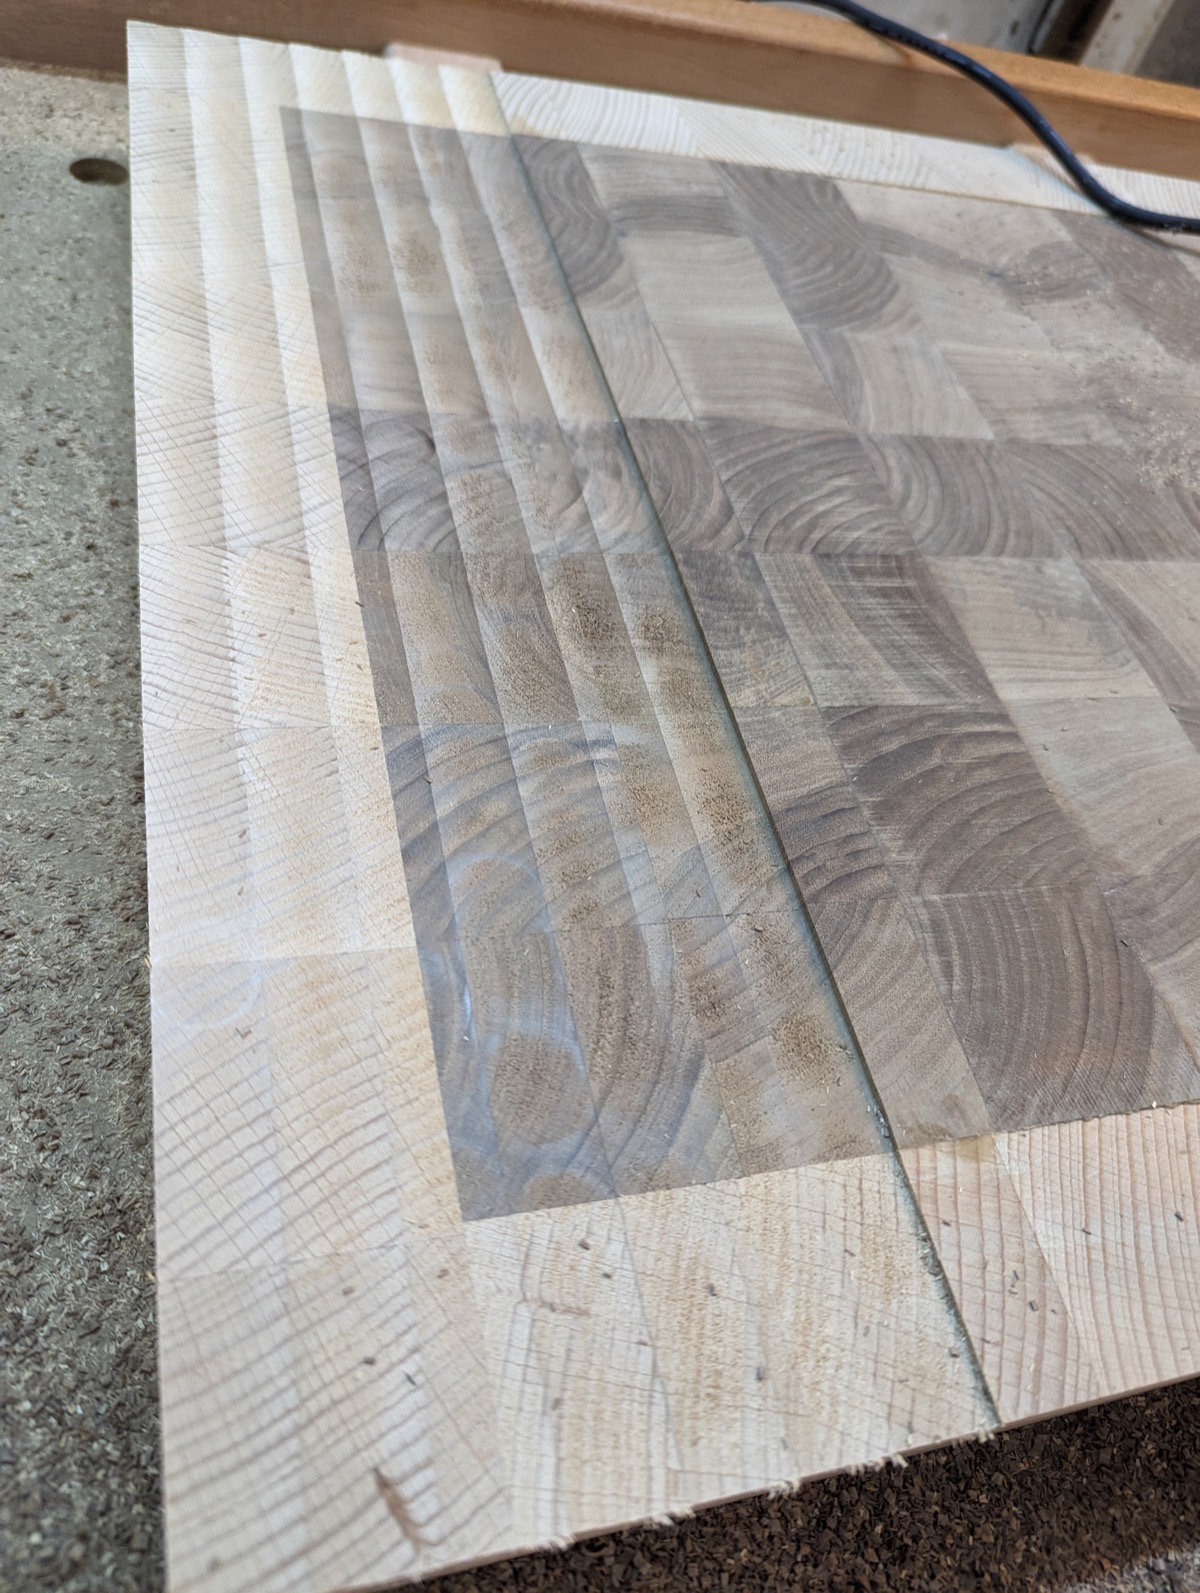
A custom router sled is easy to build and makes flattening far easier, though it can tear out the grain. Worth reading this thread on getting a smoother finish before you commit to one.
-
06
Sand, then sand again
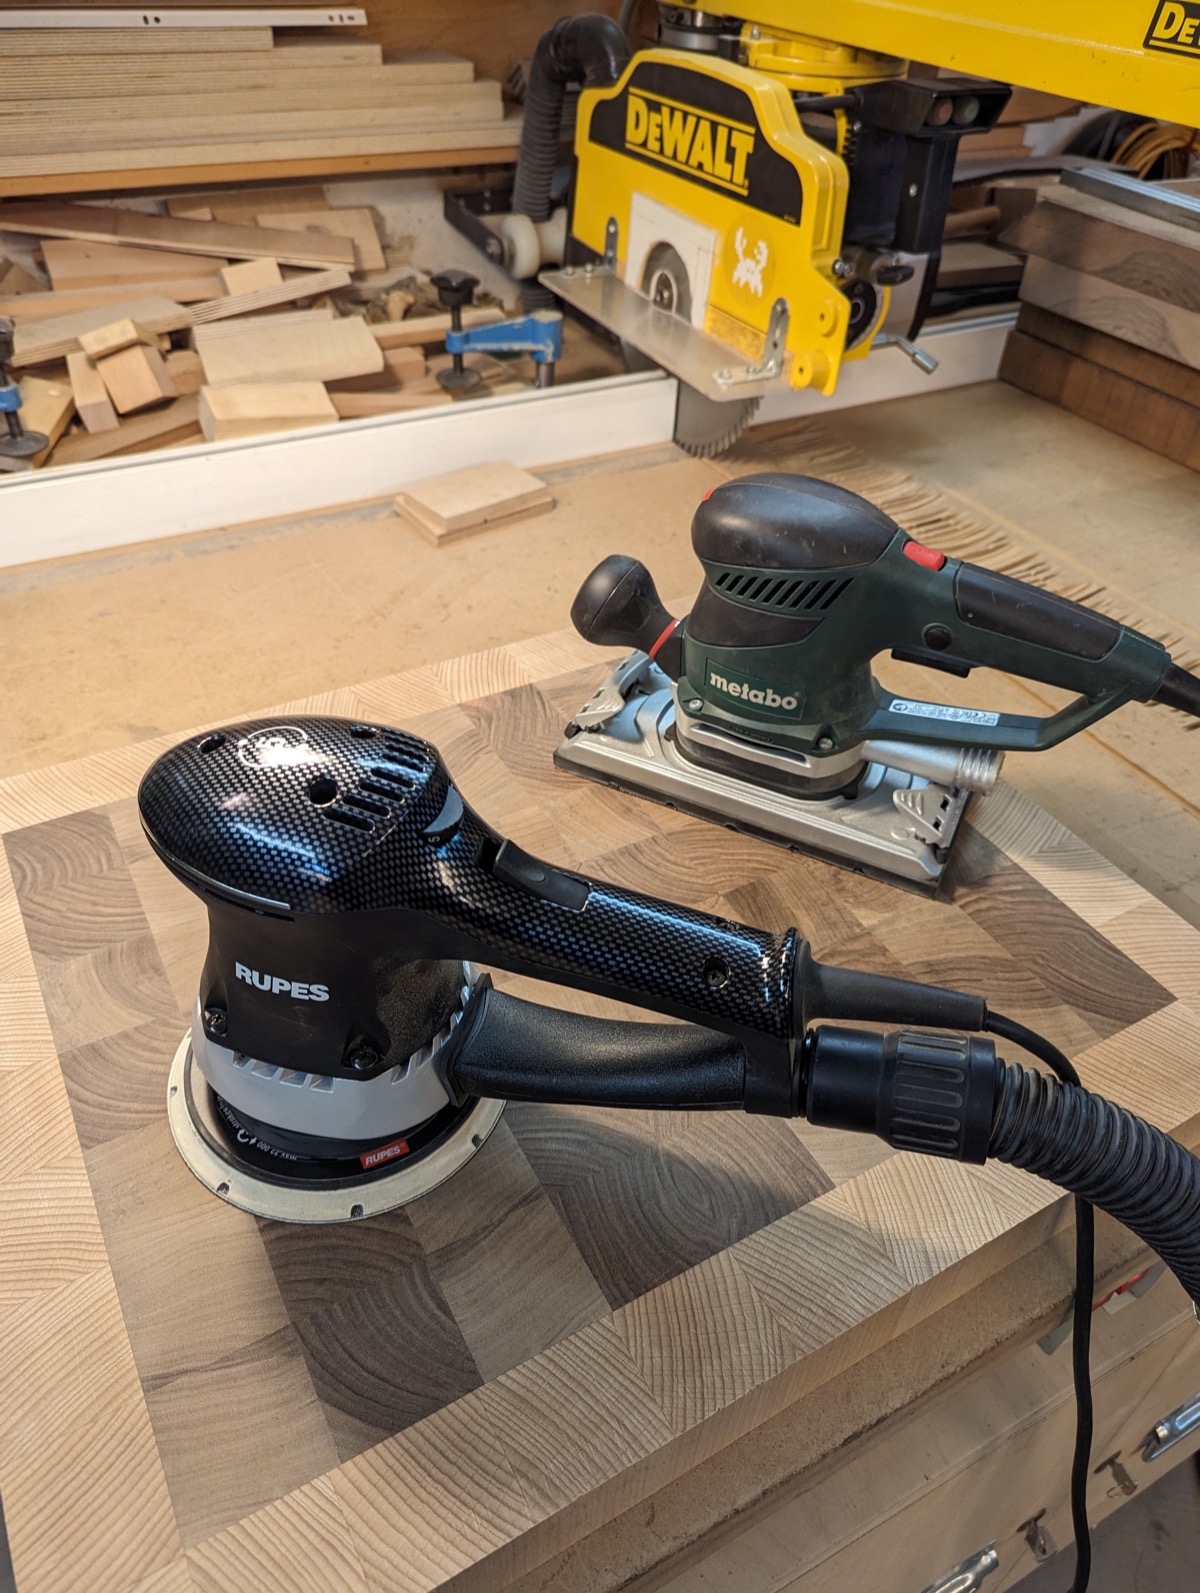
Take your time on the sanding and do a second full pass after the first. Wear hearing protection and a mask throughout.
Other projects
Seven others-
 02
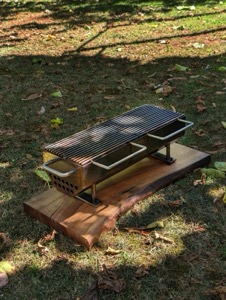
Hibachi-Style Table Grill
Steel, inox, walnut
Aug 2025
↗
02
Hibachi-Style Table Grill
Steel, inox, walnut
Aug 2025
↗
-
 03
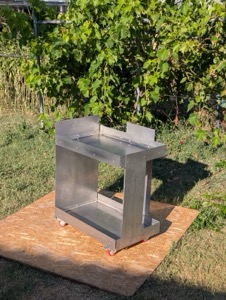
Lager Trolley
Stainless steel
Jun 2026
↗
03
Lager Trolley
Stainless steel
Jun 2026
↗
-
 04
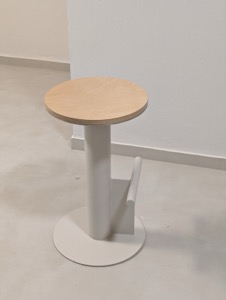
Minimal Barstool
Steel, plywood
Jan 2026
↗
04
Minimal Barstool
Steel, plywood
Jan 2026
↗
-
 05
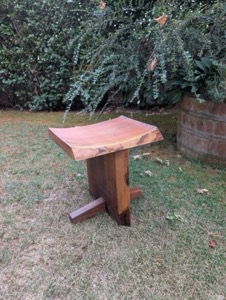
Walnut Stool
Walnut
Jan 2023
↗
05
Walnut Stool
Walnut
Jan 2023
↗
-
 06
My Clay Army
Clay
Spring 2026
↗
06
My Clay Army
Clay
Spring 2026
↗
-
 07
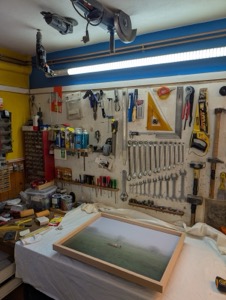
rpk.io Frames
Beech, glass
Spring 2024
↗
07
rpk.io Frames
Beech, glass
Spring 2024
↗
-
 08
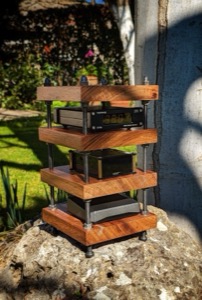
Mini Hi-Fi Rack
Walnut, galvanized bolts
Spring 2023
↗
08
Mini Hi-Fi Rack
Walnut, galvanized bolts
Spring 2023
↗